
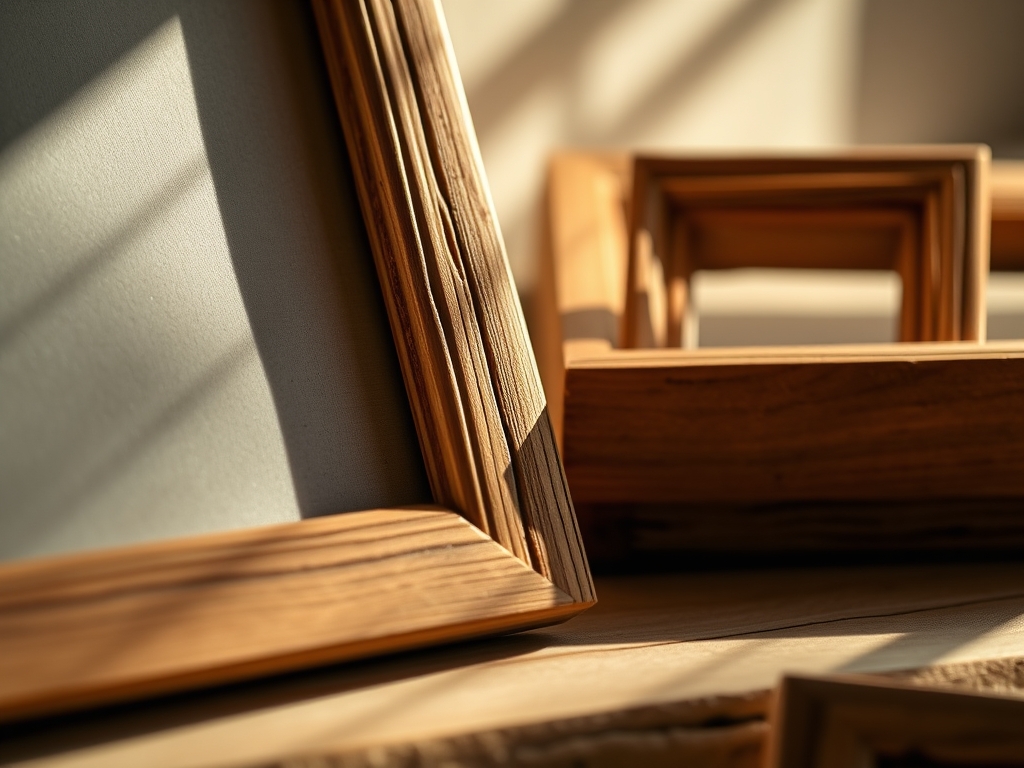
The scent of freshly shorn walnut is better than any candle; it is earthy, sharp, and smells exactly like the potential for a masterpiece. When you pick up a block of wood, you are feeling the literal history of a tree expressed through its tensile strength and fiber density. We are not just making a border for a snapshot; we are engineering Hand Carved Picture Frames that will outlast the digital files they hold. You can feel the moisture content through your fingertips. If the wood feels cold and slightly damp, it is too green for fine detail. You want that crisp, kiln dried snap that tells you the cells are ready to be sliced without tearing. Grab your coffee and clear your workbench because we are about to dive into the physics of wood grain and the sheer joy of creating something that feels as heavy and permanent as your favorite memories.
THE STUDIO KIT
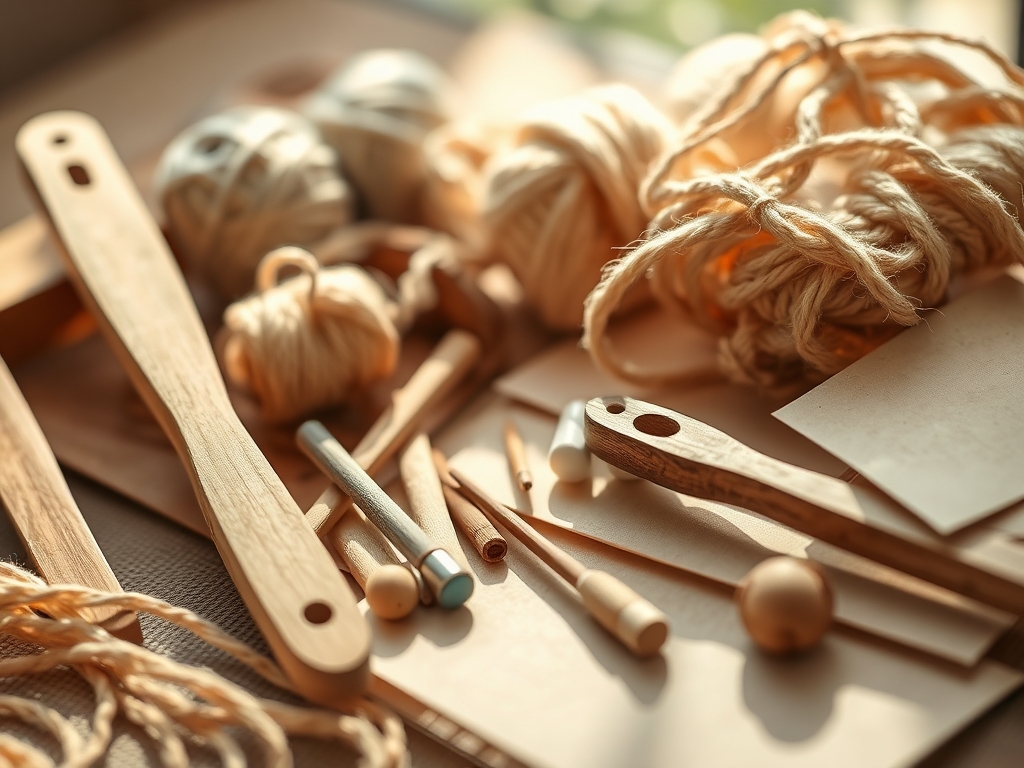
To master Hand Carved Picture Frames, you need a kit that respects the cellular structure of your medium. Your primary tool is the fishtail gouge, which allows for delicate clearance in tight corners where a standard chisel would bruise the surrounding fibers. You will also need a marking gauge to ensure your rabbet depths are mathematically consistent; even a millimeter of deviation can cause the glass to rattle or the frame to warp over time.
For the material, American Cherry or Black Walnut are the gold standards due to their tight, predictable grain patterns. If you are looking for Material Substitutions, Basswood is a fantastic entry point because its low lignin content makes it soft and forgiving for intricate floral work. However, if you want that premium, heavy feel, stick to hardwoods with a high specific gravity. You will also need a set of digital calipers for measuring the thickness of your glass and backing board, plus a burnishing tool to compress the wood fibers at the edges for a polished, professional finish.
THE TEMPO
The "Maker's Rhythm" is a real psychological state where your pulse matches the strike of your mallet. For a standard 8×10 frame, expect to spend roughly two hours on the initial dimensioning and joinery. This is the structural phase where you ensure your 45 degree miters are airtight. The carving phase is the "deep work" and will take anywhere from six to fifteen hours depending on the complexity of your ornate details.
Finally, the finishing phase requires patience. Applying a tung oil or shellac finish takes about three days when you account for the necessary curing time between coats. Do not rush this. If you apply a second coat before the first has fully polymerized, you will end up with a tacky, clouded surface that hides the very grain you worked so hard to highlight.
THE CORE METHOD
1. Mapping the Grain Direction
Before the first cut, you must read the wood like a map. Look at the "cathedral" patterns on the face of the board to determine which way the fibers are running. Carving against the grain causes "tear out," where chunks of wood lift away rather than slicing cleanly.
Mastery Tip: The science here is all about cleavage planes. By following the downward slope of the grain, you ensure the tool edge compresses the fibers against the bulk of the wood, maintaining structural integrity and preventing splintering.
2. Setting the Rabbet Depth
The rabbet is the "shelf" where your photo and glass sit. Use a plough plane or a router to cut this channel. It must be deep enough to accommodate the glass, the photo, a mat board, and the backing, plus a tiny bit of breathing room for seasonal expansion.
Mastery Tip: Wood is hygroscopic, meaning it absorbs moisture from the air. If your rabbet is too tight, the wood may swell in the summer and crack your glass. Leave a 1/16th inch "expansion gap" to account for this movement.
3. Executing the Acanthus Leaf
This classic ornate detail requires a series of overlapping convex and concave cuts. Start by "grounding" the design, which means removing the background wood to create a 3D relief.
Mastery Tip: Use the capillary action of a light mineral spirit wipe to see how the light hits your cuts. This reveals any "fuzz" or rough spots that need further refinement with a higher grit sandpaper.
4. Refining the Beaded Edge
A row of small, uniform spheres (beads) along the inner rim adds incredible sophistication. Use a beading tool or a small "V" tool to define the spacing before rounding them over.
Mastery Tip: This relies on radial symmetry. If one bead is slightly larger, the human eye will catch the flaw instantly. Use your calipers to check the diameter of every third bead to stay on track.
5. The Pierced Filigree Technique
For a truly high end look, use a jeweler's saw to cut all the way through certain sections of the frame. This creates a "lace" effect that plays with light and shadow.
Mastery Tip: Reducing the mass of the frame changes its torsional rigidity. Ensure your corner joins are reinforced with internal "splines" to prevent the frame from twisting once the wood is thinned out.
6. Sanding the Micro-Contours
Sanding is not just about smoothness; it is about preparing the surface for the finish. Move from 120 grit up to 400 grit, always following the curves of your carving.
Mastery Tip: This is about surface tension. A smoother surface allows the oil finish to spread evenly rather than pooling in deep scratches, which would create dark, muddy spots in your design.
7. Applying the Burnished Finish
Take a smooth piece of bone or a specialized bone folder and rub it firmly over the high points of your carving. This compresses the surface cells until they shine.
Mastery Tip: This process is called friction polishing. The heat generated by the rubbing slightly melts the natural resins in the wood, creating a hard, protective "skin" without the need for heavy chemicals.
8. Installing the Glazing and Hardware
Once the finish is dry, it is time for assembly. Use offset clips to hold the backing in place rather than driving nails directly into your handiwork.
Mastery Tip: Avoid using hardware made of reactive metals like raw iron if you are using oak. The tannins in the wood will react with the metal and cause permanent black staining.
9. Final Buffing and Waxing
A light coat of microcrystalline wax provides the final layer of protection against dust and fingerprints.
Mastery Tip: Microcrystalline wax has a higher melting point than beeswax, meaning it won't get sticky on a hot summer day, keeping your frame pristine for decades.
THE TECHNICAL LEDGER
Maintenance & Longevity: To keep your Hand Carved Picture Frames in museum quality condition, avoid placing them in direct sunlight. UV rays break down the cellulose bonds in the wood, leading to "bleaching" and brittleness. Dust with a soft goat hair brush to reach into the deep carvings without scratching the finish.
Material Variations: While hardwoods are traditional, consider Reclaimed Heart Pine for a rustic look. It has a high resin content that smells amazing when carved, though it can be tough on your tool edges. For a modern twist, ebonized maple provides a sleek, jet black look that still shows the tactile carving marks.
The Correction:
- The Slip: If your gouge slips and gouges a hole, do not use wood filler. Instead, take a small shaving of the same wood, glue it into the gap, and re-carve it once dry.
- The Gap: If your miter joint has a tiny gap, rub a bit of wood glue into the crack and sand over it while wet. The sawdust will mix with the glue to create a perfect, invisible match.
- The Dull Blade: If your tool is tearing the wood, it is dull. A sharp tool should slice through wood fibers with a silent "hiss." If it makes a "crunch" sound, stop and hit the sharpening stones.
Studio Organization: Store your unfinished frames flat on a wire rack. This allows air to circulate around all sides of the wood, preventing differential drying which causes the wood to cup or bow.
THE FINAL REVEAL
Look at that! The way the light catches the ridges of your handiwork is something no factory machine could ever replicate. Your Hand Carved Picture Frames now possess a "soul" because they carry the intentionality of your hands. The transition from the raw, blocky lumber to these delicate, sweeping curves is a testament to your understanding of material physics and artistic vision. When you slide that family photo into the rabbet, it is no longer just a picture; it is a protected heirloom.
STUDIO QUESTIONS
How do I stop my wood from splitting?
Always maintain the proper moisture equilibrium. Keep your studio at a consistent humidity level. If the wood dries too fast, the internal tensile stress will cause "checking" or small cracks along the end grain.
What is the best wood for beginners?
Basswood is the undisputed champion for new carvers. Its grain is exceptionally straight and its lignin structure is soft enough that you can carve in almost any direction without significant resistance or tearing.
How sharp should my chisels be?
Your tools should be "scary sharp." This means they can shave the hair off your arm without pulling. Technically, you are looking for a polished bevel with no visible nicks under a magnifying glass.
Can I carve a frame that is already assembled?
It is possible, but not recommended. Carving before assembly allows you to work right up to the edges without the frame "springing" or bouncing under the pressure of your mallet, ensuring better dimensional stability.

