
Close your eyes and imagine the satisfying resistance of a sharp rotary cutter slicing through a crisp sheet of unbleached cotton. There is a specific, high-frequency hum that happens when the blade meets the weave; it is the sound of pure potential. We are not just making tags today; we are engineering a physical signature for your hard work. When you integrate Hand Stamped Fabric Labels into your workflow, you are bridging the gap between a hobbyist project and a professional-grade heirloom. It is all about the tactile feedback of the stamp meeting the porous surface of the textile. You feel the ink migrate into the fibers, a permanent chemical bond that says you were here. We are going to master the physics of pressure and the chemistry of pigment to ensure your logo never fades, even after a hundred cycles through the wash. This is where your brand gets its heartbeat.
THE STUDIO KIT
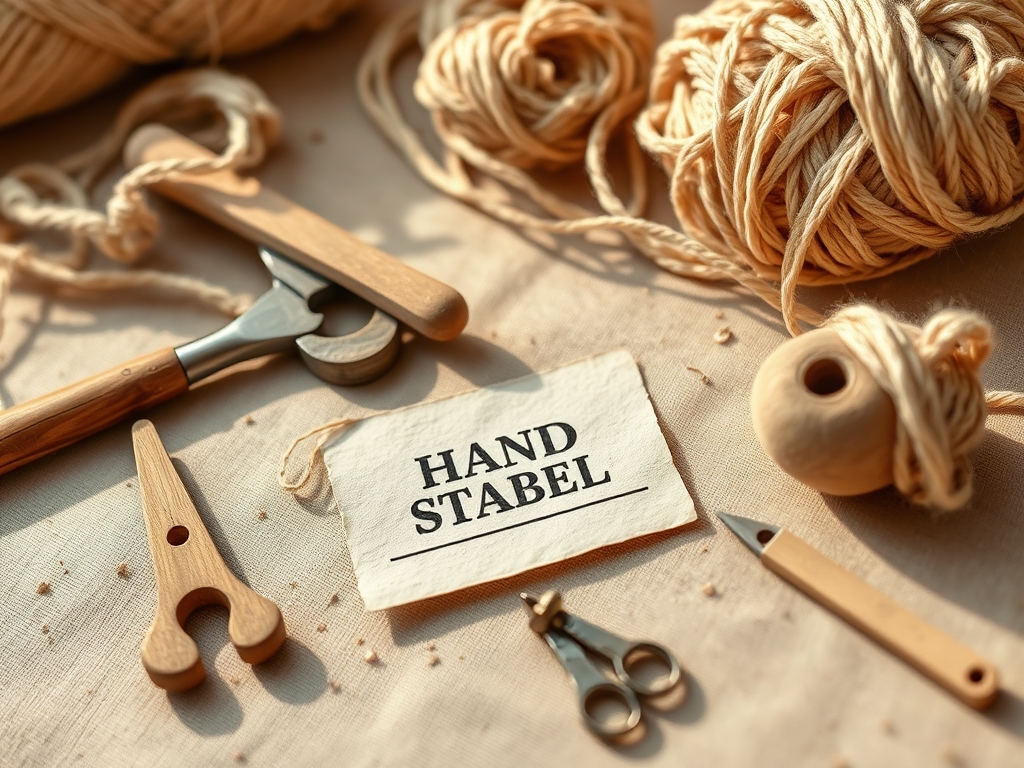
To achieve professional results, you need to curate your bench with the precision of a lab technician. Your primary substrate should be a high-thread-count cotton lawn or a tightly woven linen tape. The higher the thread count, the less "bleeding" occurs, as the capillary action is more controlled within the dense fiber matrix. You will need a high-pigment archival ink pad, specifically one formulated for textiles that requires heat-setting to achieve permanent cross-linking of the polymers.
For the hardware, skip the cheap plastic handles. Invest in hardwood-mounted rubber stamps or custom-etched polymer plates. You will also need a bone folder for crisp edges, a rotary cutter for straight-grain precision, and a self-healing cutting mat with a grid for perfect alignment. If you want to get really technical, keep a pair of digital calipers nearby to measure the exact margins of your seam allowance.
Material Substitutions: If you cannot find cotton tape, you can use recycled polyester ribbon, though it requires a specialized solvent-based ink because the fibers are non-porous. For a rustic look, twill tape works beautifully, but the heavy "V" weave creates ridges that can interfere with fine-line logos. In that case, you must increase your stamping pressure to ensure the ink reaches the valleys of the weave.
THE TEMPO
The "Maker's Rhythm" is a real psychological state where your motor skills and your cognitive focus sync up. For a batch of twenty labels, expect to spend about 90 minutes in the studio. The Preparation Phase takes 20 minutes; this involves measuring, cutting, and pre-ironing your fabric to remove any moisture or sizing that might repel the ink.
The Execution Phase is the fastest but requires the most focus, taking about 15 minutes. This is the rhythmic "ink-press-release" cycle. Finally, the Curing Phase takes the longest. You must allow the ink to air-dry for at least 30 minutes before heat-setting with a dry iron for 5 minutes. This thermal energy is what forces the pigment to lock into the cellulose structure of the fabric.
THE CORE METHOD
1. Preparing the Substrate
Start by stabilizing your fabric. Use your rotary cutter and a metal ruler to cut strips along the warp thread (the vertical grain). This ensures the labels have the highest tensile strength and will not stretch out of shape when sewn into a garment.
Mastery Tip: The science of hygroscopy tells us that fabric absorbs moisture from the air. Always iron your fabric immediately before stamping to drive out any ambient humidity, which ensures the ink bonds to the fiber rather than the water molecules trapped inside.
2. Inking the Plate
Do not press your stamp into the ink pad. Instead, bring the ink pad to the stamp. Tap the pad lightly across the surface of the logo to ensure an even, thin coat. You are looking for a "satin" finish on the rubber, not a gloopy, wet mess.
Mastery Tip: This step relies on surface tension. If you apply too much ink, the liquid will bridge the gaps between the fine lines of your logo, resulting in a blurred image. A thin, controlled layer maintains the structural integrity of the design.
3. The Vertical Press
Place your fabric on a hard, flat surface. A soft mat will cause the stamp to sink too deep, blurring the edges. Align your stamp, hold your breath to steady your hands, and press straight down with firm, even pressure. Do not rock the stamp.
Mastery Tip: This is about force distribution. By applying pressure vertically, you ensure that the ink is pushed into the interstices of the weave simultaneously. Rocking the stamp creates a "slur" in the print because the lateral force shifts the fabric fibers mid-transfer.
4. Thermal Fixation
Once the ink is touch-dry, use a dry iron on the highest setting appropriate for your fabric. Press down firmly for 30 to 45 seconds without moving the iron.
Mastery Tip: This process is called polymerization. The heat triggers a chemical reaction in the textile ink that transforms it from a liquid state into a solid, wash-fast plastic that is physically entwined with the cotton threads.
THE TECHNICAL LEDGER
Maintenance & Longevity: To keep your labels looking sharp for years, always wash the finished items in cool water. Harsh detergents with optical brighteners can eventually break down the pigment bonds. Store your custom stamps in a cool, dark place; UV light and heat can cause the rubber to dry out and crack, ruining the durometer (hardness) of the stamping surface.
Material Variations:
- Sustainable: Organic hemp tape offers incredible durability but has a high "tooth" that requires a bolder logo design.
- Premium: Silk ribbon provides a luxurious, low-friction surface that feels amazing against the skin, though it requires specialized "acid inks."
- Recycled: Twill tape made from recycled PET bottles is eco-friendly but requires a higher heat-setting temperature.
The Correction:
- The Ghost Image: If your print is faint, your ink pad is dry. Fix: Re-ink the pad and use a brayer to distribute the pigment evenly.
- The Bleed: If the ink spreads like a spiderweb, your fabric has too much "sizing" (factory starch). Fix: Pre-wash your fabric strips in plain water and dry them before stamping.
- The Smudge: If the logo smears, you moved the stamp laterally. Fix: Use a stamping jig or a wooden block to guide your hand perfectly vertical.
Studio Organization: Store your precut fabric strips in a sealed polyethylene bag to prevent dust and moisture accumulation. Keep your ink pads stored upside down; this keeps the pigment at the surface of the foam so it is always ready for the next "Maker's Rhythm" session.
THE FINAL REVEAL
There is nothing quite like the moment you peel back that stamp to reveal a crisp, professional logo staring back at you. It transforms a simple piece of cloth into a branded artifact. Your Hand Stamped Fabric Labels are the final "exclamation point" on your creative process. They carry your name, your aesthetic, and your technical standards into the world. When your friend or customer touches that label, they feel the quality of the ink and the deliberate choice of the textile. It is a small detail that carries massive weight.
STUDIO QUESTIONS
What is the best fabric for hand stamped labels?
A high-thread-count cotton lawn or premium linen tape is best. These tight weaves prevent the ink from "bleeding" along the fibers, ensuring your logo remains sharp and legible even after multiple washes.
Do I need special ink for fabric stamping?
Yes, you must use archival textile ink. These pigments are specifically engineered to bond with natural fibers through heat-setting, making them permanent and resistant to fading or smearing during the laundry cycle.
How do I stop the edges of my labels from fraying?
You can use a rotary pinking blade to create a zig-zag edge that arrests the fray. Alternatively, fold the raw edges under and burnish them with a bone folder before sewing them into your project.
Can I use a regular rubber stamp for fabric?
Absolutely, as long as the stamp has deep etching. Shallow stamps may pick up "background noise" from the ink pad, which then transfers to the fabric. Hardwood-mounted stamps provide the best leverage for a clean transfer.

