
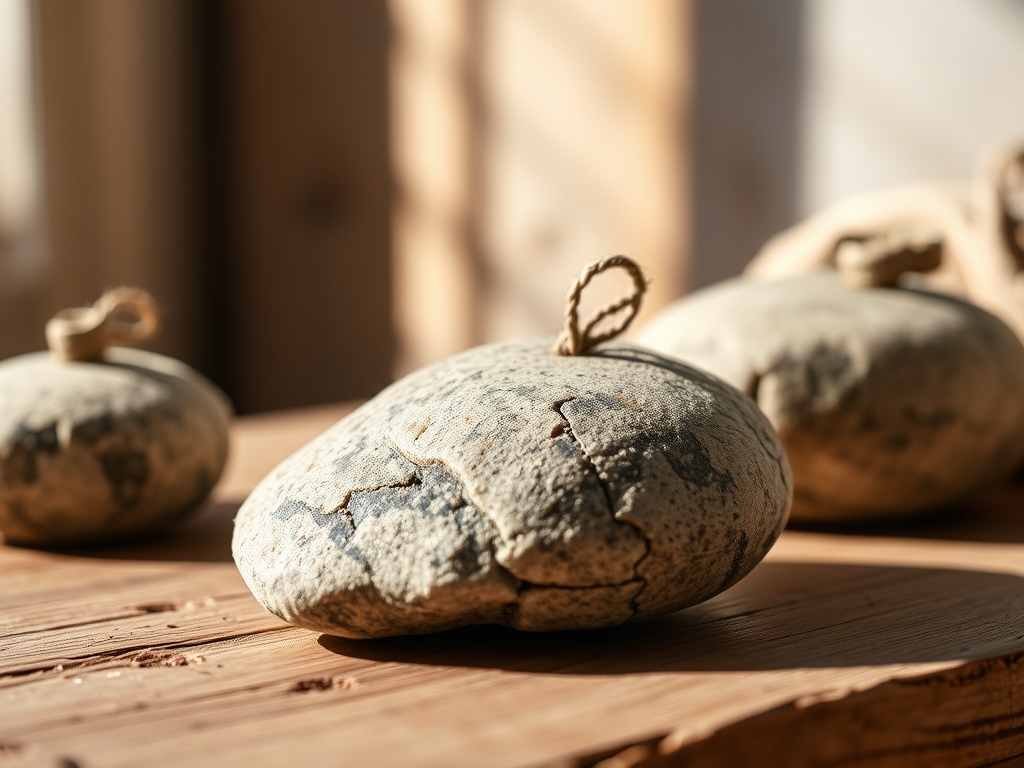
Imagine the cool, grounding sensation of a river rock resting in the palm of your hand while the frantic energy of a sewing project swirls around you. There is a specific, tactile satisfaction in reaching for Hand Crafted Stone Weights that possess enough mass to anchor delicate silk but enough grace to glide across a paper pattern without snagging a single fiber. We are moving away from those clunky, industrial metal washers and plastic-coated pucks. Instead, we are diving into the physics of weight distribution and the organic aesthetics of the earth. These weights are not just tools; they are the silent partners in your studio that prevent the devastating "pattern shift" caused by air currents or heavy shears. When you craft these, you are balancing the center of gravity with a surface texture that provides just enough friction to hold, but not so much that it abrades your expensive vellum or tissue. We are going to build a set that feels like it was unearthed from an ancient workshop, refined by modern engineering.
THE STUDIO KIT
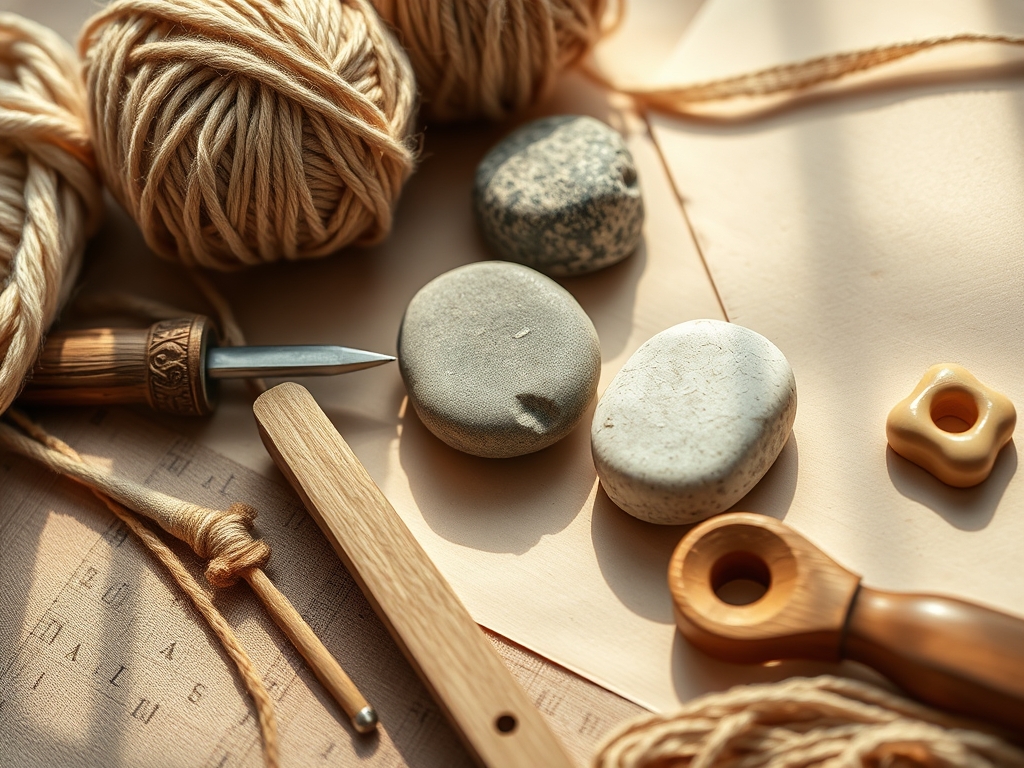
To create these organic forms, you need a kit that respects the hardness of the mineral and the softness of the paper. We start with raw river stones or dense basalt, selected for their specific gravity and smooth surface area. You will need a digital caliper to measure the height of each stone; uniformity is key when you are stacking them for storage or using them under a long acrylic ruler. For the refining process, gather a series of diamond-grit sanding pads ranging from 60 to 3000 grit. A high-speed oscillating tool with a felt buffing attachment will be your best friend for achieving that glass-like finish.
For the protective base, we use top-grain vegetable-tanned leather or high-density industrial felt. This prevents the stone from scratching your cutting table or sliding unexpectedly. You will also need a rotary cutter for precision edges and a high-tensile cyanoacrylate adhesive to bond the organic stone to the fibrous base. If you cannot find natural stones with the right flatness, a "Material Substitution" would be high-density architectural concrete cast in silicone molds, though you will lose the unique mineral veining of natural rock.
THE TEMPO
The "Maker's Rhythm" for this project is slow and meditative, dictated by the physics of abrasion. You cannot rush the polishing of a stone without risking heat fractures or uneven surfaces. Expect to spend approximately thirty minutes per stone for the initial cleaning and leveling. The sanding phase is the most labor-intensive, requiring about fifteen minutes per grit level to ensure you have removed the microscopic scratches from the previous stage. Once the stones are prepped, the assembly of the leather bases takes a quick ten minutes. However, the true test of patience is the curing time for the adhesive; give it a full twenty-four hours to reach maximum tensile strength before you put them to work on a heavy denim project.
THE CORE METHOD
1. Selection and Leveling
Start by choosing six stones that feel ergonomic in your hand. Use your calipers to ensure they have a relatively flat bottom. If the stone wobbles, it will not distribute pressure evenly across your pattern paper. Use a 60-grit diamond pad to grind away any protrusions on the base until the stone sits flush against a glass surface.
Mastery Tip: This is all about structural integrity. A stone with a high center of gravity is prone to tipping, which can tear delicate pattern tissue. Aim for a "low-profile" silhouette to maximize the contact patch.
2. The Progressive Refinement
Dip your stones in water to manage dust and heat. Begin sanding the top and sides with your diamond pads, moving from coarse to fine. You are looking for the "wet look" even when the stone is dry. This process removes the porous outer layer of the stone, preventing it from absorbing oils from your hands which could eventually transfer to your fabric.
Mastery Tip: This involves capillary action. By closing the pores of the stone through high-grit polishing, you ensure that moisture cannot travel through the stone and onto your materials.
3. Precision Base Cutting
Trace the footprint of each stone onto your leather or felt using a silver marking pen. Use a rotary cutter to cut just inside the line. You want the base to be slightly smaller than the stone's diameter so it remains invisible, creating the illusion that the stone is floating just above the paper.
Mastery Tip: Cutting the base slightly smaller reduces surface tension at the edges, preventing the weight from catching on the lip of a ruler or a French curve during drafting.
4. Bonding the Elements
Apply a thin, even layer of adhesive to the center of the leather base. Press the stone down firmly, using a twisting motion to spread the glue to the edges without it oozing out. The bond must be absolute to withstand the lateral forces of being slid across a table.
Mastery Tip: The science here is molecular adhesion. By using a twisting motion, you eliminate air pockets that could cause the base to peel over time under the stress of constant use.
5. Burnishing the Edges
Once the glue is set, use a bone folder or a wooden burnisher to slick the edges of the leather base. This compacts the fibers and gives the weight a professional, finished look. You can add a drop of beeswax to the edge for a high-gloss, friction-free finish.
Mastery Tip: Burnishing increases the fiber density of the leather edge, making it resistant to fraying and ensuring it won't shed tiny particles onto your black fabrics.
6. The Final Buff
Use your oscillating tool with a felt pad and a tiny amount of polishing compound to bring the stone to a mirror shine. This final step is purely aesthetic but oh-so-satisfying. It turns a simple rock into a piece of studio jewelry.
Mastery Tip: This creates a hydrophobic surface. A highly polished stone is less likely to hold onto static electricity, which can be a nightmare when working with lightweight synthetic patterns.
THE TECHNICAL LEDGER
Maintenance & Longevity: To keep your Hand Crafted Stone Weights in peak condition, wipe them down once a month with a lint-free microfiber cloth. If the leather base becomes dry, apply a tiny amount of neatsfoot oil, being careful not to get any on the stone itself.
Material Variations: For a premium version, use semi-precious slabs like agate or jasper. For a sustainable approach, upcycle marble remnants from a local countertop fabricator. These provide incredible density and a high-end architectural feel.
The Correction:
- The Ooze: If glue seeps out, let it dry completely then use a jeweler's saw or a sharp hobby knife to carefully trim the excess. Never wipe wet glue; it will ruin the stone's finish.
- The Wobble: If the weight isn't level after gluing, sand the leather base slightly on one side using a fine-grit sandpaper.
- The Scuff: If a stone develops a scratch, you don't have to start over. Use a 1000-grit wet-sanding pad to localized the area, then re-buff.
Studio Organization: Store your weights in a lined wooden box or a dedicated drawer with felt dividers. Do not stack them directly on top of each other without a buffer, as the hardness of one stone can easily scratch the polished surface of another.
THE FINAL REVEAL
Look at those beauties! You now have a set of six Hand Crafted Stone Weights that are as functional as they are gorgeous. They have the perfect gauge for holding down everything from slippery silk chiffon to heavy wool coating. When you slide them across your pattern, they move with a buttery smoothness that makes the whole cutting process feel like a high-end ritual. You have mastered the physics of friction and the art of mineral refinement. Your studio just leveled up in a major way.
STUDIO QUESTIONS
Why use stone instead of metal weights?
Stone offers a unique tactile experience and natural aesthetic. Unlike metal, high-quality stone weights won't rust or oxidize, ensuring your expensive white silks remain pristine and free from metallic transfer during long-term pattern drafting sessions.
What is the best stone for weight?
Basalt and granite are top choices due to their high specific gravity. These dense minerals provide maximum downward force in a compact size, allowing you to anchor patterns securely without obstructing your cutting path with oversized tools.
How do I prevent the weights from sliding?
The secret lies in the leather base. The natural grain of the leather provides a controlled coefficient of friction. It grips the paper just enough to prevent shifting while still allowing for smooth, intentional repositioning across the cutting mat.
Can I use these on delicate tissue paper?
Absolutely. The progressive sanding method ensures the stone's surface is non-porous and ultra-smooth. By removing all burrs and polishing to a high grit, you eliminate any "tooth" that could snag or tear fragile pattern tissue.

