

Imagine the smell of fresh mulberry pulp mixing with the sharp, metallic scent of a hot iron. You are standing in the center of a sunlit studio; the air is thick with the potential of a new project. We are about to dive into the delicate physics of creating Pressed Butterfly Wings Paper using silk fibers. This is not just a craft; it is a structural engineering feat on a miniature scale. When you touch the raw materials, you feel the contrast between the rigid, organic skeleton of the paper and the fluid, shimmering tensile strength of the silk. We are aiming for that ethereal translucency that mimics the chitinous structure of a real Lepidoptera wing without harming a single insect. To get that perfect, iridescent finish, we have to manipulate light through layered density. It is all about how the light hits the fibers at a specific angle. Grab your coffee and clear your workbench because we are about to turn raw botanical matter and protein fibers into a masterpiece of light and shadow.
THE STUDIO KIT
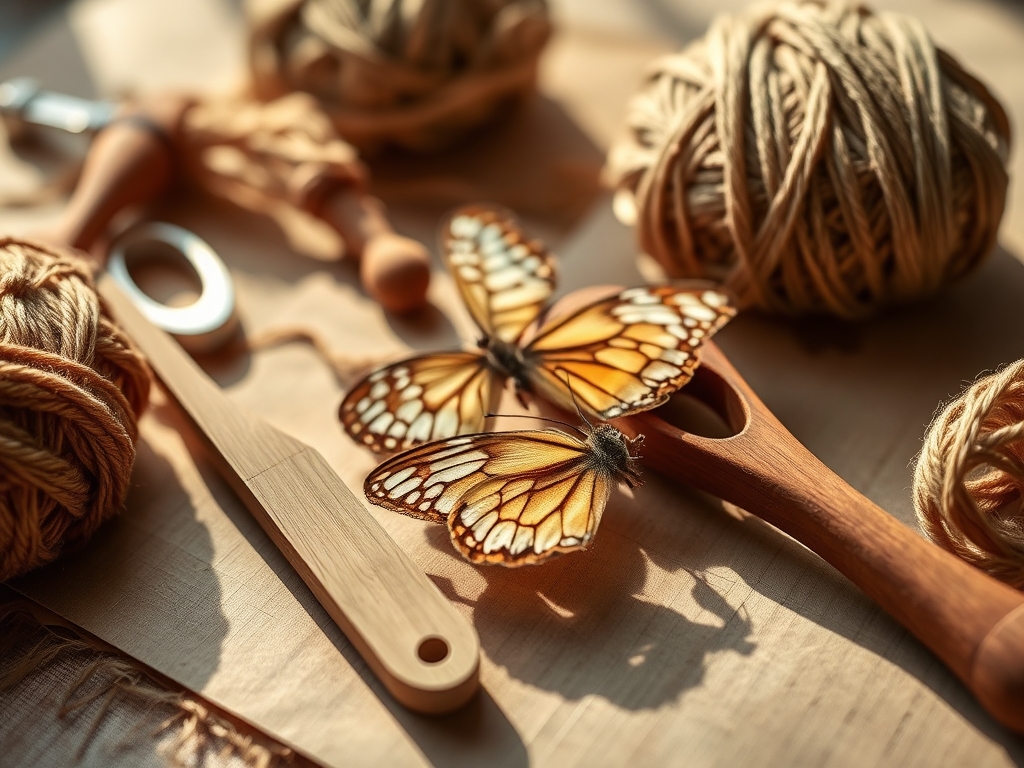
THE STUDIO KIT
To master the art of Pressed Butterfly Wings Paper, your toolkit must prioritize precision and delicate handling. You will need a high-mesh deckle and mold to ensure the base fibers are distributed with absolute uniformity. For the silk component, source A-grade mulberry silk tops or degummed silk cocoons; these provide the long-staple length required for high tensile strength. You will also need a Teflon-coated bone folder for burnishing without snagging the delicate silk threads. A precision spray mister is essential for controlling the moisture content of the pulp without disrupting the layout of your "veins."
For the structural skeleton, use a fine-gauge wire or black-dyed hemp cord to mimic the wing venation. Professional makers often use a rotary cutter with a decorative blade to achieve the jagged, organic edges found in nature. If you are looking for material substitutions, you can swap the silk for viscose or bamboo fiber if you want a more vegan-friendly approach, though the refractive index will differ slightly. A heated dry press or a heavy-duty book press is non-negotiable for the final curing stage to ensure the layers fuse at a molecular level.
THE TEMPO
The Maker's Rhythm for this project is a slow, methodical dance between hydration and dehydration. You cannot rush the capillary action that draws the silk into the paper fibers. Expect the preparation phase to take roughly two hours; this includes soaking your fibers and calibrating your pulp density. The layout phase is the most intensive, requiring about three hours of focused, ergonomic positioning. Once the sheets are formed, the pressing and drying cycle takes twenty-four to forty-eight hours depending on the ambient humidity of your studio. Respect the tempo; if you force the drying process with too much heat, you risk warping the cellulose bonds and losing that perfectly flat, professional finish.
THE CORE METHOD
1. The Pulp Foundation
Begin by creating a thin, translucent base layer of abaca or kozo pulp. These fibers are chosen for their extreme length and transparency. Pour the slurry into your vat and use a consistent agitation motion to ensure the fibers do not clump. The goal is a "cloud" effect rather than a solid sheet.
Mastery Tip: The science here is all about hydrogen bonding. As the water evaporates, the cellulose molecules pull together. By keeping the layer thin, you allow more light to pass through the finished Pressed Butterfly Wings Paper, enhancing the silk's shimmer.
2. Structural Venation
While the base sheet is still wet on the mold, lay down your black hemp cord or fine-gauge wire. Use a pair of fine-tip tweezers to manipulate the curves. This represents the "scaffolding" of the wing. You are essentially creating a composite material where the cord acts as the reinforcement.
Mastery Tip: Utilize surface tension by lightly misting the cord before placement. This allows it to "grip" the wet pulp surface immediately without sinking too deep or floating away from your intended design.
3. The Silk Infusion
Take small tufts of your silk fiber and tease them out until they are nearly invisible. Lay these across the "cells" created by your venation. The silk should overlap the cord slightly to lock everything in place. This is where the Pressed Butterfly Wings Paper gains its characteristic luster.
Mastery Tip: Pay attention to grain direction. Silk fibers have a natural orientation; by varying the direction of the silk in different wing sections, you create a "chatoyancy" effect where the paper appears to change color as you move it.
4. The Encapsulation Layer
Apply a second, even thinner layer of pulp over the silk. This "traps" the silk and cord in a cellulose sandwich. Use a soft-bristle hake brush to gently tap the top layer, ensuring there are no air pockets or "voids" in the matrix.
Mastery Tip: This step relies on interfacial adhesion. The two layers of pulp must be wet enough to fuse completely. If the bottom layer has dried too much, the sheet will delaminate once it is dry.
5. The Couched Press
Flip the mold onto a felt couching sheet with a firm, singular motion. Place a second felt on top and begin the pressing process. Start with light pressure to evacuate the bulk of the water, then move to a mechanical press for the final squeeze.
Mastery Tip: Use a caliper to check the thickness of your damp stack. Consistent pressure ensures that the "Pressed Butterfly Wings Paper" has a uniform density, which prevents the edges from curling during the final evaporation phase.
6. The Burnished Finish
Once the paper is bone dry, use your Teflon bone folder to burnish the surface. This flattens any stray fibers and "polishes" the silk, making the colors pop. Work in circular motions from the center outward to maintain the structural integrity of the sheet.
Mastery Tip: Burnishing increases the specular reflection of the silk fibers. By flattening the surface, you decrease light scattering, which makes the "wings" look more vibrant and realistic.
THE TECHNICAL LEDGER
Maintenance & Longevity: To keep your Pressed Butterfly Wings Paper from yellowing, store it in acid-free glassine sleeves. Avoid direct UV exposure, as silk is a protein fiber that can become brittle when exposed to prolonged sunlight.
Material Variations: For a premium version, incorporate 24k gold leaf flakes into the pulp. For a sustainable approach, use recycled silk sari scraps that have been shredded into fine filaments.
The Correction:
- Issue: The silk is sliding out of the paper. Fix: Increase the "tooth" of your pulp by adding a small amount of methyl cellulose as a sizing agent.
- Issue: The paper is too opaque. Fix: Reduce your pulp-to-water ratio in the vat; the slurry should look like weak tea, not a milkshake.
- Issue: The edges are fraying. Fix: Use a sharp awl to "stitch" the edge fibers together while wet, or trim with a fresh rotary blade after the paper is fully cured.
Studio Organization: Store your finished sheets flat in a heavy-duty map drawer. Use silica gel packets in the drawer to maintain a constant 35% humidity level, preventing the organic fibers from absorbing atmospheric moisture and warping.
THE FINAL REVEAL
Look at that! You have successfully engineered a piece of art that defies the heavy nature of traditional paper. Your Pressed Butterfly Wings Paper should feel like a whisper in your hands; light, strong, and impossibly beautiful. When you hold it up to the light, the silk fibers should glow like trapped sunlight, and the venation should stand out in sharp, crisp contrast. This technique is the pinnacle of fiber arts, combining the ancient history of papermaking with the luxury of silk. You didn't just make paper; you created a shimmering, tactile experience that captures the very essence of nature's most delicate design.
STUDIO QUESTIONS
What is the best fiber for transparency?
Abaca is the industry standard for high-transparency paper. Its long, thin fibers create a strong but translucent matrix that allows the silk inserts to remain visible while maintaining the structural integrity of the Pressed Butterfly Wings Paper.
Can I use synthetic silk for this?
Synthetic fibers lack the microscopic scales of natural silk. While they offer shimmer, they do not bond as effectively with cellulose fibers. For the best results, stick to protein-based silk to ensure a permanent, cohesive bond.
How do I prevent the paper from curling?
Curling is caused by uneven drying. Always dry your sheets under significant weight between two highly absorbent felts. This forces the fibers to lock into a flat position as the hydrogen bonds finalize their structure.
Is a sizing agent necessary?
Sizing like methyl cellulose or "internal size" helps control ink bleed if you plan to write on the paper. For purely decorative Pressed Butterfly Wings Paper, it is optional but recommended for added crispness and durability.
What tool is best for fine details?
A fine-tip awl or a jeweler's saw can be used to refine the edges or create intricate cut-outs once the paper is dry. For wet-work, a pair of anti-static tweezers is your best friend for fiber placement.

