
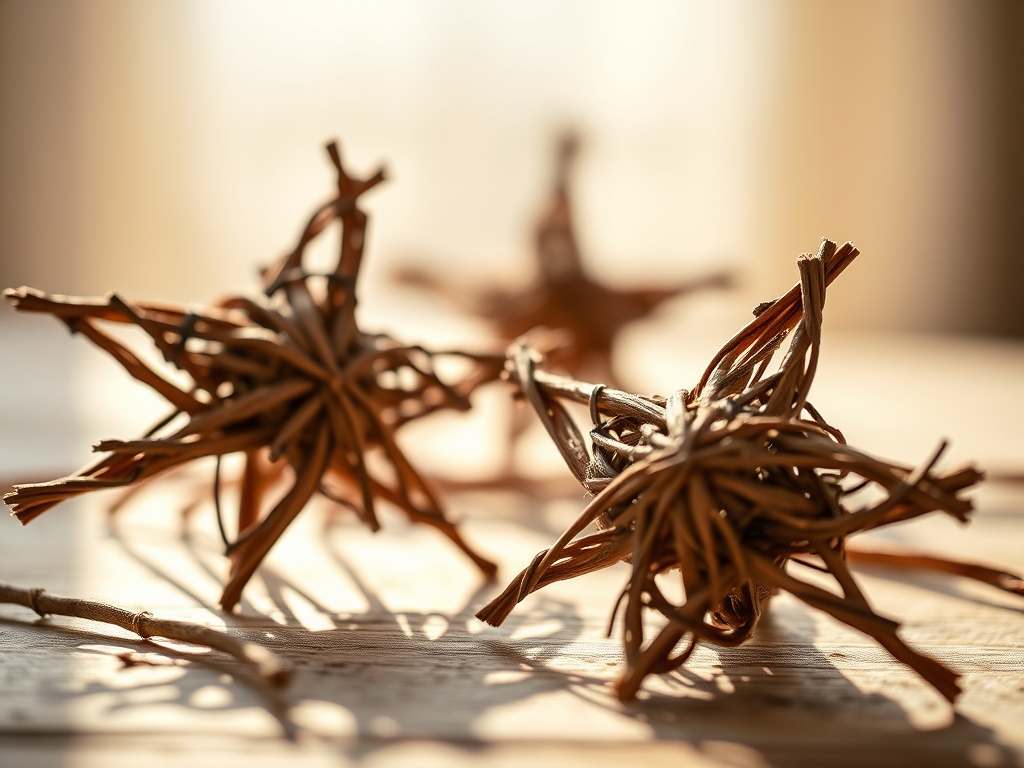
Grab your gloves because we are about to get tactile with some serious organic geometry. There is a specific, grounding magic in the snap of a dry branch and the flexible resistance of a green shoot. When you start crafting Woven Twig Stars, you are not just making decor; you are engaging in a high stakes negotiation with cellulose and lignin. The scent of damp bark and the rough texture of the cambium layer under your fingertips create a sensory bridge between the wild outdoors and your front door. We are looking for that perfect balance of tension and torque. If you pull too hard, the fibers shear. If you are too gentle, the structural integrity collapses. It is all about finding the sweet spot where the wood yields to your will without losing its natural soul. We are going to master the physics of the pentagram using nothing but forest floor finds and a little bit of engineering grit. Let us turn those unruly sticks into a symmetrical masterpiece that smells like a crisp autumn morning.
THE STUDIO KIT
THE STUDIO KIT
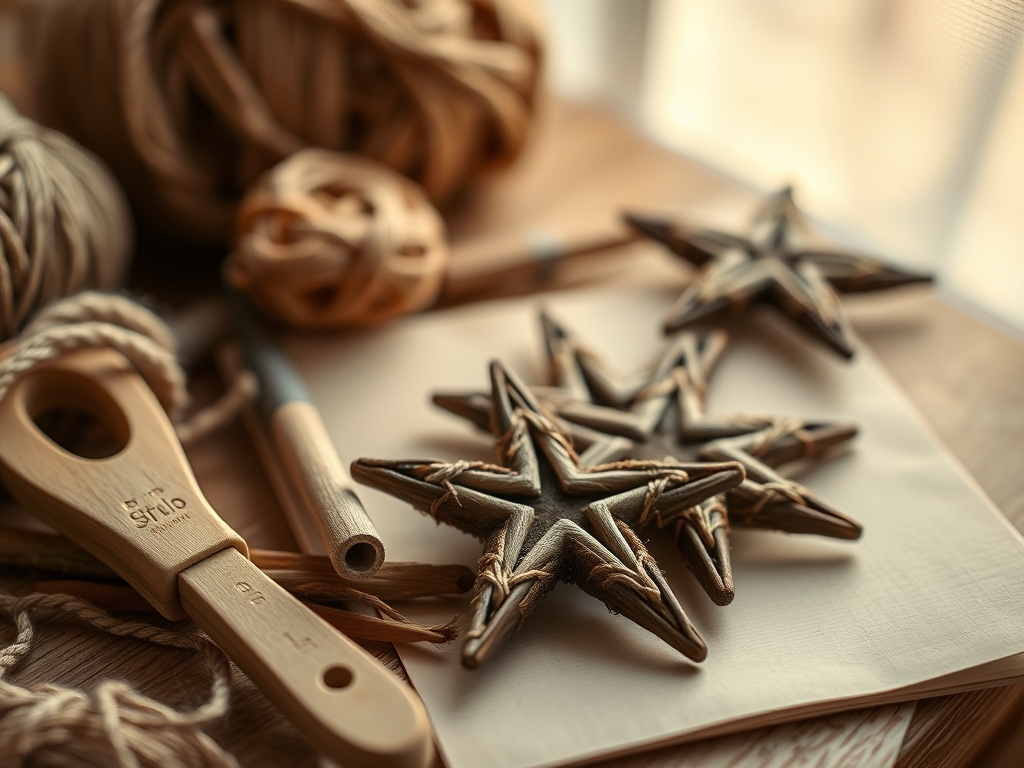
To execute these Woven Twig Stars with professional precision, you need more than just a pile of wood. You need to understand the tensile strength of your media. Here is what is on my workbench:
Primary Media: You need ten sticks of equal length and diameter per star. I prefer birch or willow because of their high elasticity modulus. Ensure they are roughly 1/4 inch in gauge for a standard door size.
Precision Pruners: Use a bypass pruner rather than an anvil style. The bypass blade creates a clean compression cut that prevents the wood grain from splintering at the tips.
Binding Wire: 22-gauge copper or brass wire is ideal. Metal has a higher ductility than twine, allowing you to cinch the joints tight without the material stretching over time.
Jewelers Saw: For those who want a flush finish, a jeweler's saw allows you to trim the wire ends so closely they become invisible to the naked eye.
Linseed Oil: A light coating of boiled linseed oil acts as a hydrophobic barrier, preventing the wood from becoming brittle as it dehydrates.
Material Substitutions: If you cannot forage, use reed or rattan. These materials are highly porous, meaning they absorb water quickly if you need to soak them to increase flexibility. Avoid pine if possible; the high resin content makes it sticky and difficult to burnish.
THE TEMPO
The Maker's Rhythm is a three-act play. Act one is the Hydration Phase (30 minutes). If your twigs are dry, they need to soak to regain their flexural strength. Act two is the Structural Assembly (20 minutes). This is where the geometry happens. Act three is the Curing Phase (24 hours). As the wood dries in its new shape, the fibers undergo lignification, effectively "locking" the star into its permanent form. Do not rush the drying; forced heat can cause the wood to warp or check.
THE CORE METHOD
1. Sorting by Caliper
Before you weave, use a caliper to measure the diameter of your twigs. Consistency is king here. If one branch is significantly denser than the others, the star will look lopsided because the thicker wood exerts more lateral pressure on the joints.
Mastery Tip: This is about uniformity of mass. By ensuring each "arm" of the star has the same weight, you prevent the center of gravity from shifting, which keeps the star hanging straight on your door.
2. Creating the V-Frames
Take two twigs and overlap them at a 35-degree angle to form a "V". Secure the apex with your 22-gauge wire. Use a square knot or a tight wrap-and-tuck method to ensure the joint does not slide.
Mastery Tip: This step relies on friction coefficients. The rougher the bark, the less wire you need. if you are using smooth bark, you may need to slightly notch the wood with a file to create a "seat" for the wire.
3. The Interlocking Pentagram
Lay out your five "V" shapes to form the classic five-pointed star. This is where the Woven Twig Stars take their shape. You must weave the sticks over and under each other. This creates a triangulated truss system, which is one of the strongest shapes in engineering.
Mastery Tip: By weaving the sticks, you are utilizing structural tension. Each stick holds the other in place through opposing forces. This means the star becomes stronger the more points you connect.
4. Securing the Intersections
Once the shape is mapped, wire every point where two sticks cross. Use your needle-nose pliers to twist the wire until it is taut. The goal is to eliminate all "play" or movement within the frame.
Mastery Tip: Watch out for capillary action. If you use organic twine instead of wire, the twine will absorb moisture from the air, expand, and then loosen the joints. Metal wire is immune to this atmospheric shift.
5. Burnishing and Finishing
Use a bone folder or a smooth stone to rub down any rough edges or stray fibers. Finally, apply a thin layer of wax or oil. This enhances the refractive index of the wood, making the natural colors pop against your door.
Mastery Tip: Burnishing collapses the surface cells of the wood, creating a smoother finish that resists rot. It is a mechanical way to "seal" the wood without using heavy chemicals.
THE TECHNICAL LEDGER
Maintenance & Longevity: To keep your stars looking fresh, give them a light misting of water once a month if you live in an arid climate. This prevents the wood from becoming friable and snapping.
Material Variations:
- Sustainable: Foraged fallen oak (high density, very durable).
- Recycled: Stripped copper wire from old electronics for a steampunk rustic look.
- Premium: Red Dogwood stems for a natural, vibrant crimson hue.
The Correction:
- The Snap: If a twig breaks during weaving, the moisture content was too low. Fix: Soak the remaining twigs for another hour.
- The Wobble: If the star is floppy, your joints are loose. Fix: Use a "X" wrap pattern with your wire to create a diagonal brace.
- The Fade: If the wood turns gray, it is UV damage. Fix: Apply a clear coat with a UV inhibitor.
Studio Organization: Store your leftover twigs in a cool, dark place with a hygrometer to monitor humidity. Avoid plastic bags; use burlap to allow the wood to breathe and prevent fungal growth.
THE FINAL REVEAL
Look at that! You have successfully navigated the laws of physics to create something beautiful. Your Woven Twig Stars are a testament to the power of geometric stability and natural aesthetics. The way the light catches the metallic wire against the matte bark creates a sophisticated, rustic contrast. These stars are not just decorations; they are engineered artifacts. Hang them with pride, knowing that they are structurally sound enough to withstand the wind and beautiful enough to stop traffic. You have officially leveled up your crafting game from "hobbyist" to "material scientist."
STUDIO QUESTIONS
What is the best wood for Woven Twig Stars?
Willow and birch are superior due to their high flexibility. They possess a high moisture-to-fiber ratio, which allows for significant bending without the wood reaching its breaking point or splintering during the weaving process.
How do I stop the twigs from snapping?
You must manage the hydration levels. Soak your twigs in warm water for at least thirty minutes prior to assembly. This softens the lignin within the cell walls, making the wood significantly more pliable for tight angles.
Can I use hot glue instead of wire?
Hot glue is generally discouraged because it lacks tensile strength. Wood expands and contracts with temperature changes, which will eventually cause the glue bond to fail. Wire provides a mechanical connection that moves with the wood.
How long will these stars last outdoors?
With a proper hydrophobic sealant like linseed oil or outdoor varnish, these stars can last three to five years. Without treatment, the wood will naturally biodegrade and become brittle within one or two seasons.
What gauge wire is best for binding?
A 22-gauge wire offers the perfect balance between strength and workability. It is thin enough to be manipulated by hand but thick enough to maintain a permanent "set" once twisted around the wood joints.

