

Imagine the scent of freshly sheared wood curls hitting the floor like golden ribbons. There is a specific, tactile thrill in holding a raw block of timber and knowing that your hands will coax it into a functional masterpiece. When you decide to create Hand Carved Salad Tongs, you are not just making a kitchen tool; you are engineering a tension based spring system from a living organism. The wood resists you at first. It has memory, grain direction, and a stubborn refusal to bend without a fight. But that is where the magic happens. We are looking for that perfect balance between structural integrity and elegant flexibility. You want a pair of tongs that snap back with a satisfying click, gripping a heavy heirloom tomato or a slippery spinach leaf with equal precision. To get there, we have to dive deep into the cellular anatomy of hardwoods. We are talking about the difference between diffuse porous and ring porous structures. Grab your coffee and clear your workbench. We are about to turn raw lumber into the most talked about piece on your dinner table.
THE STUDIO KIT
THE STUDIO KIT
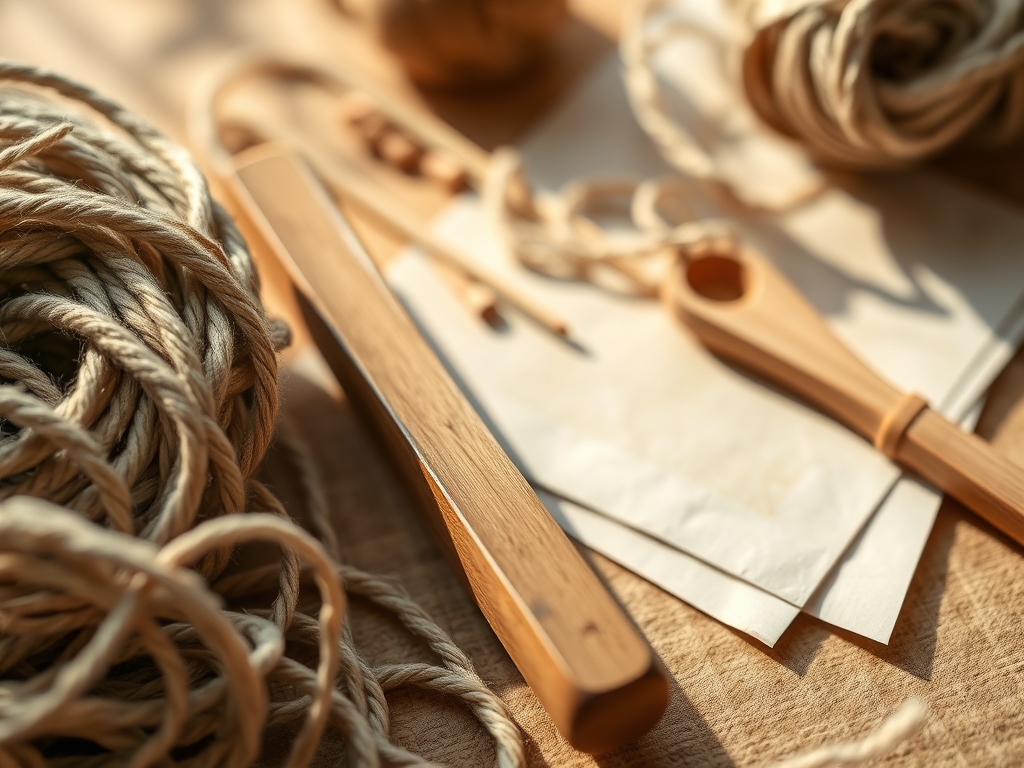
To execute this project with professional finesse, your kit needs to be more than just a knife and a dream. We start with a high carbon steel sloyd knife, which holds an edge far longer than stainless steel due to its molecular density. You will also need a straight drawknife for rapid waste removal and a curved spoon gouge to hollow out the bowls of the tongs. For precision measurements, digital calipers are non negotiable; you must ensure the thickness of the "spring" section is uniform to within half a millimeter to prevent snapping.
The material selection is the heartbeat of the project. We are hunting for woods with high tensile strength and tight grain. Black Walnut offers a luxurious chocolate hue and excellent stability. Hard Maple provides incredible durability and a bright, clean aesthetic. Cherry is a carver's dream because it is soft enough to work easily but hardens over time through oxidation. White Oak brings massive strength, though its large pores require extra sealing. Finally, Olive Wood is naturally oily and antimicrobial, making it the gold standard for food contact.
If you cannot find these specific species, consider Material Substitutions like Beech or Birch. Avoid softwoods like Pine or Cedar; their low density means they will splinter under the stress of the pincer movement. You will also need a honing strobe with green chromium oxide paste to keep your blades "scary sharp" throughout the process.
THE TEMPO
The "Maker's Rhythm" is a three phase cycle: The Roughing, The Refining, and The Curing. Expect to spend roughly two hours on the initial shaping, where you are fighting the bulk of the wood. This is high energy, physical work. The refining phase takes another three to four hours of meditative, slow shaving. This is where you listen to the wood. A sharp blade should make a "shushing" sound. If it "crunches," you are going against the grain. Finally, the curing and finishing phase takes about forty eight hours, allowing the wax to penetrate the fibers and the wood to reach equilibrium with the humidity in your studio.
THE CORE METHOD
1. Mapping the Grain Architecture
Before the first cut, you must read the wood like a map. Trace your template so the grain runs perfectly parallel to the long axis of the tongs. If the grain runs diagonally, the tongs will eventually shear along that fault line under pressure. Use a marking awl to scribe your lines deeply into the surface.
Mastery Tip: This is about structural integrity. By aligning the long cellulose fibers of the wood with the length of the tool, you are utilizing the natural "cables" of the tree to handle the mechanical stress of squeezing.
2. The Rough Out
Secure your wood in a sturdy vise. Use a japanese pull saw to remove the largest chunks of waste wood around your scribed lines. Once you have a "blank," switch to the drawknife. Pull the blade toward you with the bevel facing down for maximum control, peeling away layers like an apple skin.
Mastery Tip: Watch for grain tear-out. If the wood starts to lift in chunks rather than smooth curls, flip the piece around. You are likely carving "uphill" against the direction the tree grew.
3. Engineering the Spring
The most critical part of Hand Carved Salad Tongs is the bridge where the two arms meet. This area must be thinned down using a cabinet scraper or a fine rasp until it achieves a "lively" flex. Use your calipers to check that the thickness is consistent across the entire width.
Mastery Tip: This involves elastic deformation. If one side is even 0.5mm thicker than the other, the stress will concentrate at the thin point, leading to a catastrophic fracture. Symmetry is your best friend here.
4. Hollowing the Bowls
Using your curved gouge, carve out the "business end" of the tongs. Work from the edges toward the center to avoid splitting the rim. The goal is a shallow, ergonomic scoop that can cradle delicate greens without bruising them.
Mastery Tip: Consider surface tension. A slightly textured, gouge finished interior actually helps grip slippery vegetables better than a glass smooth surface because it creates more points of contact.
5. The Burnished Finish
Instead of relying solely on sandpaper, use a smooth piece of bone or a polished stone to burnish the wood. Rub the surface vigorously until it takes on a natural sheen. This compresses the surface fibers, making the wood more water resistant.
Mastery Tip: This process utilizes capillary action prevention. By crushing the open pores of the wood, you make it much harder for salad dressings and water to soak into the grain and cause rot.
THE TECHNICAL LEDGER
Maintenance & Longevity: Never put your tongs in the dishwasher. The heat and detergent will strip the natural oils and cause the wood to warp. Every few months, reapply a food safe beeswax and mineral oil blend. Rub it in until the wood feels warm to the touch.
Material Variations: For a sustainable twist, hunt for "storm fall" timber or reclaimed orchard wood. Premium builds might incorporate a "butterfly join" at the hinge for added flair and reinforcement.
The Correction:
- The Snap: If your spring breaks, do not glue it. The joint will never hold the tension. Instead, shorten the arms and turn them into "toast tongs."
- The Fuzzy Grain: If the wood feels "hairy" after sanding, wipe it with a damp cloth to "raise the grain," let it dry, then sand again with 400 grit.
- Asymmetric Flex: If one arm bends more than the other, use a spokeshave to remove micro layers from the stiffer side until they move in unison.
Studio Organization: Store your unfinished blanks in a breathable cotton bag. Never leave them on a concrete floor or near a heater, as rapid moisture loss will cause "checking" or deep cracks in the end grain.
THE FINAL REVEAL
Look at that! You have successfully transformed a rigid piece of hardwood into a fluid, dancing kitchen tool. The way the light catches the burnished curves of your Hand Carved Salad Tongs is pure art. When you squeeze them, there should be a silent, smooth resistance that feels like an extension of your own hand. They are lightweight, smelling faintly of beeswax and the forest. You did not just buy something; you birthed it from the timber. Now, go toss the most beautiful Caesar salad of your life.
STUDIO QUESTIONS
What is the best wood for beginners?
Cherry is the ideal starter wood. It has a consistent density and straight grain, making it very forgiving for those still mastering blade control. It also darkens beautifully over time, hiding minor beginner mistakes with a rich, natural patina.
How do I stop the wood from cracking?
Avoid rapid drying by keeping the wood away from direct sunlight or heat vents. Applying a food grade oil early in the carving process can also slow down moisture loss, preventing the internal stresses that lead to surface checking.
Can I use a rotary tool for carving?
Yes, an oscillating tool or a Dremel with a carving burr can speed up the hollowing process. However, be careful of the heat generated; high friction can scorch the wood fibers, leaving permanent dark marks that are difficult to sand away.
Is beeswax better than mineral oil?
A combination is best. Mineral oil penetrates deep into the fibers to prevent drying, while beeswax creates a protective, water resistant barrier on the surface. Together, they provide the ultimate defense against moisture and food stains.
How thin should the spring be?
Generally, a thickness of 3mm to 5mm is the "sweet spot" for most hardwoods. This provides enough flexibility for a comfortable grip while maintaining the structural strength needed to prevent the tongs from snapping during heavy use.

