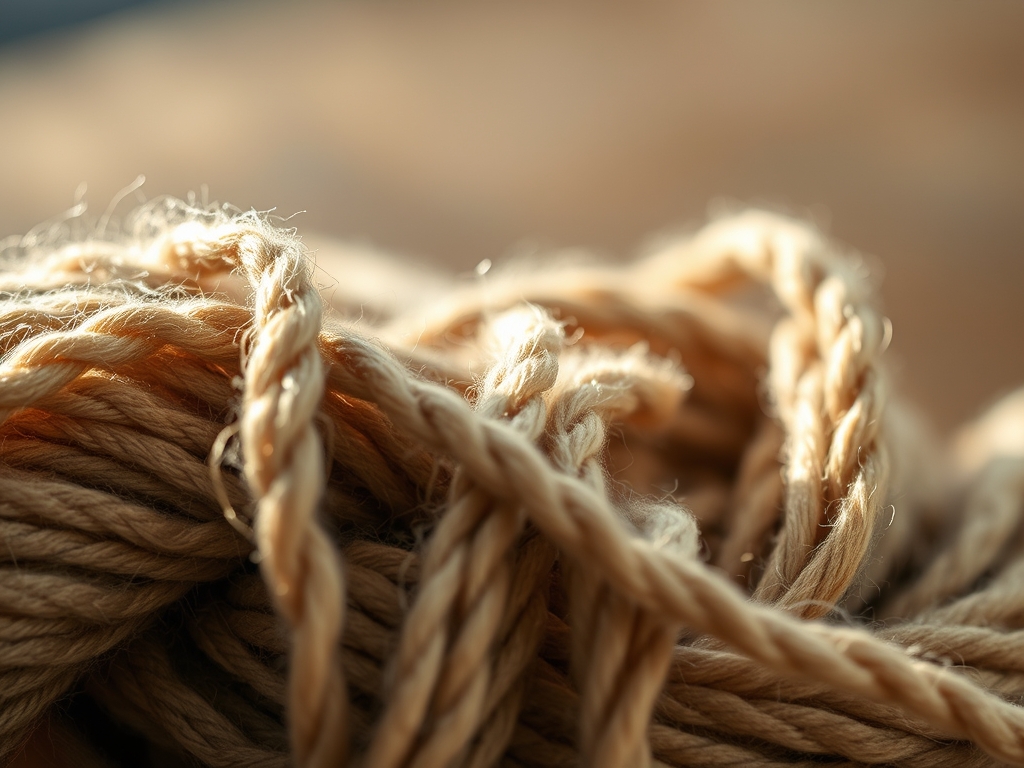
Imagine the sensation of raw, unrefined wool sliding through your fingertips; it is a mixture of lanolin slickness and the microscopic scales of protein fibers interlocking. You are about to transform a chaotic cloud of sheep's fleece into a structurally sound length of Hand Spun Yarn using nothing but gravity and a simple wooden tool. This process is not just a craft; it is a beautiful collision of physics and tactile intuition. We are manipulating the tensile strength of natural fibers by introducing a specific degree of twist, turning individual hairs into a continuous, durable strand. Every flick of the spindle is a calculated application of torque. As you feel the weight of the tool begin to pull against the draft, you realize that you are literally weaving air and fiber into a functional medium. It is rhythmic, it is meditative, and it is scientifically fascinating. We are going to master the mechanics of the drop spindle today, ensuring your first skein has the structural integrity of a professional-grade textile while maintaining that gorgeous, artisanal soul.
THE STUDIO KIT
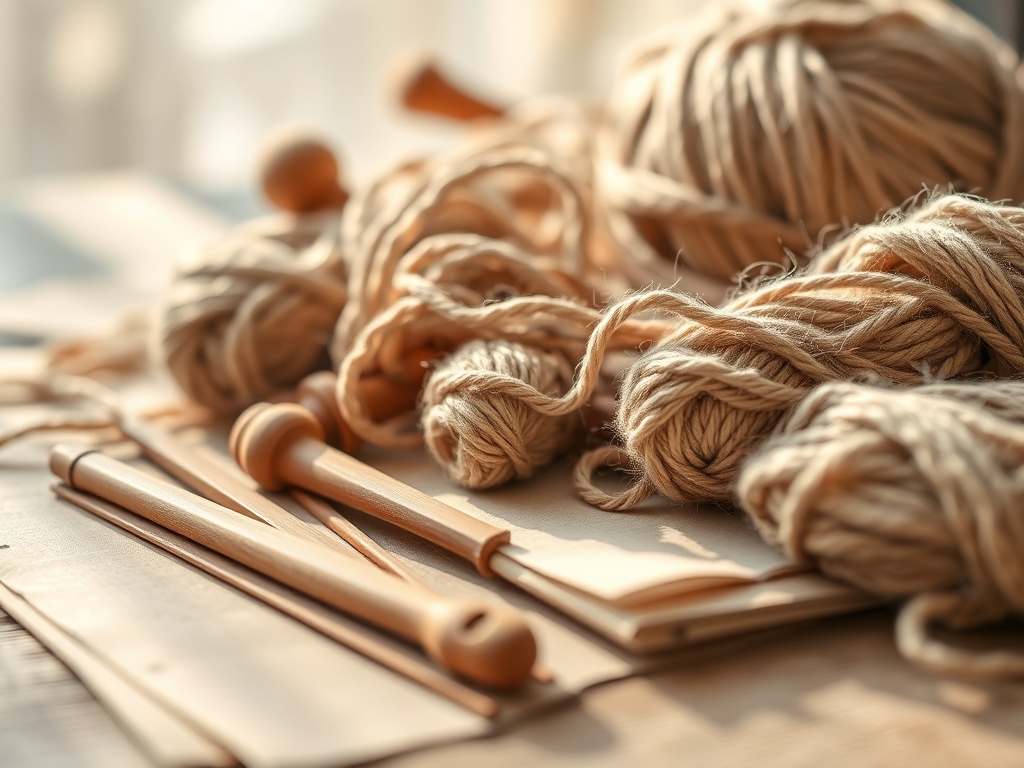
To produce high-quality Hand Spun Yarn, your toolkit must be curated for balance and friction. The centerpiece is the top-whorl drop spindle. Look for one with a weight between 1.5 and 2.5 ounces; this mass provides the necessary inertia to keep the tool spinning without snapping delicate fibers. You will also need a leader thread, typically a twelve-inch piece of commercial wool yarn tied securely to the spindle shaft. For the fiber itself, start with corriedale or merino roving. These fibers have a specific staple length (the length of an individual hair) that makes drafting predictable.
You should also keep a pair of precision embroidery scissors and a niddy-noddy for winding the finished product. If you cannot find a traditional spindle, Material Substitutions include using a heavy wooden toy wheel and a dowel rod, or even a large clay bead on a chopstick. The physics remains the same: you need a central axis and a weighted perimeter to create a flywheel effect. A caliper can be helpful for beginners to measure the consistent diameter of their yarn as they progress, ensuring the gauge remains uniform across the entire bobbin.
THE TEMPO
The "Maker's Rhythm" is a three-part harmony of sight, touch, and timing. Creating Hand Spun Yarn is not a race; it is a study in consistent velocity. You will spend approximately twenty percent of your time on fiber preparation, ensuring there are no tangles or "neps" in your roving. The actual spinning phase accounts for sixty percent of the project duration. This is where you find your "flow state," matching the speed of your flick to the speed of your drafting hand. The final twenty percent is dedicated to plying and finishing, where you wash the yarn to set the twist. Expect to spend about four to six hours to complete a standard 100-gram braid of wool.
THE CORE METHOD
1. The Anchor and Prime
Tie your leader thread to the shaft of the spindle, loop it over the hook, and join your fiber to the end of the leader. This is the foundation of your Hand Spun Yarn. You are creating a mechanical bond between the existing yarn and the raw roving. Overlap the fibers by at least two inches to ensure the friction of the twist catches both materials simultaneously.
Mastery Tip: This step relies on friction coefficients. By overlapping the "scales" of the wool fibers, you create a surface-level lock that allows the torque from the spindle to travel upward without the fibers sliding apart.
2. The Flick and Park
Hold the spindle suspended and give it a sharp clockwise flick. Before the twist reaches your fiber supply, "park" the spindle between your knees. This allows you to manage the twist without the weight of the spindle pulling the fiber too thin. Use your dominant hand to pinch the fiber near the spindle and your non-dominant hand to pull a small amount of roving upward.
Mastery Tip: This technique manages potential energy. By parking the spindle, you control exactly how much twist enters the "drafting triangle," preventing the yarn from over-twisting and becoming brittle.
3. Drafting the Triangle
Slide your pinching fingers up the fiber, allowing the stored twist to jump into the newly thinned roving. This creates the "drafting triangle," the zone where raw fiber becomes yarn. Keep your hands about three to four inches apart, depending on the staple length of your wool. If you pull too far, the yarn will snap; if you do not pull enough, the yarn will be thick and "slubby."
Mastery Tip: The staple length dictates your hand position. If your hands are closer together than the length of the individual fibers, you will be pulling against yourself, creating unnecessary tension.
4. Winding On
Once you have spun a length of yarn as long as your arm, unhook it from the top and wind it onto the shaft just above the whorl. Create a neat, conical shape. This is called the "cop." Leave enough yarn to re-hook and continue the process. Keeping the weight centered on the shaft is vital for maintaining the spindle's balance.
Mastery Tip: Proper weight distribution on the spindle shaft prevents "wobble." A wobbling spindle loses kinetic energy faster and creates uneven twist distribution in the yarn.
5. The Plying Process
Once your spindle is full, you have a "single." To make a balanced Hand Spun Yarn, you must ply two singles together by spinning them in the opposite direction (counter-clockwise). This neutralizes the internal torque, preventing the finished yarn from curling or kinking when it is knitted or woven.
Mastery Tip: Plying increases the structural integrity and "roundness" of the yarn. It creates a balanced equilibrium where the S-twist of the plying counteracts the Z-twist of the initial spinning.
6. Setting the Twist
Remove the yarn from the niddy-noddy and soak it in lukewarm water with a bit of wool wash. This allows the fibers to relax and "bloom," permanently locking the twist in place. Hang it to dry with a light weight at the bottom to keep it straight, but do not stretch it excessively.
Mastery Tip: This is a hydro-thermal setting process. The water breaks the temporary hydrogen bonds in the wool, allowing them to reform in their new twisted shape as the fiber dries.
THE TECHNICAL LEDGER
Maintenance & Longevity: Keep your wooden spindle lightly oiled with beeswax or mineral oil to prevent cracking. Store your finished Hand Spun Yarn in breathable cotton bags; plastic traps moisture and can lead to mildew or fiber degradation.
Material Variations:
- Sustainable: Tencel or bamboo roving offers high luster and a silky drape.
- Recycled: Silk carrier rods or shredded sari silk provide incredible texture.
- Premium: Qiviut or Bison fiber offers extreme warmth and a "halo" effect.
The Correction:
- The Slub: If a thick lump appears, stop and pull the fiber thinner before the twist locks it. Fix by untwisting slightly and drafting out the excess.
- The Snap: If the yarn breaks, overlap the ends by three inches and restart the flick. The friction will rejoin them.
- The Over-Twist: If the yarn looks like a tight corkscrew, you are spinning too much and drafting too little. Increase your drafting speed.
Studio Organization: Use a pegboard to hang your spindles by their hooks. Store roving in clear, airtight bins organized by micron count (fiber fineness) to prevent moth infestations and keep your workspace ergonomic.
THE FINAL REVEAL
There is nothing quite like the moment you slip a finished skein of Hand Spun Yarn off the niddy-noddy. It feels alive; a soft, bouncy, and resilient testament to your manual dexterity. You have successfully navigated the physics of torsion and the biology of animal protein. Your yarn is no longer just a craft supply; it is a high-performance material ready for the loom or the needles. Look at the consistent ply and the way the light catches the fibers. You did that! Now, go cast on something incredible.
STUDIO QUESTIONS
How do I choose the right spindle weight?
Choose a lighter spindle (0.5-1 oz) for thin, lace-weight threads. Use a heavier spindle (2 oz+) for thicker, worsted-weight Hand Spun Yarn. The weight must provide enough gravity to pull the fiber without snapping the strand's tensile strength.
What is the best fiber for a total beginner?
Romney or Corriedale wool is ideal. These fibers have a medium staple length and enough "tooth" to grab onto each other easily. This prevents the yarn from pulling apart too quickly while you are learning the drafting rhythm.
Why does my yarn keep breaking?
The most common cause is "under-twisting." If there is not enough torque to lock the fibers together, gravity will pull them apart. Increase your spindle speed or draft smaller amounts of fiber to ensure the twist travels through the strand.
How do I make my yarn consistent?
Consistency comes from a steady "drafting triangle." Use your fingers as a gauge to ensure the same amount of fiber is pulled into the twist every time. Practice the "flick, park, and draft" method to maintain total control.