
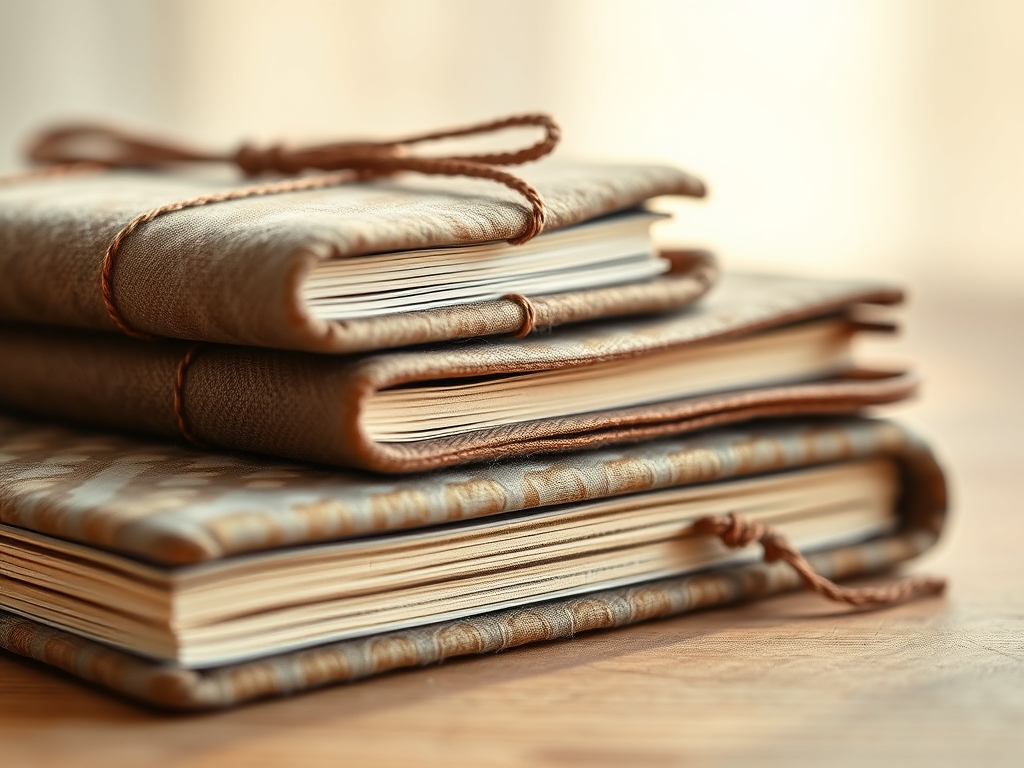
Imagine the smell of raw, vegetable tanned hide hitting the air the moment you unroll it on your workbench. It is earthy and sweet; a scent that promises durability before you even pick up your calipers. When you run your thumb across the grain, you are feeling the literal history of the fiber density. We are not just making notebooks today. We are engineering vessels for your wildest memories. Creating Hand Stitched Travel Journals requires a marriage of high tensile strength and artistic flair. You need a cover that can survive a monsoon in Thailand or a dusty trek through the Andes without dropping a single page. The tactile feedback of a heavy gauge leather or a wax impregnated canvas is what separates a flimsy souvenir from a lifelong companion. We are looking for materials that possess enough structural integrity to hold a tight stitch but enough flexibility to wrap around a thick stack of watercolor paper. Grab your coffee and clear your desk. We are about to dive into the physics of the perfect bind.
THE STUDIO KIT
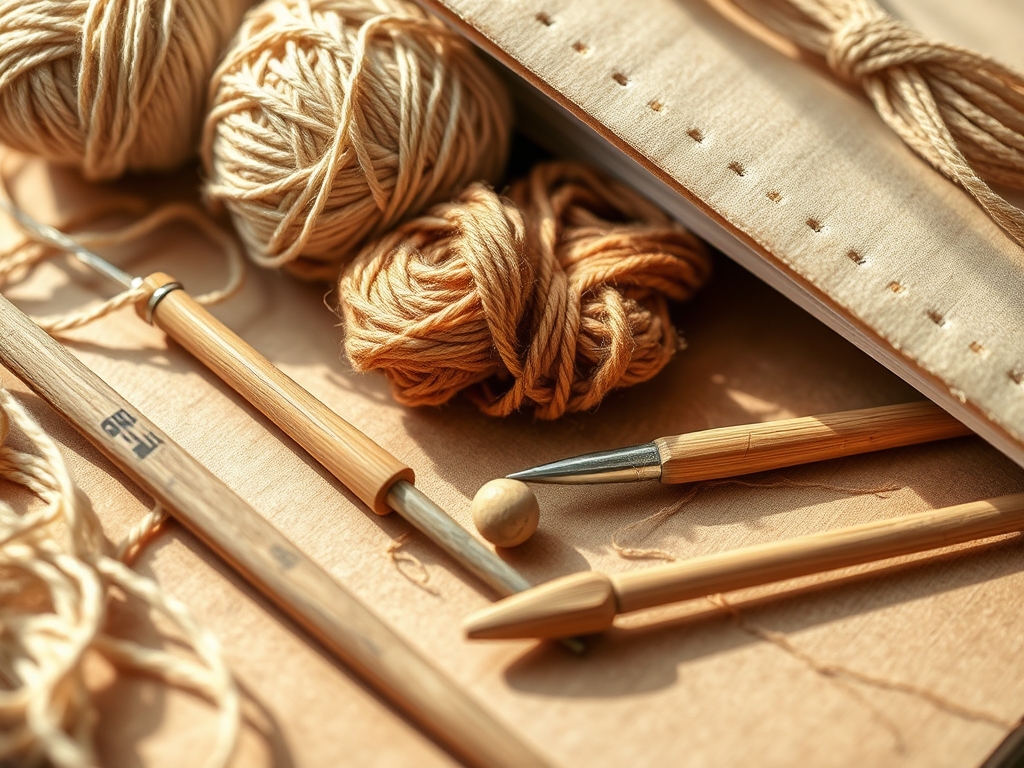
To build a professional grade cover, your toolkit must be precise. You will need a diamond point awl for piercing clean holes and a bone folder made of genuine ox bone to achieve those crisp, permanent creases. For the covers, I recommend 4 to 5 ounce top grain leather or a triple layered duck canvas. Your thread choice is paramount; use a 0.8mm waxed polyester thread because it resists rot and has zero stretch under tension. You will also need a rotary cutter with a fresh tungsten blade to ensure your edges do not fray.
Material Substitutions: If you are going vegan, look for cork fabric backed with polyester scrim or washable kraft paper. These materials mimic the porous nature of leather but require a smaller needle gauge to prevent tearing the substrate. If you cannot find a bone folder, a polished agate burnisher works beautifully to compress the fibers of your folds.
THE TEMPO
The "Maker's Rhythm" is all about respecting the drying times and the physical resistance of your materials. Expect to spend roughly four to six hours on a single high quality journal. The first hour is the "Prep Pulse," where you measure, cut, and bevel. The second phase is the "Punching Cadence," a repetitive, meditative process of setting your stitch holes. The final two hours are the "Binding Flow." This is where the tension must remain constant. If you rush the stitching, you risk uneven ply distribution, which leads to a warped spine. Take breaks to rest your hands; the ergonomic strain of pulling waxed thread is real.
THE CORE METHOD
1. Mapping the Grain Direction
Before you make a single cut, identify the longitudinal grain of your cover material. Leather and heavy fabrics have a natural direction in which they prefer to bend. Aligning your spine with the grain ensures the cover wraps smoothly without cracking. Use a steel ruler and a silver marking pen to map out your dimensions.
Mastery Tip: Understanding anisotropy is key here. Materials like leather exhibit different physical properties in different directions. Always cut so the greatest flexibility wraps around the width of the book to prevent the spine from becoming brittle over time.
2. Beveling and Burnishing the Edges
Raw edges are vulnerable to moisture and friction. Use an edge beveler to remove the sharp 90 degree corner of your leather. Once rounded, apply a small amount of tragacanth gum and rub the edge vigorously with a wooden burnisher. The heat generated by friction fuses the protein fibers together.
Mastery Tip: This process utilizes frictional heat to create a sealed, plasticized edge. This creates a hydrophobic barrier that prevents sweat and rain from delaminating the internal fibers of your Hand Stitched Travel Journals.
3. Calculating the Stitch Pitch
Use a pricking iron or a stitching pony to mark your holes at a consistent interval, usually 4mm. Consistency in the "pitch" (the distance between holes) ensures that the tension is distributed equally across the entire height of the spine.
Mastery Tip: This is about load distribution. If one stitch is longer than the others, it becomes a mechanical weak point. Keeping a uniform pitch ensures that the stress of opening and closing the journal is shared equally by every loop of thread.
4. The Saddle Stitch Execution
Thread two needles on a single length of waxed cord. Pass them through the same hole from opposite directions. This creates a locking stitch that will not unravel even if one thread is accidentally cut. Pull each stitch with firm, even pressure to set the knot into the center of the leather.
Mastery Tip: This technique relies on friction locking. The wax on the thread acts as a lubricant during the pass but then functions as an adhesive once the stitch is pulled tight, securing the thread against the internal walls of the puncture.
THE TECHNICAL LEDGER
Maintenance & Longevity: Treat your leather covers with a high quality neatsfoot oil or beeswax conditioner every six months. This maintains the lipid balance within the hide, preventing the fibers from becoming desiccated and snapping.
Material Variations: For a sustainable twist, use recycled felt made from PET bottles. It has a high shear strength and provides a soft, protective cushion for your internal pages. For a premium upgrade, source Horween Chromexcel leather, which is infused with oils that allow scratches to be rubbed out with just your fingertip.
The Correction:
- The Loose Spine: if your pages wiggle, your tension was too low. Fix this by "back-stitching" the last three holes to pull the slack through.
- The Tear-Through: If your thread cuts the cover, your holes were too close to the edge. Reinforce the area with a small patch of Tyvek tape on the inside.
- The Needle Jam: If the needle gets stuck, use a pair of small pliers with smooth jaws. Never wiggle the needle, as this enlarges the hole and ruins the capillary seal.
Studio Organization: Store your leather flats horizontally in a climate controlled environment. Avoid UV exposure, as prolonged light breaks down the tannins in the material, leading to discoloration and structural failure.
THE FINAL REVEAL
Look at that! You have just transformed a flat sheet of raw material into a structural masterpiece. The way the light catches the burnished edges and the rhythmic precision of those saddle stitches makes the heart race. Your Hand Stitched Travel Journals are now ready to be stuffed with ticket stubs, pressed flowers, and ink-heavy sketches. There is a profound sense of security in knowing that you built this from the ground up using proven engineering principles. It feels heavy, substantial, and ready for the road.
STUDIO QUESTIONS
What is the best thread for travel journals?
Use waxed polyester thread in a 0.8mm or 1.0mm gauge. It offers superior tensile strength and is resistant to rot, moisture, and UV degradation, ensuring your binding remains intact during rugged outdoor use.
How do I prevent my leather cover from warping?
Always cut your cover following the natural grain direction. Additionally, maintain a consistent humidity level in your studio. If warping occurs, lightly dampen the leather and dry it under a heavy, flat weight to reset the fibers.
Can I use a regular sewing machine for this?
Standard home machines lack the torque and needle clearance for heavy leathers or waxed canvas. For these covers, hand stitching or an industrial walking foot machine is necessary to penetrate the dense material without breaking the motor.
Why is my thread fraying during the stitch?
Fraying usually occurs because the needle eye is too small or the hole is too tight. Ensure your awl matches your thread thickness and use high quality bonded thread to prevent the plies from separating under friction.
How do I clean a waxed canvas journal cover?
Never use harsh detergents. Simply use a soft brush to remove debris and a damp cloth for spots. Periodically re-apply a fabric wax and set it with a heat gun to maintain the cover's hydrophobic properties.

