
Imagine the sharp, crisp snap of a dehydrated sugar maple leaf between your fingertips; it is a sensory symphony of structural failure and organic beauty. We are not just playing with foliage today. We are capturing the fleeting, oxidative brilliance of autumn and locking it behind glass. When you dive into Pressed Maple Leaf Art, you are negotiating with the cellular walls of the Acer genus. These leaves are masterclasses in hydraulic engineering, and once the sap stops flowing, we have a very narrow window to preserve that fiery pigment before it turns to dull dust. We are going to take seven high-octane colors, from neon vermillion to deep, bruised plum, and set them against the stark, architectural void of a black frame. It is high-contrast, high-science, and high-drama. Grab your tweezers and your patience; we are about to turn biological decay into a permanent gallery installation.
THE STUDIO KIT
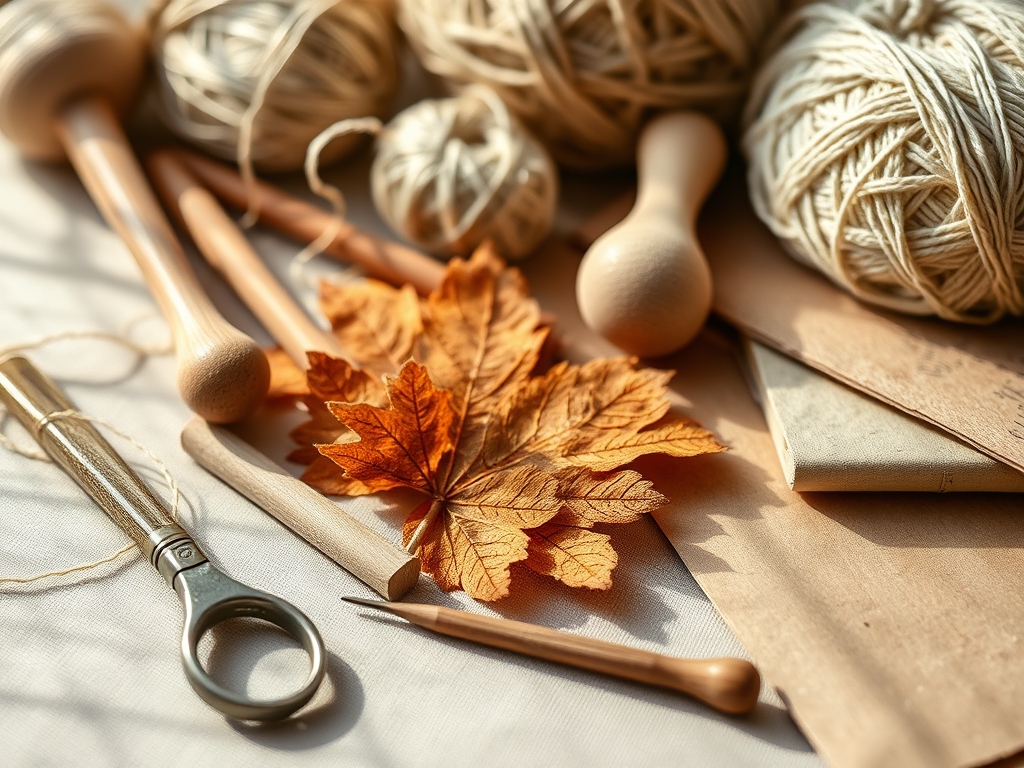
To master the physics of the leaf, you need a kit that respects the fragile tensile strength of dried cellulose. You cannot just shove these into a phone book and hope for the best. We are looking for moisture displacement and structural flatness.
The Essential Hardware:
- Heavy-Duty Botanical Press: You need uniform pressure. Look for a press with adjustable wing nuts to ensure even distribution across the entire surface area.
- Acid-Free Blotting Paper: This is your moisture wick. Standard printer paper lacks the capillary action needed to pull water away from the leaf veins quickly.
- Precision Tweezers: Specifically, stainless steel ESD-safe tweezers to prevent static cling from shattering the brittle edges.
- Bone Folder: This tool is vital for burnishing the mounting paper and ensuring the adhesive bond is flush without damaging the leaf.
- PH-Neutral Adhesive: Use a archival-quality glue with a high solids content to prevent the paper from warping.
- Black Gallery Frames: Choose a matte finish to absorb light, making the colors of the leaf pop via simultaneous contrast.
Material Substitutions:
If you cannot find a professional press, two sheets of 3/4 inch marine-grade plywood and four C-clamps will provide the necessary PSI (pounds per square inch). If acid-free blotting paper is unavailable, unbleached watercolor paper (300gsm) works as a high-porosity alternative. Never use paper towels; the embossed patterns will transfer onto the leaf surface, ruining the organic texture.
THE TEMPO
Creating professional-grade Pressed Maple Leaf Art is a lesson in the Maker's Rhythm. It is a game of two speeds: the frantic harvest and the slow, geological wait.
- Phase 1: The Harvest (1 Hour): You must collect leaves at peak saturation. Once a leaf falls, the cell walls begin to collapse. You have sixty minutes to get them into a temporary hydration chamber or directly into the press.
- Phase 2: The Desiccation (2 to 3 Weeks): This is the "Cold Cure." You are waiting for the moisture content to drop below 5 percent. Rushing this stage leads to fungal growth and browning.
- Phase 3: The Composition (45 Minutes): This is the high-energy flow state where you arrange your seven colors. It requires a steady hand and a keen eye for radial symmetry.
- Phase 4: The Mounting (30 Minutes): The final bond. This is the most delicate part of the rhythm, requiring absolute focus to avoid structural fractures.
THE CORE METHOD
1. The Hydration Audit
Before pressing, inspect each leaf for "turgor pressure." A healthy leaf should feel flexible, not crunchy. If the leaf has already begun to curl, it has lost too much intracellular water. Mastery Tip: Use a digital caliper to measure the thickness of the central vein. If the vein is significantly thicker than the lamina, you may need to use a craft knife to slightly shave the back of the vein to ensure the leaf sits perfectly flush against the glass.
2. The Blotting Sandwich
Layer your materials in this specific order: plywood, corrugated cardboard, blotting paper, leaf, blotting paper, cardboard, plywood. The cardboard acts as a ventilation chimney, allowing moisture to escape laterally. Mastery Tip: This setup utilizes the principle of vapor pressure. By sandwiching the leaf between porous layers, you create a moisture gradient that pulls water out of the cells without rupturing the delicate pigments (anthocyanins).
3. The Gradual Compression
Tighten your press until you feel significant resistance, then stop. Over-tightening in the first 24 hours can crush the cell structures and cause "bruising," which appears as dark, oily spots. Mastery Tip: Check the tension every 48 hours. As the leaf loses water, it shrinks in volume, and the press will become loose. Maintaining constant pressure prevents the leaf from wrinkling as it dries.
4. The Pigment Selection
For our seven fiery colors, look for a spectrum: Bright Lemon, Electric Orange, Crimson, Deep Maroon, Burnt Sienna, Golden Ochre, and a rare Variegated Green-Red. Mastery Tip: The science of "Simultaneous Contrast" dictates that these warm tones will appear more saturated when placed against a true black background. The black frame acts as a visual vacuum, drawing the eye directly to the organic geometry of the maple.
5. The Precision Mount
Apply microscopic dots of PH-neutral adhesive to the thickest parts of the leaf veins using a fine-gauge needle. Do not coat the entire back of the leaf; the material needs to "breathe" slightly as humidity levels shift. Mastery Tip: Use your bone folder to press the mounting paper flat before the leaf touches it. Any micro-wrinkles in the paper will be magnified once the glass is clamped down in the frame.
THE TECHNICAL LEDGER
Maintenance & Longevity:
To prevent photo-oxidation (fading), your art must be kept out of direct UV light. Even "fiery" colors will bleach to a ghostly tan if exposed to the sun. Use UV-filter glass in your frames to extend the life of the pigments by decades.
Material Variations:
- Sustainable: Use reclaimed fallen timber for your frames to match the organic theme.
- Premium: Opt for museum-grade "Museum Glass" which has an anti-reflective coating, making the leaf look like it is floating in mid-air.
The Correction:
- The Mistake: The leaf shattered during mounting. The Fix: Use a tiny amount of matte medium and a fine brush to "weld" the fracture. Once dry, the repair is invisible to the naked eye.
- The Mistake: Mold spots appearing during pressing. The Fix: Your blotting paper was saturated. Change the paper every 24 hours for the first three days to increase the evaporation rate.
- The Mistake: The leaf is sliding inside the frame. The Fix: Increase the "hinge" strength of your mount by using small strips of acid-free linen tape on the primary stem.
Studio Organization:
Store your unmounted pressed leaves in a "flat file" or a dedicated portfolio binder. Keep them between sheets of glassine paper to prevent friction. Maintain a studio humidity of 40 to 50 percent; too dry and they become brittle, too wet and they invite decay.
THE FINAL REVEAL
Look at that! You have successfully frozen a moment of biological transition. The seven fiery colors of your Pressed Maple Leaf Art are now vibrating against that deep black frame. It is sleek, it is scientific, and it looks like it belongs in a high-end boutique in SoHo. The way the light catches the intricate vein structures makes the leaves look almost electrified. You did not just glue a leaf to paper; you engineered a piece of botanical history.
STUDIO QUESTIONS
How do I keep the red colors from turning brown?
Speed is key. Use a high-pressure press and change your blotting paper frequently. Rapid desiccation locks in the anthocyanin pigments before they have a chance to oxidize and turn brown. Keep the finished art away from all direct sunlight.
Can I use a hair dryer to speed up the drying?
No. Forced heat causes the cellular walls to warp and curl unevenly. This creates internal stress in the leaf, leading to cracks. Stick to the "Cold Cure" method of constant pressure and natural evaporation for a perfectly flat finish.
What is the best glue for Pressed Maple Leaf Art?
Use an archival-quality, PH-neutral PVA glue. It remains flexible when dry and won't yellow over time. Apply it sparingly with a toothpick or a fine-gauge needle only on the sturdiest parts of the leaf's central veins.
Why do my leaves look dull once they are behind glass?
This is often caused by "silvering" or reflections on standard glass. Switch to non-glare or museum-grade glass. Also, ensure your black background is a true matte finish to provide the maximum color contrast for the leaves.

