
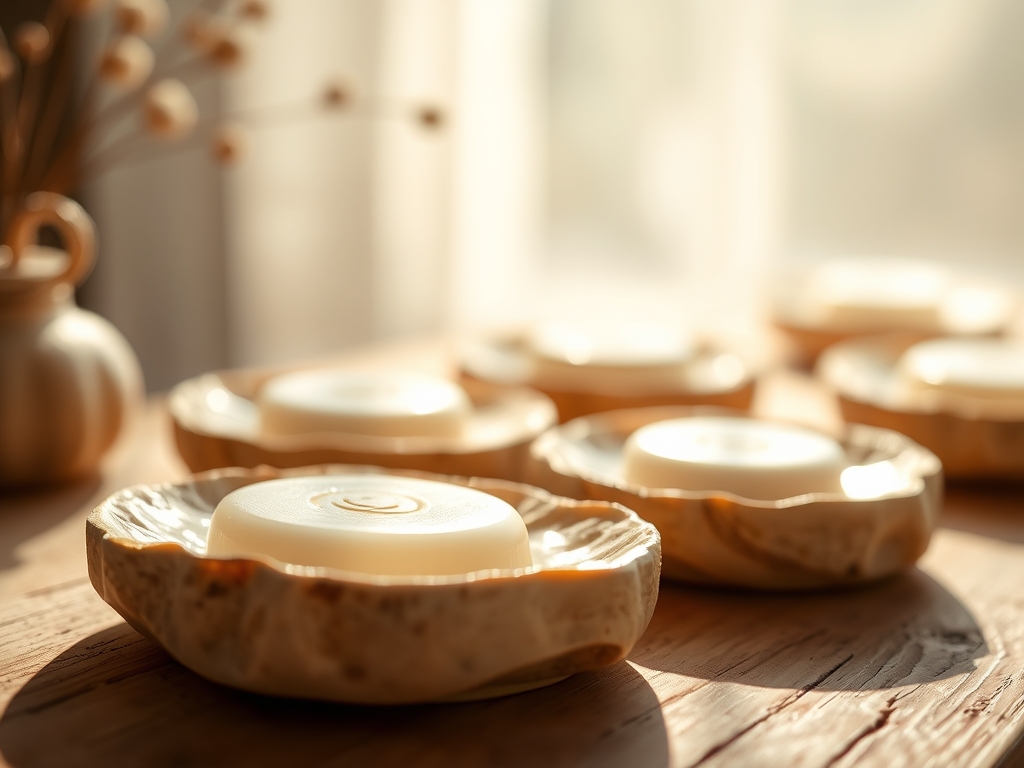
Close your eyes and imagine the scent of a rain-drenched forest floor meeting the sharp, citrus snap of fresh timber. That is the intoxicating reality of working with Western Red Cedar. It is soft enough to yield to a sharp blade like cold butter, yet its cellular structure is packed with thujaplicins; natural fungicides that make it the undisputed king of the bathroom vanity. When we talk about Hand Carved Soap Dishes, we are not just making a tray; we are engineering a moisture-management system. The tactile sensation of the grain under your thumb is your first lesson in physics. You can feel the difference between the earlywood and latewood. The softer spring growth carves easily, while the darker winter rings provide the structural ribs that keep your soap from turning into a soggy mess. We are going to harness that natural geometry to create five distinct drainage profiles that defy surface tension and celebrate the raw, porous beauty of the wood.
THE STUDIO KIT
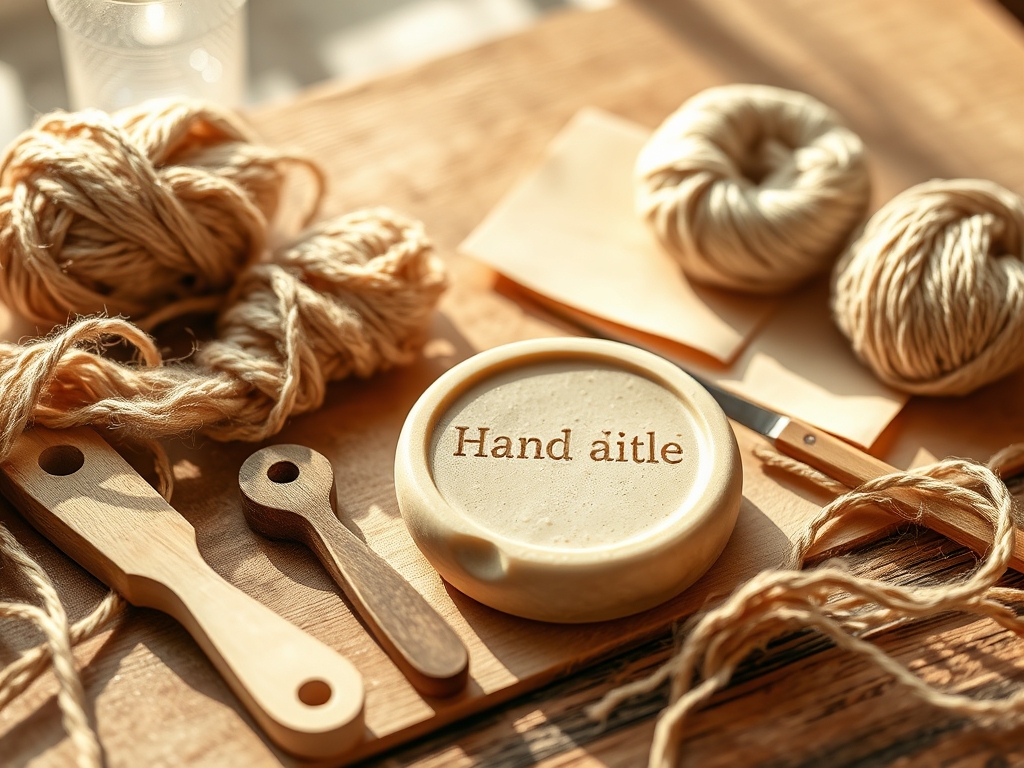
To master this craft, you need a kit that respects the tensile strength of cedar while allowing for delicate detailing. Start with a high-carbon steel spoon gouge and a straight whittling knife. You will also need a marking gauge to ensure your drainage channels are uniform in depth. For the refined finish, keep a set of calipers nearby to check the thickness of the base; you want enough mass to prevent warping but enough delicacy to feel elegant.
Material Substitutions: If you cannot source aromatic cedar, look for Teak or Iroko. Both possess high oil content and silica deposits that resist rot, though they are much harder on your blade edges. Avoid pine or maple for this specific project; their lack of natural tannins means they will succumb to mold within weeks of hitting the shower spray.
THE TEMPO
The "Maker's Rhythm" is a three-act play. Act one is the hydration phase, where you spend about thirty minutes mapping the grain and sketching your drainage paths. Act two is the reductive phase, taking roughly two hours of active carving. This is where you find your flow, peeling back curls of wood in sync with your breath. Act three is the curing and burnishing phase. This requires patience rather than labor. You will spend an hour sanding through the grits, followed by a twenty-four-hour wait period for your natural oil finish to polymerize within the wood fibers. Total active time is approximately four hours, spread over two days to allow the wood to settle.
THE CORE METHOD
1. The Slotted Trough
This design uses deep, vertical channels that run the width of the dish. Use your marking gauge to scribe parallel lines. Carve out the material between the lines using a narrow v-tool.
Mastery Tip: This design relies on gravitational acceleration. By carving the slots with a slight internal taper, you break the surface tension of the water, forcing it to bead and drop through the slots rather than clinging to the underside of the soap.
2. The Radial Sunburst
Starting from a central point, carve shallow grooves that fan out toward the edges. This is best achieved with a small u-gouge. It creates a beautiful visual focal point while providing multiple exit paths for moisture.
Mastery Tip: The physics here involves capillary action. As water moves toward the outer edges of the dish, the widening channels encourage evaporation by increasing the surface area of the liquid exposed to the air.
3. The Offset Pillar
Instead of carving channels, you carve away the background to leave raised "islands" or pillars. This requires a straight chisel to level the "floor" of the dish around the raised elements.
Mastery Tip: This is the gold standard for airflow optimization. By elevating the soap on pillars, you allow air to circulate underneath the bar, drying the soap from the bottom up and significantly extending its lifespan.
4. The Scalloped Wave
Use a wide spoon gouge to create a series of overlapping, shallow depressions. The result looks like ripples on a pond. It is a highly ergonomic design that feels wonderful in the hand.
Mastery Tip: This design utilizes fluid dynamics. The curved surfaces prevent water from pooling in sharp corners. Without 90-degree angles, the water has no "anchor points" to sit and breed bacteria.
5. The Canted Plane
This is a minimalist approach where the entire top surface of the dish is carved at a five-degree slope leading to a single drainage lip at the front. Use a block plane for the initial slope, then refine with a cabinet scraper.
Mastery Tip: This design focuses on hydrostatic pressure. By creating a consistent gradient, you ensure that even the smallest droplets are pulled toward the drainage point by gravity, keeping the top surface remarkably dry.
THE TECHNICAL LEDGER
Maintenance & Longevity: To keep your Hand Carved Soap Dishes in peak condition, they must be burnished with a smooth stone or a bone folder after the final sanding. This compresses the surface fibers, making them less porous. Re-apply a food-safe beeswax and linseed oil mixture every three months to maintain the water-repellent barrier.
Material Variations:
- Sustainable: Reclaimed cedar fence posts (ensure they are untreated).
- Premium: Old-growth heartwood, which has the highest concentration of protective oils.
- Recycled: Offcuts from sauna construction projects.
The Correction:
- The Split: If the wood splits along the grain, use a thin cyanoacrylate adhesive mixed with cedar sawdust to create a structural bond.
- The Tear-out: If your blade catches and rips the fiber, switch to a higher-angle cut and ensure your tool is "scary sharp."
- The Wobble: If the base is uneven, rub the bottom of the dish over a sheet of 80-grit sandpaper taped to a perfectly flat glass surface.
Studio Organization: Store your cedar blanks in a cool, dry place with consistent airflow. Avoid plastic bags; cedar needs to "breathe" to prevent the natural oils from crystallizing prematurely on the surface, a phenomenon known as "cedar bloom."
THE FINAL REVEAL
There is a profound sense of victory when you hold a finished soap dish that you have coaxed out of a raw block of wood. The way the light catches the burnished ridges and the way the water dances off the sloped channels is pure magic. These Hand Carved Soap Dishes are more than utility items; they are small monuments to the intersection of physics and art. Your bathroom will smell like a high-end spa, and your soap will stay firm and fragrant. You have successfully turned a piece of timber into a functional masterpiece.
STUDIO QUESTIONS
Why is cedar the best choice for soap dishes?
Cedar contains natural thujaplicins and oils that act as organic fungicides. This prevents the wood from rotting or molding in high-moisture environments, making it the most durable and porous-resistant softwood available for bathroom use.
How do I prevent my soap from sticking to the wood?
Sticking occurs due to surface tension. By carving deep channels or raised pillars, you reduce the contact area between the soap and the wood. This allows air to circulate, drying the interface and breaking the suction bond.
What is the best finish for a hand-carved dish?
A mixture of beeswax and linseed oil is ideal. It is non-toxic and penetrates deep into the grain. Unlike polyurethane, it does not crack or peel, allowing the wood to expand and contract naturally with humidity.
How often should I clean my carved soap dish?
Rinse it weekly under warm water to remove soap buildup. Because cedar is antimicrobial, you do not need harsh chemicals. Simply wipe it down and let it air dry completely once a month to maintain its structural integrity.

