
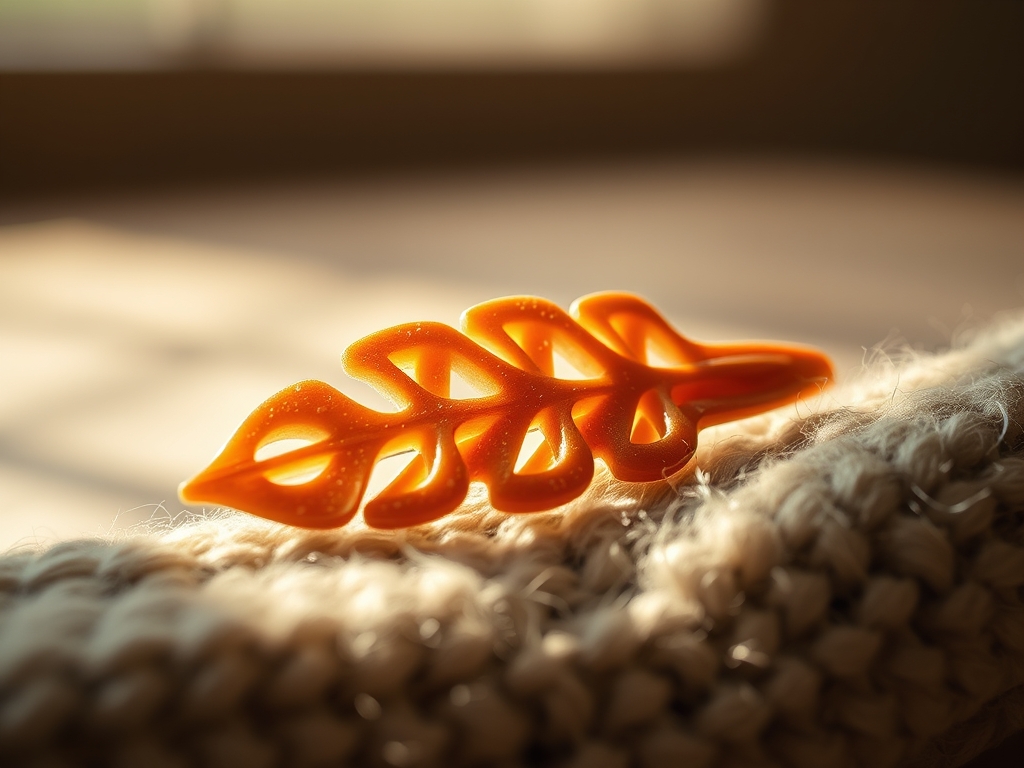
Imagine the scent of freshly shaved timber hitting the air as your chisel peels back a thin, translucent curl of grain. We are diving deep into the world of Hand Carved Hair Slides today; those sculptural, functional pieces of art that turn a messy bun into a masterpiece. This is not just about aesthetics. It is about the physics of tension and the structural integrity of organic fibers. When you slide a brass pin through a wooden plate, you are engaging a mechanical lock that relies on the friction of the wood and the spring temper of the metal. We want a finish so smooth it feels like liquid glass against your palm, yet strong enough to hold back a thick mane without snapping under the pressure. It is a balancing act of density and delicacy. Grab your safety glasses and clear your workbench, because we are about to transform raw blocks of premium hardwood into heirloom accessories that defy the laws of gravity and the wear of time.
THE STUDIO KIT
THE STUDIO KIT
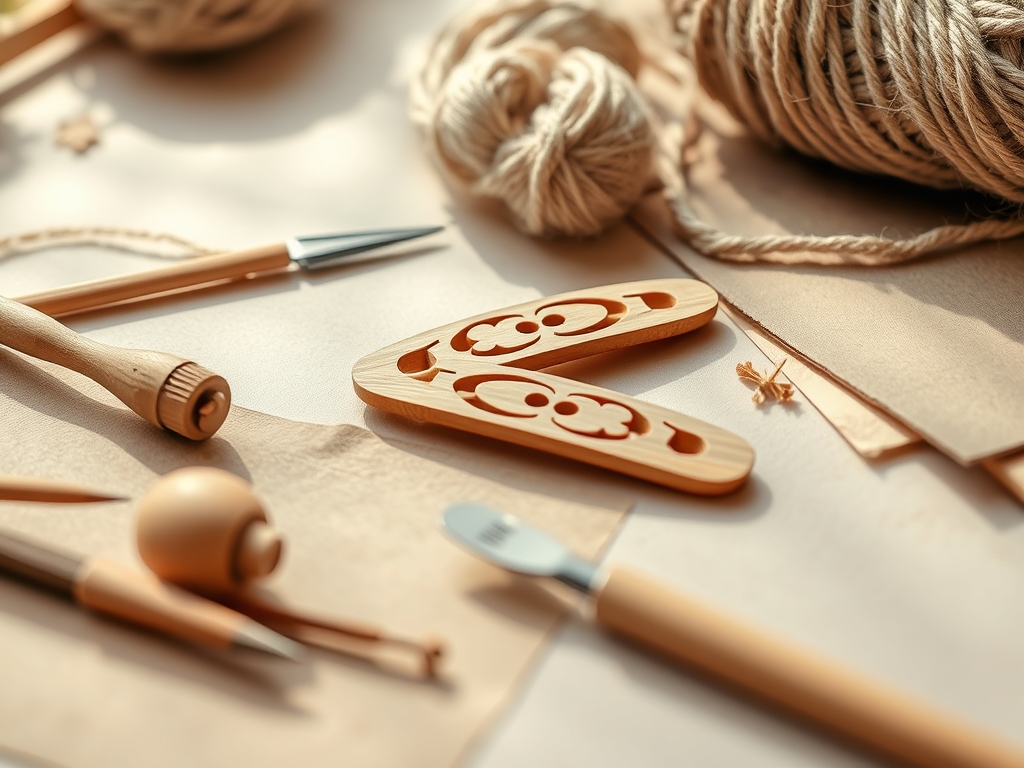
To execute professional Hand Carved Hair Slides, your toolkit must prioritize precision and edge retention. You will need a set of micro-carving chisels with high-carbon steel blades to handle the tight radii of a hair slide. A jeweler's saw is essential for cutting the initial silhouette, as its fine-toothed blades minimize splintering in brittle hardwoods. You must also have digital calipers to ensure the thickness of your slide remains consistent; usually between 4mm and 6mm for optimal strength. For the brass pins, use 8-gauge or 10-gauge brass wire, which offers the necessary tensile strength to resist bending during use.
Material Substitutions: If you cannot source premium hardwoods like Ebony or Cocobolo, look for high-density fruitwoods like Cherry or Apple. These offer a tight grain structure that holds fine detail. Instead of solid brass wire, you can use stainless steel or even hardened bamboo skewers for a more rustic, lightweight alternative. For finishing, if you lack specialized burnishing oils, a high-grade walnut oil or beeswax polish provides a non-toxic, breathable barrier that protects the wood from scalp oils and humidity.
THE TEMPO
The "Maker's Rhythm" is a three-act play. Act one is the Material Selection and Layout, taking roughly 45 minutes to map the grain direction. Act two is the Subtractive Phase, where you carve the form over 2 to 3 hours. Act three is the Refinement Phase, which involves progressive sanding and burnishing, often taking another 2 hours. Total time per slide is roughly 5 to 6 hours. Do not rush the sanding; the transition from 220-grit to 1000-grit is where the wood's internal luminosity truly begins to show.
THE CORE METHOD
1. Grain Orientation and Layout
The first step is identifying the longitudinal axis of the wood grain. You must orient your design so the grain runs the length of the slide. If the grain runs across the narrow width, the slide will fail under the lateral stress of the hair. Use a mechanical pencil to trace your template onto the wood, ensuring the pin holes are aligned perfectly with the grain fibers to prevent splitting.
Mastery Tip: Wood is essentially a bundle of microscopic straws. By aligning the slide with the grain, you are utilizing the natural tensile strength of the cellulose fibers, making the piece nearly impossible to snap by hand.
2. The Rough Cut
Using your jeweler's saw, cut approximately 2mm outside your pencil line. This "waste margin" protects the final form from any accidental nicks or compression fractures caused by the saw blade. Keep the blade perpendicular to the wood surface to ensure the edges are square, which simplifies the later carving stages.
Mastery Tip: Lubricate your saw blade with a bit of beeswax. This reduces thermal friction, preventing the blade from overheating and snapping while also preventing the wood from scorching.
3. Sculpting the Concavity
Hair slides need a slight curve to sit flush against the head. Use a curved gouge to remove material from the underside. Work from the edges toward the center to avoid "tear-out," which happens when the blade catches the grain and rips a chunk of wood away. Constantly check your progress with your calipers to ensure you do not carve too deep.
Mastery Tip: This step relies on ergonomic geometry. A slight concave back increases the surface area contact with the hair, which uses static friction to keep the slide from slipping out of place.
4. Drilling the Pin Ports
Mark the entry and exit points for your brass pin. Use a drill bit that is exactly 0.5mm wider than your brass wire. This "clearance fit" allows the pin to slide through easily without rattling. Use a tapered reamer to slightly flare the edges of the holes, which prevents the brass from catching on the wood fibers.
Mastery Tip: If the hole is too tight, the mechanical pressure of the pin can act as a wedge, eventually splitting the wood along the grain lines. Always prioritize a smooth, effortless fit.
5. Shaping the Brass Pin
Cut your brass wire to length and use a ball-peen hammer to gently "work-harden" the metal. This involves tapping the wire on a steel anvil to compress the molecular structure, making it stiffer and more resilient. File one end to a smooth, rounded point and the other into a decorative loop or head.
Mastery Tip: Brass is naturally soft. Work-hardening changes the internal crystalline structure of the metal, increasing its yield strength so it returns to its original shape after being flexed.
6. The Progressive Burnish
Sand the wood starting at 120-grit and move up to 1000-grit or higher. Once the wood feels like silk, apply a drop of oil and use a bone folder or a smooth piece of agate to rub the surface. This collapses the surface fibers and seals the porous vessels, creating a natural, high-gloss shine without the need for plastic-like lacquers.
Mastery Tip: Burnishing utilizes capillary action to pull the oil deep into the fibers while simultaneously creating a friction-heated seal. This makes the wood water-resistant and incredibly durable.
THE TECHNICAL LEDGER
Maintenance & Longevity: Wood is a living material that reacts to the environment. To maintain your Hand Carved Hair Slides, avoid wearing them in wet hair or high humidity for extended periods. Once every six months, apply a tiny amount of jojoba oil to the wood to replenish its natural lipids and prevent brittleness.
Material Variations: For a sustainable approach, source "off-cuts" from local luthiers or furniture makers. Premium woods like African Blackwood are incredibly dense and offer the best detail retention. For a recycled option, old skateboard decks provide a unique, colorful laminated ply effect that is exceptionally strong due to the cross-grain glue layers.
The Correction:
- The Split: If the wood cracks during carving, use a thin cyanoacrylate adhesive (super glue) to wick into the crack. It acts as a structural stabilizer.
- The Dull Finish: If the wood looks cloudy after oiling, you likely skipped a sanding grit. Go back to 400-grit and work your way up again to remove the micro-scratches.
- The Loose Pin: If the pin is too loose, use a pair of round-nose pliers to put a very slight "S" curve in the wire. This creates spring tension that holds the pin securely against the slide.
Studio Organization: Store your carving blanks in a climate-controlled environment. Extreme temperature swings can cause the wood to warp or develop checking (small surface cracks). Use labeled bins to separate wood species, as some oily woods like Teak can transfer resins to drier woods like Maple.
THE FINAL REVEAL
There is nothing quite like the moment you slide that brass pin home and feel the "click" of a perfect fit. Your Hand Carved Hair Slides are more than just accessories; they are a testament to your patience and your understanding of organic engineering. The way the light catches the grain and the warm glow of the brass creates a tactile experience that mass-produced plastic simply cannot replicate. You have taken a piece of the earth and refined it into a functional tool that is both elegant and incredibly tough. Wear it with pride, knowing that every curve and every polished edge was crafted by your own hands.
STUDIO QUESTIONS
What are the best woods for hair slides?
Dense hardwoods with tight grain like Ebony, Cocobolo, Purpleheart, or Osage Orange are best. These woods have high compressive strength and natural oils that resist moisture, ensuring the slide does not warp or snap during daily wear.
How do I prevent the wood from splitting?
Always carve with the grain, never against it. Ensure your tools are razor-sharp to slice through fibers rather than crushing them. Additionally, keep the thickness of the slide above 4mm to maintain structural integrity under the tension of the hair.
Why use brass for the pins?
Brass offers a perfect balance of malleability and strength. It can be easily shaped and work-hardened to hold its form. It also develops a beautiful patina over time and does not rust when exposed to hair products or moisture.
Can I use a rotary tool instead of hand carving?
Yes, an oscillating tool or rotary carver can speed up the process. However, hand chisels provide more control and a cleaner finish on the cellular level. If using a rotary tool, always wear a dust mask to avoid inhaling fine wood particulates.

