
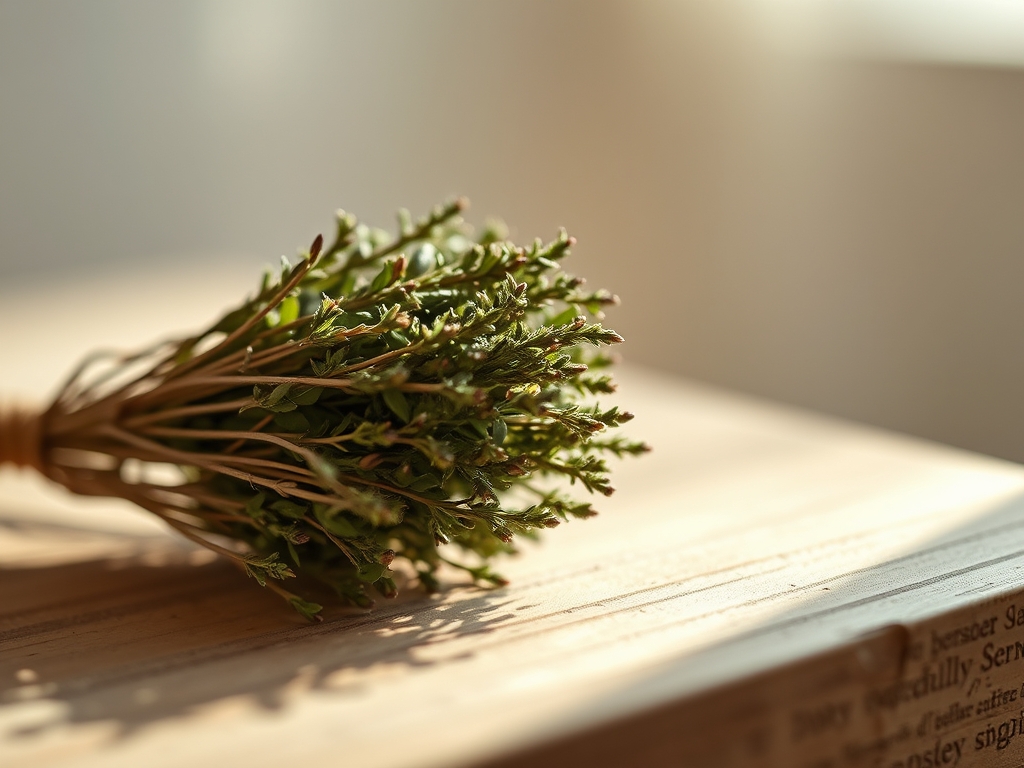
The scent of freshly planed cedar hits you before you even step into the workshop. It is that intoxicating mix of sharp resin and the faint, peppery ghost of dried oregano lingering on your fingertips. We are not just making decor today; we are capturing the biological architecture of a garden. Creating Pressed Herb Kitchen Art is a high stakes game of moisture management and structural integrity. You are taking a living, hydrated organism and forcing it into a two dimensional plane without shattering its delicate cellular walls. It requires the patience of a scientist and the hands of a surgeon. When you press a sprig of rosemary against a rugged, reclaimed wood backing, you are balancing the rough, porous texture of the timber against the brittle, glass like veins of the dried plant. It is a tactile symphony. We are going to master the physics of the press and the chemistry of the sealant to ensure these greens stay vibrant for years rather than fading into a dusty brown memory. Grab your apron; we have some chlorophyll to preserve.
THE STUDIO KIT
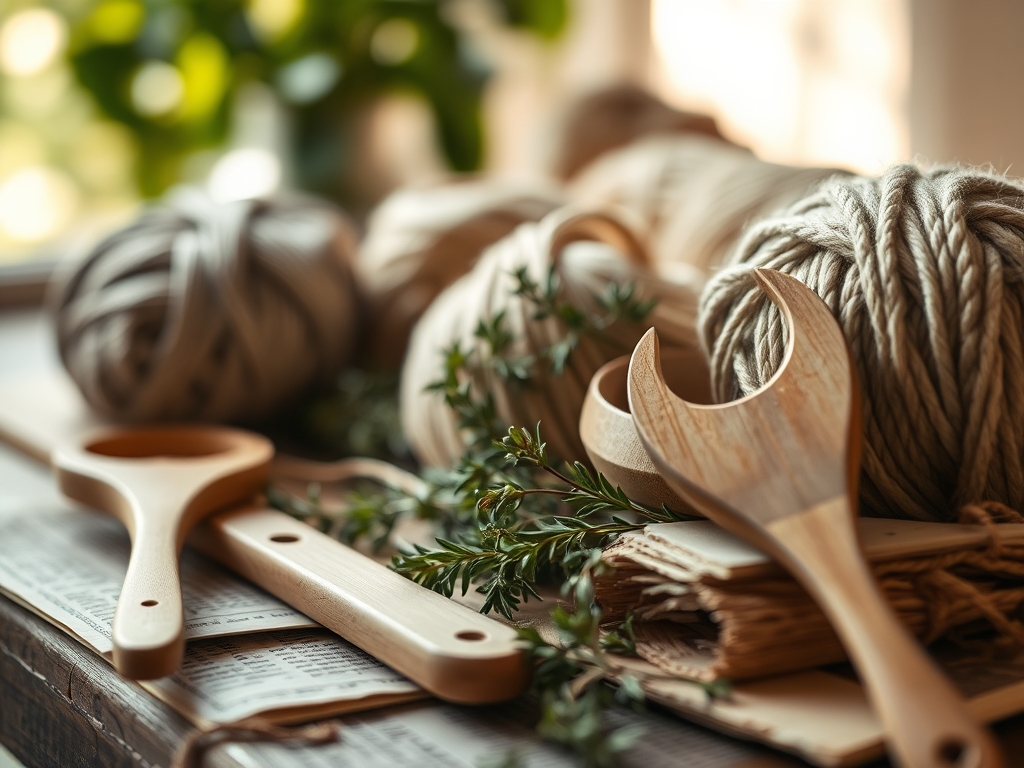
To execute professional grade Pressed Herb Kitchen Art, your junk drawer scissors simply will not cut it. You need tools that respect the tensile strength of plant fibers. First, secure a high quality wooden flower press or two heavy sheets of marine grade plywood with carriage bolts at each corner. This allows for even distribution of pressure across the entire surface area. You will also need unbuffered acid free blotting paper; this is non negotiable because standard paper contains lignins that will yellow your specimens over time.
For the wooden base, seek out boards with a high tannin content like oak or walnut, or go for the rustic charm of reclaimed pine. Ensure you have a bone folder for smoothing out air bubbles and a pair of fine tipped jeweler's tweezers for positioning micro stems without causing crush damage.
Material Substitutions: If you cannot find a professional press, a stack of heavy architectural encyclopedias works, provided you use parchment paper as a moisture barrier. Instead of traditional wood glue, a pH neutral PVA adhesive offers a superior bond strength without warping the delicate herb leaves.
THE TEMPO
The "Maker's Rhythm" for this project is a slow burn followed by a sprint. The initial preparation of your herbs takes about thirty minutes of focused curation. However, the dehydration phase is a test of character; it requires fourteen to twenty one days depending on the ambient humidity of your studio. You cannot rush the evaporative cooling process. Once the herbs are "bone dry," the assembly and mounting on the rustic wood takes approximately two hours. Allow another twenty four hours for the final sealant to cure fully before hanging. Total project duration is roughly three weeks, but the actual hands on labor is under four hours.
THE CORE METHOD
1. Specimen Selection and Hydraulic Prep
Start by harvesting your herbs mid morning after the dew has evaporated but before the sun stresses the plants. Choose "The Big Eight" for their structural resilience: Rosemary, Thyme, Sage, Lavender, Flat Leaf Parsley, Mint, Bay Leaf, and Oregano. Use a sharp rotary cutter or floral snips to make a clean diagonal cut. This minimizes the crushing of the xylem vessels, which helps maintain the plant's color during the initial pressing phase.
Mastery Tip: Understand turgor pressure. If a plant is wilted before it hits the press, it will look limp in the final frame. If it is too hydrated, it will mold. Aim for a "supple" state.
2. The Laminar Pressing Sequence
Layer your specimens between sheets of blotting paper. Ensure no leaves overlap; if they do, they will fuse together due to capillary action as the moisture leaves the cells. Tighten your press bolts in a cross pattern, much like tightening the lugs on a car tire, to ensure the pressure is perfectly uniform.
Mastery Tip: The science of diffusion is your friend here. The blotting paper acts as a desiccant, pulling water molecules out of the herb. Change the paper after the first twenty four hours to prevent "browning" caused by stagnant moisture.
3. Surface Preparation of the Rustic Wood
While your herbs are drying, prepare your wooden canvas. Use an oscillating tool with a fine grit sandpaper to smooth the mounting area while leaving the "live edge" or rustic textures intact. Clean the surface with a tack cloth to remove every microscopic bit of sawdust. Any debris left behind will create a "bump" under your delicate herbs.
Mastery Tip: Check the moisture content of your wood using a digital meter if possible. Wood that is too "green" or damp will warp as it dries in your kitchen, potentially cracking the adhesive bond of your herb art.
4. Precision Mounting and Adhesion
Use your tweezers to lift the dried herb. It will be incredibly brittle. Apply tiny dots of PVA adhesive to the thickest parts of the stem using a toothpick or a fine awl. Gently lower the specimen onto the wood. Use the bone folder to apply light, vertical pressure. Do not slide the tool, or you will shear the leaves right off the stem.
Mastery Tip: This is about surface tension. A thin, even layer of glue creates a stronger bond than a thick glob. The goal is to create a vacuum seal between the plant and the wood grain.
5. The Protective Encapsulation
To protect your Pressed Herb Kitchen Art from kitchen grease and UV light, apply a thin coat of matte UV resistant spray sealant. Hold the can at least twelve inches away to avoid "wetting" the herbs, which can cause them to go translucent.
Mastery Tip: The sealant acts as a vapor barrier. It stops the herb from reabsorbing atmospheric moisture, which is the primary cause of decay and color loss in botanical specimens.
THE TECHNICAL LEDGER
Maintenance & Longevity: Keep your art away from direct steam (like above a boiling stove). Dust it lightly with a soft goat hair brush once a month. If the wood looks thirsty, a tiny bit of furniture wax applied around the herb can restore the luster.
Material Variations:
- Sustainable: Use fallen cedar branches sliced into "cookies."
- Recycled: Old pallet wood provides an excellent high texture background.
- Premium: Opt for bird's eye maple for a sophisticated, high contrast look.
The Correction:
- Problem: The herb turned brown. Fix: You didn't change the blotting paper early enough; moisture sat too long. Next time, use a desiccant silica gel layer in your press.
- Problem: The herb is peeling off the wood. Fix: The wood was too oily or dusty. Wipe the wood with denatured alcohol before gluing.
- Problem: The leaves are shattering. Fix: You are handling them with your fingers. Use jeweler's tweezers to distribute the load across a larger surface area.
Studio Organization: Store your extra pressed herbs in a flat file cabinet or a dedicated binder with glassine sleeves. Keep them in a cool, dark, dry place to prevent photo-oxidation (fading).
THE FINAL REVEAL
There is nothing quite like the moment you stand back and look at your finished gallery wall. The deep, rugged grooves of the rustic wood provide the perfect architectural foil to the delicate, skeletal beauty of the pressed sage and rosemary. You have successfully frozen a moment of summer growth into a permanent piece of kitchen history. It feels sophisticated, earthy, and incredibly "pro." Your kitchen now has a soul, backed by the rigorous physics of botanical preservation.
STUDIO QUESTIONS
What are the best herbs for pressing?
Rosemary, thyme, and sage are superior due to their low moisture content and sturdy cellulose structures. They maintain their shape and color much better than high water plants like basil, which tend to turn translucent or black.
How do I prevent the herbs from fading?
Use a UV resistant acrylic spray and keep the art out of direct sunlight. Fading is caused by photo-degradation, where light energy breaks down the chlorophyll molecules. A dark, stable environment ensures the greens stay vibrant.
Can I use a microwave to speed up the process?
Yes, but it is risky. Microwave pressing uses rapid dielectric heating to evaporate water. It works for thick stems but can "cook" delicate leaves, leading to a brittle, scorched appearance rather than a supple, preserved one.
What glue is best for wood mounting?
A pH neutral, clear drying PVA glue is best. It offers high shear strength while remaining flexible enough to handle the natural expansion and contraction of the wood base without snapping the delicate herb fibers.
Why did my herbs grow mold in the press?
Mold occurs when there is insufficient airflow or the blotting paper becomes saturated. In humid climates, you must change your paper every twenty four hours during the first week to ensure the moisture is fully wicked away.

