
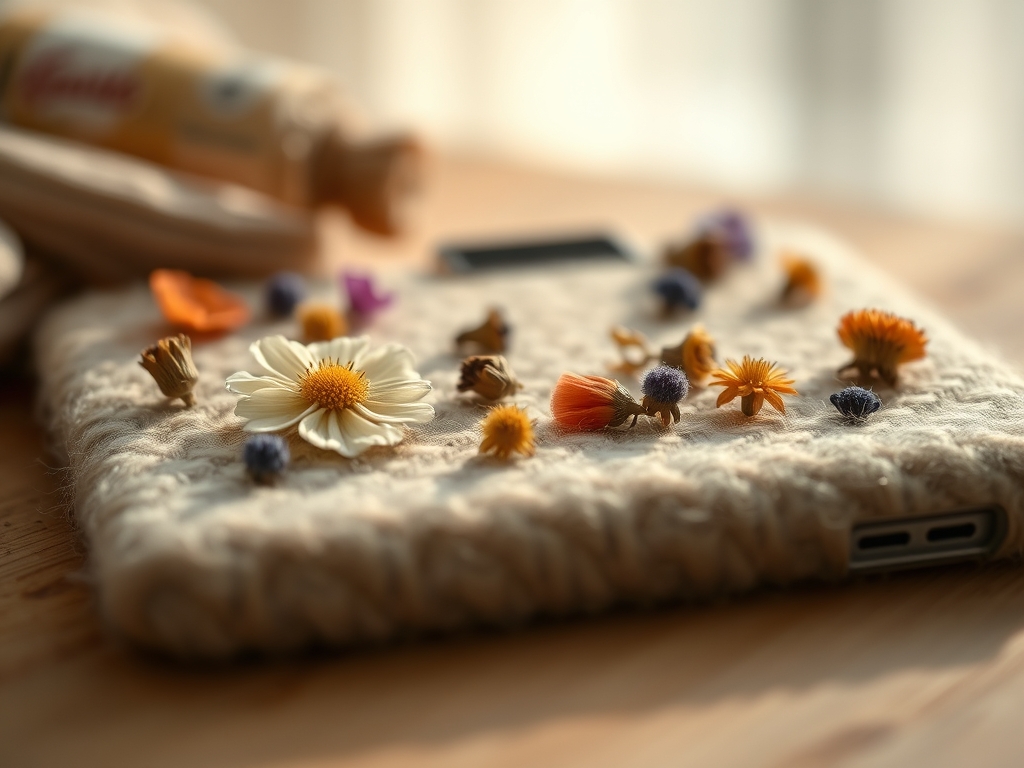
The smell of fresh cedar and the sharp, clinical scent of epoxy resin always signal the start of a masterpiece. You are standing at your workbench, feeling the cool, smooth surface of a polycarbonate shell beneath your fingertips. It is a blank canvas waiting for a burst of botanical life. Creating Pressed Flower Phone Cases is not just a hobby; it is an exercise in precision engineering and organic preservation. When you pick up a dried larkspur, you are handling a structure with zero moisture content and incredibly high fragility. The goal is to suspend these delicate cellular structures in a crystalline polymer matrix that protects them from the kinetic energy of daily use. We are talking about merging the fragile, porous nature of flora with the high tensile strength of synthetic resins. It feels like magic, but it is actually pure physics. You need to balance the viscosity of your pour with the surface tension of the case to ensure every petal is encased without a single microscopic air pocket. Let us get your hands dirty and your designs flawless.
THE STUDIO KIT
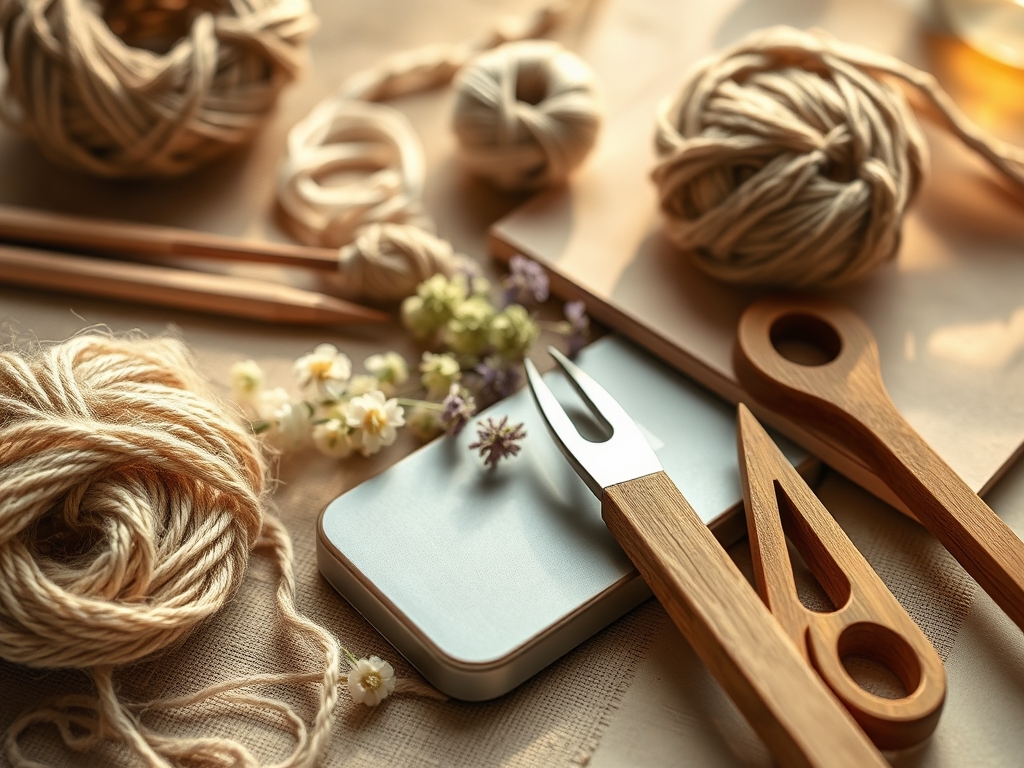
To execute these designs, your workstation must be a temple of organization. You will need a two-part UV or epoxy resin with a low viscosity rating to ensure it flows into the minute crevices of the flower petals. For manipulation, a fine-tipped jeweler's awl or a set of anti-static tweezers is non-negotiable; your fingers carry oils that can degrade the organic pigments. You will also need a silicone stir stick to minimize the introduction of oxygen into the mixture. If you are working with thicker botanicals, a caliper helps you measure the depth of the case rim to ensure your resin dome does not overflow.
For material substitutions, if you cannot find professional-grade resin, a high-gloss polyurethane finish can work for thin layers, though it lacks the structural integrity of epoxy. Instead of a heat gun, a fine-mist spray of 91 percent isopropyl alcohol can break the surface tension of stubborn bubbles. Always keep a bone folder nearby to press down any stubborn, curling leaves before the first pour.
THE TEMPO
The maker's rhythm is a dance between patience and rapid execution. The "Spark Phase," where you layout your nine designs, should take about forty minutes of pure creative flow. Once the resin is mixed, the "Working Window" is tight; usually twenty to thirty minutes before the exothermic reaction begins to thicken the liquid. Curing is the long game. UV resin snaps into a solid state in three to five minutes under a high-output lamp, but traditional epoxy requires a twenty-four-hour lockout period in a dust-free environment. Respect the cure time; rushing the process leads to "tacky" surfaces that attract lint and ruin the optical clarity of your work.
THE CORE METHOD
1. The Substrate Preparation
Before a single petal touches the case, you must degrease the surface. Use a lint-free cloth and a quick swipe of alcohol to remove fingerprints. This ensures the resin achieves a mechanical bond with the plastic. If the surface is too slick, the resin might peel away later like a bad sunburn.
Mastery Tip: This is all about surface energy. Plastics like polycarbonate have low surface energy, meaning liquids want to bead up rather than spread. A clean surface increases the "wetting" capability of the resin, ensuring it grips the edges perfectly.
2. The Dry Layout Composition
Arrange your nine designs on a template before moving them to the case. Use your tweezers to place the largest "anchor" flowers first, then layer smaller fillers like Queen Anne's Lace. Think about the grain direction of the petals; placing them in a radial pattern creates a sense of movement.
Mastery Tip: Consider capillary action. When resin hits the flowers, it will try to soak into any remaining pores. If your flowers are not perfectly dry, the resin will turn them translucent or "wet-looking." Ensure they are bone-dry to maintain color opacity.
3. The Precision Pour
Start your pour in the center of the case and allow the resin to migrate toward the edges. Use your awl to guide the liquid into the corners. If you are doing a multi-layer design, only pour half the depth now, let it gel, and then add your secondary elements for a 3D effect.
Mastery Tip: This step relies on viscosity management. If the resin is too cold, it will be thick and trap bubbles. Warm the resin bottles in a water bath to 80 degrees Fahrenheit before mixing to ensure a water-like flow that releases trapped air effortlessly.
4. The Bubble Extraction
Once the pour is complete, hover a heat gun or a butane torch two inches above the surface. Move quickly to pop the micro-bubbles that rise to the top. Do not linger in one spot, or you risk scorching the delicate organic fibers of the flowers.
Mastery Tip: This is a lesson in thermal expansion. The heat causes the air inside the bubbles to expand and rise to the surface where the surface tension breaks. It is a satisfying, scientific "pop" that clears your view.
5. The Edge Burnish and Cure
After the resin has leveled itself, check the perimeter. If any resin has escaped the rim, use a small cotton swab to wipe it away immediately. Place the case under your UV light or inside a curing box. Once hard, use a fine-grit sandpaper or a rotary cutter to trim any sharp overflows.
Mastery Tip: Focus on structural integrity. The bond between the resin and the case edge is the weakest point. By ensuring a clean, flush edge, you prevent moisture from seeping under the resin over time, which would cause delamination.
THE TECHNICAL LEDGER
Maintenance & Longevity: To keep your case from yellowing, avoid prolonged exposure to direct UV rays. Even "non-yellowing" resins have a limit. Clean the surface with a soft microfiber cloth; avoid harsh chemicals that can etch the polymer surface.
Material Variations: For a premium feel, incorporate gold leaf flakes or crushed mother-of-pearl between the flower layers. For a sustainable approach, use bio-based resins derived from soy or waste oils, which offer a lower carbon footprint while maintaining high clarity.
The Correction:
- Cloudy Resin: Usually caused by high humidity. Use a dehumidifier in your studio to keep levels below 50 percent.
- Sticky Surface: This happens from an improper mix ratio. Fix it by sanding the surface lightly and pouring a fresh, accurately measured "top coat."
- Flower Discoloration: Some flowers react to the chemicals in resin. Test a single petal first; if it turns brown, seal the flower with a thin coat of clear glue or hairspray before embedding.
Studio Organization: Store your pressed flowers in acid-free glassine envelopes inside a dark, climate-controlled drawer. Light is the enemy of pigment. Keep your resin in a cool, dark place to prevent premature polymerization.
THE FINAL REVEAL
There is nothing quite like the moment you peel the protective tape off a finished case and see those vibrant petals frozen in time. The way the light catches the different depths of the flowers creates a tactile, 3D experience that a printed case simply cannot replicate. You have taken raw, biological matter and transformed it into a high-performance accessory. It is bold, it is technical, and it is a total vibe. You are not just a crafter; you are a botanical engineer.
STUDIO QUESTIONS
How do I prevent flowers from floating in the resin?
Apply a tiny "glue" dot of resin to the back of the flower and cure it to the case first. This anchors the botanical structure before you perform the full flood pour, ensuring your design stays perfectly aligned.
Why did my resin turn yellow after a month?
Yellowing is usually caused by UV degradation or low-quality resin. Always use a brand labeled with UV stabilizers. Keep the case out of extreme heat, as thermal stress can also accelerate the chemical breakdown of the polymer.
Can I use fresh flowers instead of pressed ones?
No. Fresh flowers contain moisture that will react with the resin, causing the organic material to rot and turn brown inside the case. Always use flowers that have been pressed and dried for at least two weeks to ensure zero water content.
What is the best way to remove stubborn air bubbles?
Use a fine-tipped needle to drag bubbles to the edge, or lightly mist the surface with 91 percent isopropyl alcohol. The alcohol breaks the surface tension instantly, allowing the air to escape without the need for high heat.

