
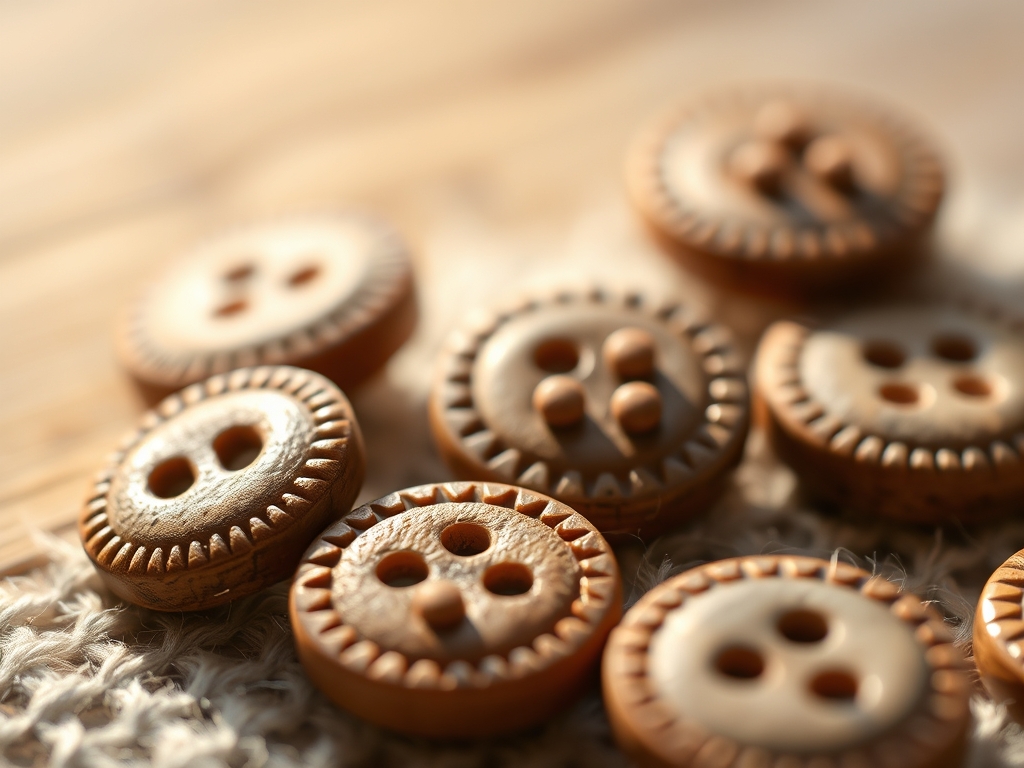
Grab that mug of coffee and lean in because we are about to transform a literal chunk of history into something exquisite. There is a specific, electric thrill that happens when your thumb brushes against the grain of reclaimed oak or walnut. It is tactile; it is grounding; it is the ultimate flex in slow fashion. We are talking about Hand Carved Buttons, those tiny, structural masterpieces that turn a basic cardigan into a gallery piece. When you hold a piece of century old timber, you are holding wood that has already done its heavy lifting. It has settled. Its cellular structure is dense and stable, making it the perfect candidate for high tension fastening. We are not just whittling sticks here. We are engineering miniature hardware that relies on the internal physics of the wood grain to resist the constant pull of a buttonhole. Every shave of the blade reveals a new layer of history, a hidden shimmer of silica, or a tight growth ring that tells a story of a drought a hundred years ago. Let us get our hands dirty and make something beautiful.
THE STUDIO KIT
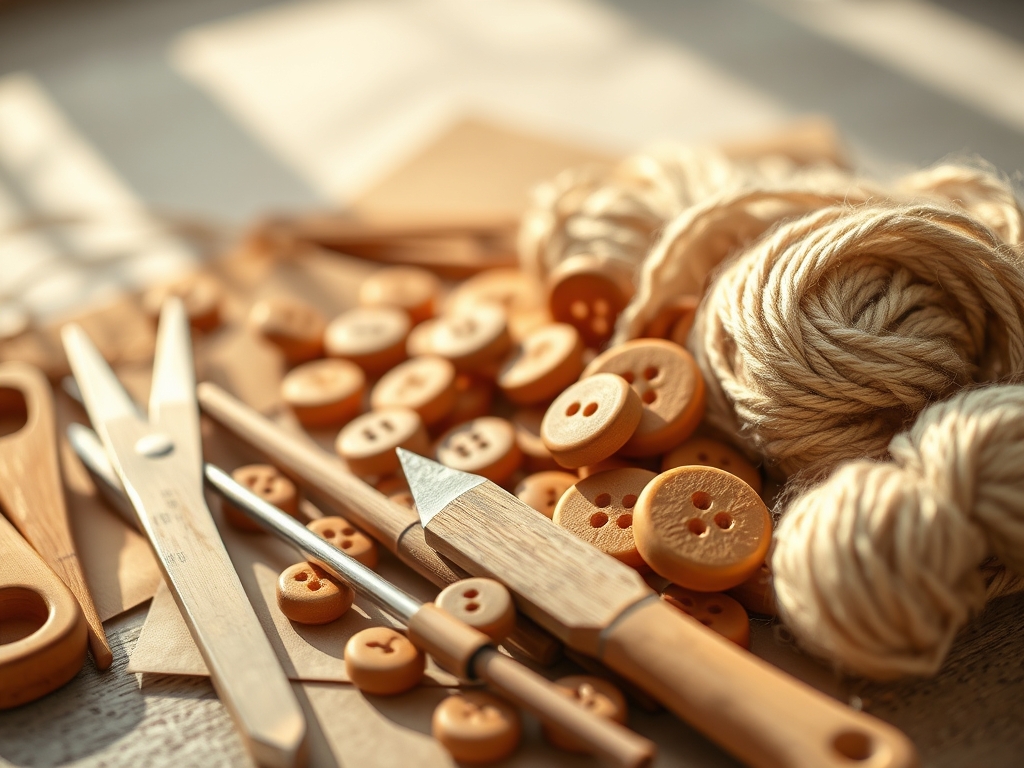
To master Hand Carved Buttons, you need a kit that respects the tensile strength of your timber. Start with a high carbon steel carving knife; the edge must be stropped to a mirror finish to slice through lignin without crushing the fibers. You will also need a jeweler's saw for precise perimeter cuts and a set of digital calipers to ensure your button diameter matches your garment's gauge. For the holes, a hand-cranked drill or a fine-tipped awl is superior to a power drill, as it reduces the risk of internal splintering.
Your material is the star. Look for reclaimed hardwoods like cherry, maple, or black walnut salvaged from old flooring or furniture. These woods have a high Janka hardness rating, ensuring they won't snap under pressure. If you cannot find reclaimed wood, a "Material Substitution" would be high density bamboo or even tagua nuts, which mimic the porous structure of ivory. You will also need various grits of sandpaper, ranging from 120 to a polishing 2000 grit, and a natural burnishing agent like beeswax or carnauba wax to seal the pores against moisture.
THE TEMPO
Creating a set of five to seven Hand Carved Buttons is a marathon, not a sprint. Expect to spend approximately thirty minutes on the "Rough Cut" phase, where you establish the basic geometry. The "Refinement" phase takes about an hour; this is where you use your calipers to ensure uniformity across the set. Finally, the "Finishing" phase, including sanding and curing the oil, requires a twenty four hour window.
The "Maker's Rhythm" is all about synchronizing your breath with the resistance of the wood. Wood is a non-isotropic material, meaning its strength varies depending on the direction of the grain. You will find a meditative flow as you learn to feel the blade's "bite." If you rush, you risk tear-out. If you go too slow, you lose the fluid lines that give hand carved items their soul.
THE CORE METHOD
1. Grain Orientation and Mapping
Before you make a single cut, you must analyze the grain. For maximum durability, the grain should run horizontally across the button. This ensures that the "bridge" of wood between the two thread holes is supported by continuous longitudinal fibers. Use a pencil to map out your circles on the wood surface, avoiding any knots or checks that could compromise the structural integrity.
Mastery Tip: Understand capillary action. Wood fibers act like tiny straws. If you orient the grain vertically, the tension from the thread will pull directly against the grain's weakest point, causing the button to split in half during its first trip through the wash.
2. The Rough Silhouette
Use your jeweler's saw to cut out the "blanks." Give yourself a two millimeter buffer outside your pencil line. Once you have your rough pucks, use a carving knife to create a beveled edge. This reduces the bulk of the button and allows it to slide through a buttonhole with less friction.
Mastery Tip: This is about ergonomics. A button that is too thick will strain the fabric of the garment. By tapering the edges, you create a mechanical advantage that allows the button to "seat" itself securely within the knit or weave.
3. Precision Boring
Mark your hole placement with a center punch to prevent the drill bit from wandering. Using your awl or a small bit, drill two or four holes. Ensure the holes are spaced far enough apart to maintain a strong central "bridge" but close enough to fit standard sewing needles.
Mastery Tip: Pay attention to surface tension. After drilling, use a larger drill bit to manually "countersink" or chamfer the edges of the holes. This prevents the sharp edges of the wood from sawing through your sewing thread over time.
4. The Dish and Contour
Use a small gouge to create a slight depression, or "dish," on the face of the button. This is not just aesthetic; it protects the thread from abrasion. As the button rubs against coats or tables, the thread sits safely below the surface of the wood.
Mastery Tip: This involves displacement physics. By removing material from the center, you shift the center of gravity of the button, making it hang more flush against the fabric rather than drooping forward.
5. Progressive Sanding
Start with 120 grit to remove tool marks and move up to 400 grit. At this stage, "whisker" the wood by wiping it with a damp cloth to raise the grain, then sand it back down with 600 grit. Repeat until the wood feels like polished stone.
Mastery Tip: This process manages the hygroscopic nature of wood. By raising the grain and cutting it back, you ensure the button stays smooth even if it gets wet, preventing it from becoming "fuzzy" and snagging on delicate fibers like silk or mohair.
6. The Burnish and Seal
Apply a drop of linseed or walnut oil. Let it penetrate for ten minutes, then buff vigorously with a soft cloth or a bone folder. The heat from the friction helps the oil bond with the wood fibers, creating a water resistant barrier.
Mastery Tip: You are utilizing polymerization. Certain oils, like linseed, undergo a chemical reaction when exposed to oxygen, turning from a liquid to a solid resin within the wood's pores, which significantly increases the button's lifespan.
7. Final Quality Control
Check every button with your calipers one last time. Ensure the backs are perfectly flat; a wobbly button will never sit right on a garment. Use a soft brush to remove any residual wax from the holes to ensure clean passage for the thread.
Mastery Tip: This is the tolerance check. In professional manufacturing, even a half millimeter deviation can cause a button to feel "off." Consistent sizing ensures the mechanical load is distributed evenly across the entire garment closure.
THE TECHNICAL LEDGER
Maintenance & Longevity: Hand Carved Buttons are incredibly durable but hate the dryer. To maintain them, occasionally rub them with a bit of beeswax. If they look dull, a quick buff with a denim scrap will restore the luster.
Material Variations:
- Sustainable: Reclaimed orchard woods (apple, pear) offer incredible grain density.
- Recycled: Old skateboard decks (maple veneers) provide funky, colorful layers.
- Premium: Bog oak, which has been preserved in peat for thousands of years, offers a natural jet black finish.
The Correction:
- The Split: If a button cracks during drilling, the wood was too dry. Fix: Soak your blanks in a 50/50 mix of water and glycerin before working.
- The Snag: If the button catches on fabric, the holes aren't chamfered. Fix: Use a conical grinding stone to smooth the interior of the holes.
- The Fade: If the wood turns grey, the seal failed. Fix: Re-sand lightly and use a drying oil like Tung oil for a more permanent finish.
Studio Organization: Store your finished sets in glass vials or breathable cotton bags. Avoid plastic bags, which can trap moisture and lead to fungal growth or "spalting" in the wood.
THE FINAL REVEAL
There they are! A complete set of Hand Carved Buttons, glowing with a deep, internal warmth that plastic could never replicate. When you sew these onto a project, you aren't just finishing a garment; you are installing a piece of art. The way they catch the light and the solid, "clink" they make against each other is pure satisfaction. You have taken raw, reclaimed history and refined it into functional hardware. Now, go show them off!
STUDIO QUESTIONS
Why use reclaimed wood for Hand Carved Buttons?
Reclaimed wood is more dimensionally stable than new timber. It has a lower moisture content and a denser grain structure, which prevents the buttons from warping or cracking when exposed to the varying temperatures of daily wear.
What is the best way to wash garments with wood buttons?
Hand wash your garments in cool water and air dry them. Avoid harsh detergents or long soak times, as excessive moisture can cause the wood fibers to swell and potentially weaken the lignin bonds over time.
Can I use a rotary tool instead of hand carving?
Yes, a rotary tool with a sanding drum can speed up the shaping process. However, hand carving provides more control over the grain direction and prevents the wood from "burning" due to high speed friction.
How do I prevent the wood from splitting when drilling?
Place a piece of scrap wood underneath your button blank while drilling. This "sacrificial" board supports the wood fibers as the bit exits, preventing the dreaded "blowout" or splintering on the back of the button.
Which oil is best for a food safe, natural finish?
Walnut oil or pure tung oil are excellent choices. They are "drying oils" that undergo polymerization, creating a hard, durable finish that is non-toxic and highlights the natural tactile beauty of the wood grain.

