The scent of linseed oil and the cool, rubbery resistance of a fresh gray linoleum slab are enough to make any maker's heart race. There is a specific, grounding weight to a hand carved block that digital prints simply cannot replicate. When we talk about creating Block Printed Napkins, we are engaging in a tactile dance between the structural integrity of the fabric and the precision of the blade. It is about the way the ink bites into the weave, creating a permanent, organic connection. You are not just decorating a piece of cloth; you are engineering a functional heirloom. The process is visceral. You feel the vibration of the U-gouge as it clears a path through the polymer, and you hear the sticky, rhythmic "velcro" sound of the brayer charging with ink. This is high-energy crafting where physics meets flair, and every single cut matters for the final impression. We are going for those nine organic motifs today, focusing on everything from skeletal leaves to geometric mycelium patterns, ensuring your table setting looks like a high-end boutique find.
THE STUDIO KIT
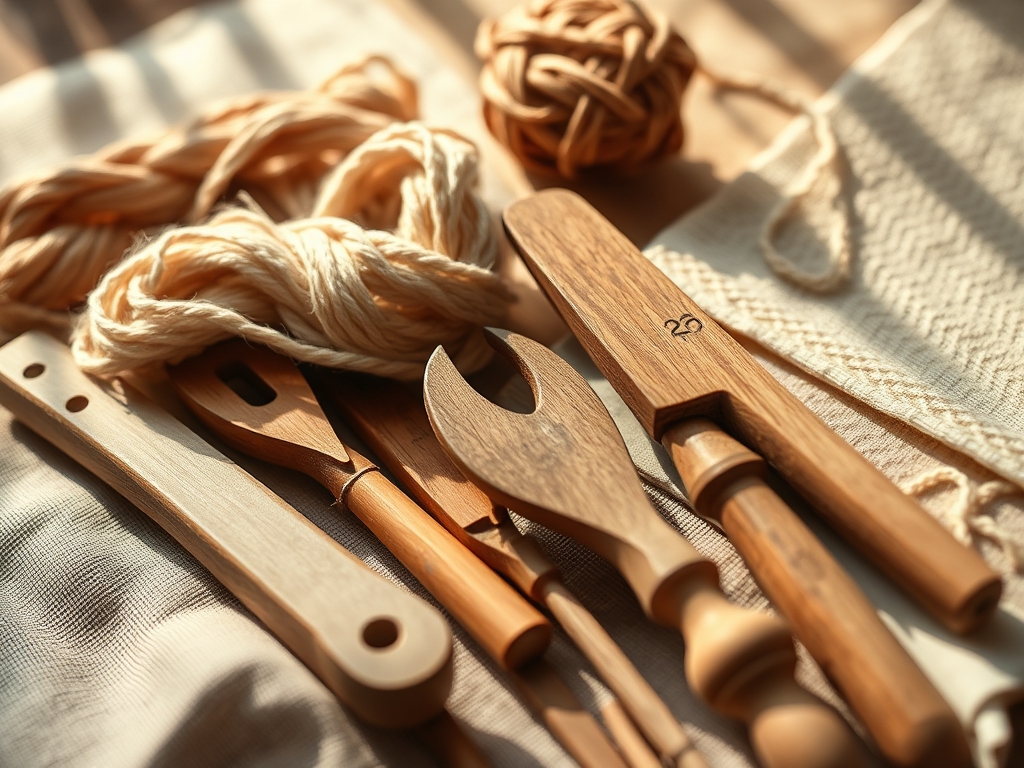
To achieve professional results, your kit must balance ergonomic comfort with high-performance materials. Start with battleship gray linoleum; its high density allows for finer detail than softer "speedy" carving blocks. You will need a set of tempered steel gouges with interchangeable nibs to manage different line weights. For the ink, skip the standard acrylics and opt for oil-based fabric relief ink. These inks utilize a specialized polymerization process that ensures the print remains soft to the touch while maintaining incredible wash-fastness.
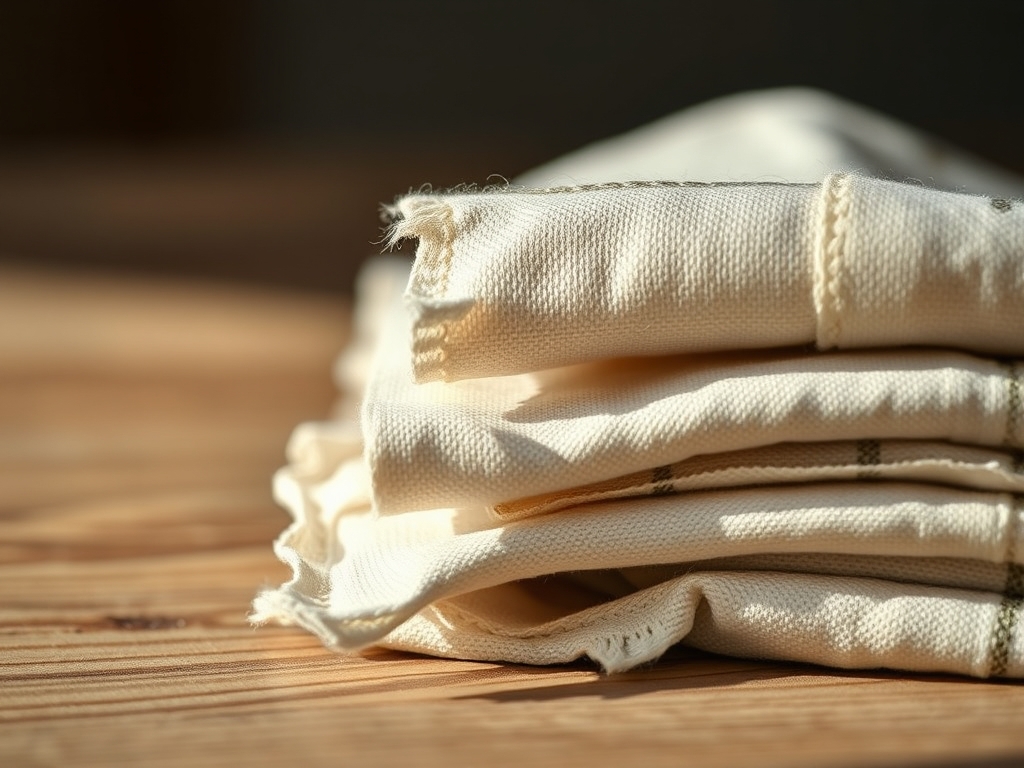
A hard rubber brayer is essential for even ink distribution, as it prevents the "orange peel" texture caused by overly soft rollers. You will also need a glass inking plate to monitor the viscosity of your pigment. For the substrate, choose flax linen or high-thread-count cotton napkins. These fibers have the necessary porosity to absorb the ink deep into their cellular structure.
Material Substitutions: If you cannot find traditional linoleum, a high-density PVC block works in a pinch, though it lacks the satisfying "snap" of the natural material. If a professional brayer is unavailable, a firm foam roller can work, but you must be vigilant about ink saturation levels to avoid flooding your delicate carvings.
THE TEMPO
The maker's rhythm is divided into three distinct phases: the Conceptual Burn, the Carving Flow, and the Curing Cycle. Expect to spend about sixty minutes sketching and transferring your nine organic motifs. This is the intellectual heavy lifting where you calculate negative space. The carving phase is the longest, typically taking two to three hours depending on the complexity of your botanical linework.
Once the blocks are ready, the printing of a set of six napkins takes roughly forty-five minutes. However, the hidden tempo of block printing lies in the oxidization period. Oil-based inks require a minimum of five to seven days to fully cure before they are laundry-safe. Rushing this stage compromises the molecular bond between the pigment and the fiber, leading to premature fading. Respect the clock, and the clock will reward you with crisp, vibrant motifs.
THE CORE METHOD
1. Motif Transfer and Surface Prep
Begin by sanding the surface of your linoleum with fine-grit sandpaper to remove the factory sheen. This increases the surface energy of the block, allowing the ink to adhere more uniformly. Sketch your organic motifs using a graphite pencil, then flip the paper onto the block and burnish the back with a bone folder. This transfers the carbon directly to the linoleum.
Mastery Tip: Always remember that block printing is a relief process. The areas you carve away will be the white of the napkin. Use a caliper to check the depth of your borders; keeping a consistent 2mm depth prevents the "shoulders" of the cut from picking up stray ink.
2. The Precision Carve
Engage your smallest V-gouge for the outlines. Hold the tool at a 30-degree angle to the block. Use your non-dominant hand to rotate the linoleum while your carving hand remains relatively stationary. This utilizes centripetal force to create smoother, more organic curves in your leaf and petal shapes.
Mastery Tip: This is about structural integrity. Never undercut the edges of your design. Always carve at a slight outward bevel so the base of each line is wider than the top. This prevents the delicate linoleum ridges from collapsing under the pressure of the printing press or brayer.
3. Charging the Brayer
Squeeze a small bead of ink onto your glass plate. Use your brayer to roll it out until you achieve a "satin" texture. You are looking for a specific viscosity where the ink stands up in tiny, uniform peaks. If the ink is too thick, it will fill in your fine details; too thin, and it will bleed into the fabric fibers.
Mastery Tip: Observe the capillary action. When the brayer is properly charged, it should make a crisp, hissing sound. This indicates the ink is evenly distributed across the roller's circumference, ensuring a flawless transfer to the block.
4. The Impression Stroke
Place your napkin on a padded surface, such as a piece of felt or a stack of newsprint. This "give" allows the fabric to wrap slightly around the edges of the carved block, ensuring full coverage. Lower the block onto the fabric in one decisive motion to avoid ghosting. Apply firm, even pressure using a barren or the palm of your hand.
Mastery Tip: The science here involves interfacial tension. By using a padded backing, you ensure the ink is forced into the interstitial spaces of the fabric weave rather than just sitting on the surface. This creates a more durable, professional-grade Block Printed Napkin.
THE TECHNICAL LEDGER
Maintenance & Longevity: After each session, clean your blocks with a lint-free cloth and a tiny drop of vegetable oil to dissolve the ink. Store them flat in a cool, dry place. Avoid stacking blocks directly on top of each other, as the weight can cause the linoleum to warp or the designs to "marry" over time.
Material Variations: For a sustainable approach, use recycled hemp napkins. Hemp has incredible tensile strength and a high absorption rate, making it perfect for block printing. For a premium feel, 100% Belgian linen offers a sophisticated drape that elevates the organic motifs.
The Correction:
- The Smudge: If you slip while carving, fill the gap with a tiny amount of wood filler, let it dry, and re-sand.
- The Flood: If your print looks "blobby," your ink is too thick. Roll out the excess on a clean patch of glass.
- The Fade: If the print is patchy, you likely have a "low spot" in your linoleum. Add a small piece of masking tape to the back of the block in that specific area to shim it up.
Studio Organization: To prevent degradation, keep your paper and fabric in a humidity-controlled environment. Use an oscillating tool to sharpen your gouges every few hours of carving; a dull blade is the primary cause of hand fatigue and ragged edges.
THE FINAL REVEAL
Look at that! You have successfully navigated the physics of relief printing to create a stunning set of Block Printed Napkins. The organic motifs, with their slight variations and hand-carved soul, bring an undeniable energy to the table. There is a profound satisfaction in seeing the way the ink has bonded with the linen, creating a marriage of texture and color that feels both ancient and modern. These napkins are not just kitchen accessories; they are a testament to your technical skill and creative vision. Throw a dinner party, show them off, and let everyone marvel at the crisp lines and professional finish you achieved right in your own studio.
STUDIO QUESTIONS
What is the best fabric for block printing?
Natural fibers like linen and 100% cotton are superior. Their porous structure allows the ink to penetrate the fibers deeply, ensuring the design remains vibrant through multiple wash cycles compared to synthetic blends which often repel the pigment.
How do I stop my ink from bleeding?
Control the ink viscosity. If the ink is too fluid, it will travel through the fabric via capillary action. Use a professional-grade oil-based relief ink and ensure your brayer "hisses" during the charging phase for the perfect, thin application.
Can I wash my block printed napkins immediately?
No. You must allow the ink to oxidize and cure for at least five to seven days. For extra security, heat-set the design with a dry iron on the reverse side before the first wash to lock the molecules into the fabric.
Why are my prints coming out patchy?
This usually indicates uneven pressure or a lack of padding. Always print on a slightly soft surface, like a thin foam sheet or felt, to ensure the block makes full contact with the irregular texture of the woven fabric.