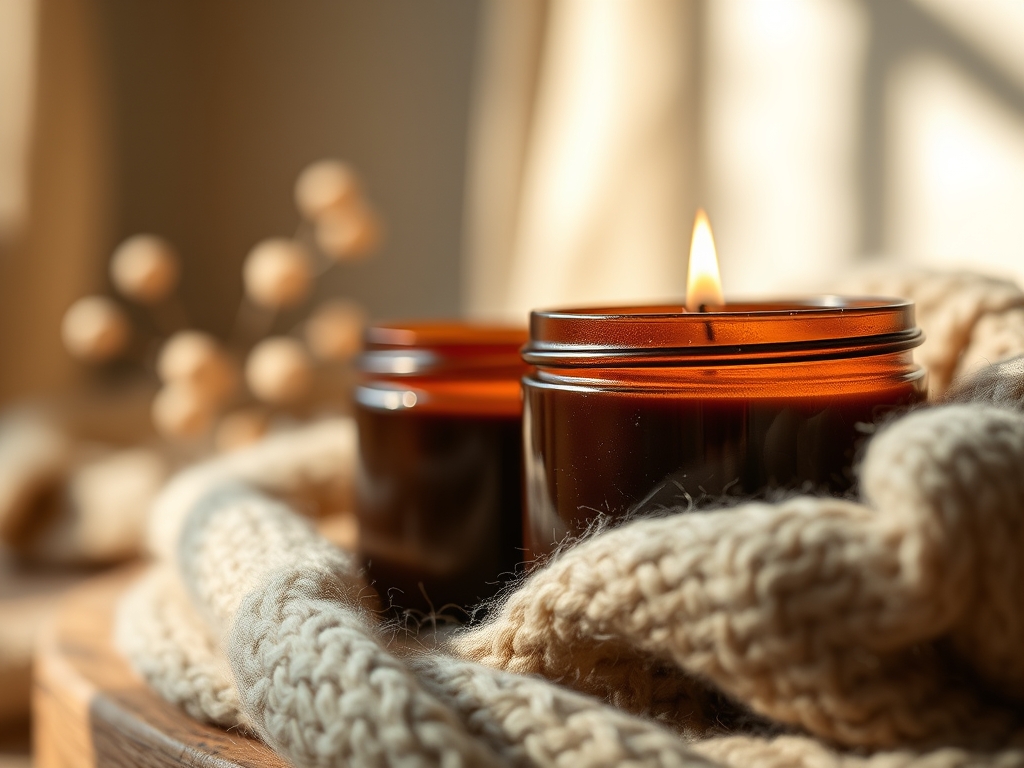
The air in the studio today is heavy with the scent of raw potential and melted wax. You know that specific, velvety texture of unrefined soy flakes? It is almost like handling fresh snowfall that refuses to melt until it hits the precise thermal threshold. We are diving deep into the world of Natural Soy Candles because your workspace deserves more than just a flickering light; it needs a curated atmospheric engine. Soy wax is a fascinating medium from a physics standpoint. Unlike paraffin, which has a chaotic, petroleum based molecular structure, soy is composed of long chain fatty acids that offer a much higher level of thermal stability. This means the melt pool expands at a predictable, linear rate. When you press your thumb into a cured block of soy, the tactile resistance tells you everything about its hydrogenated state. We are going to harness that density to create a clean, soot free burn that keeps your focus sharp and your lungs clear while you crush those deadlines.
THE STUDIO KIT
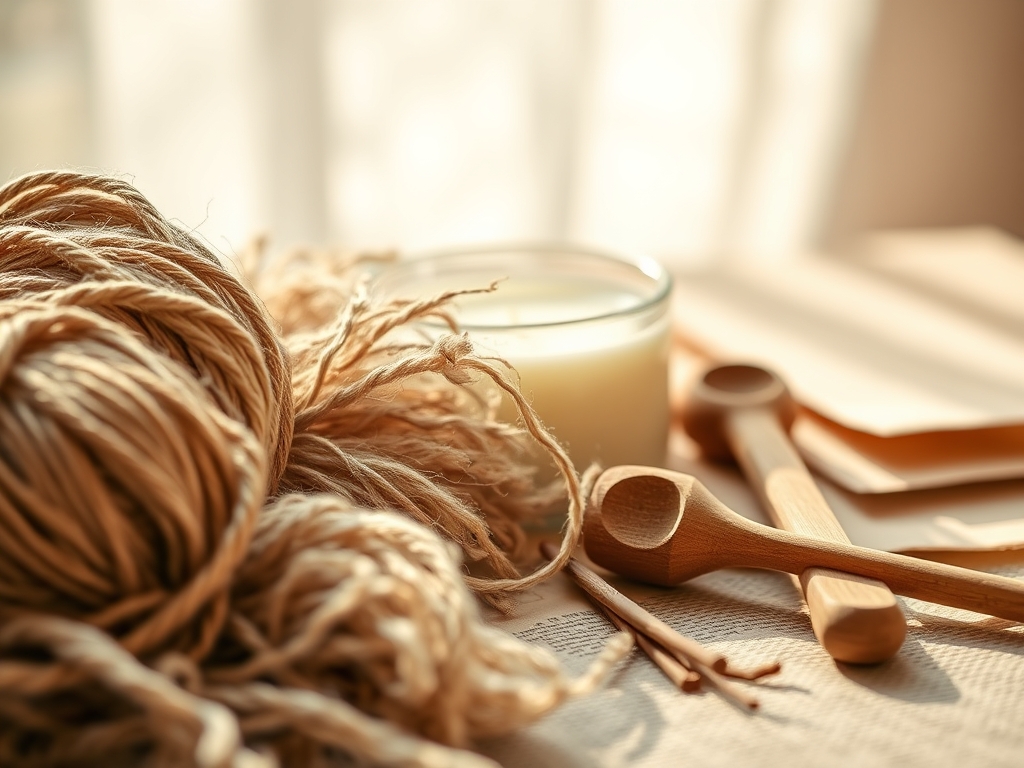
To master the art of Natural Soy Candles, you need to think like a chemist and act like an artisan. We are not just "melting wax" here; we are managing phase changes and molecular suspension. Here is what is on the workbench:
1. The Medium: High grade soy wax flakes. Look for a "container blend" which has a lower melting point (around 120 to 125 degrees Fahrenheit) to ensure the wax adheres to the glass walls without shrinking.
2. The Vessel: Borosilicate glass or heavy gauge ceramic. The thermal shock resistance of your container is vital. If the glass is too thin, the heat gradient between the flame and the ambient air can cause a structural failure.
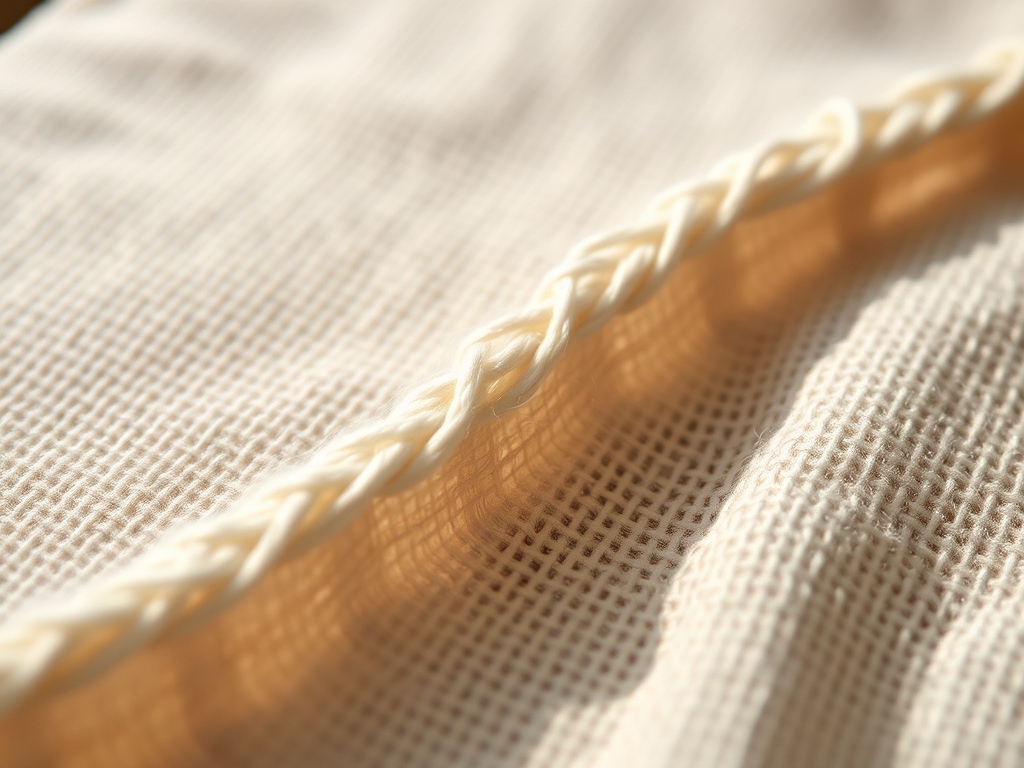
3. The Wick: Braided cotton or FSC certified wood wicks. We are looking for high capillary action. The wick acts as a fuel pump; it draws the liquid wax upward through the fibers to feed the combustion zone.
4. The Precision Tools: A digital infrared thermometer is non negotiable. You also need a pouring pitcher with an ergonomic handle to maintain a steady flow rate. I often use a jeweler's saw to trim wood wicks to a precise 1/8 inch height for the initial light.
Material Substitutions: If you cannot find cotton wicks, hemp cord is a fantastic high tensile alternative. For vessels, you can upcycle thick walled jam jars, provided you burnish the rim to remove any micro fractures that could expand under heat.
THE TEMPO
The Maker's Rhythm for candle crafting is all about thermal patience. You cannot rush the cooling process without risking "wet spots" or "frosting," which is the crystallization of the soy fats.
Phase 1: The Melt (15 Minutes). This is the high energy phase where you monitor the heat rise. You want a steady climb, not a flash boil.
Phase 2: The Infusion (5 Minutes). This is the window where the wax is hot enough to expand its molecular "pores" to accept fragrance oils but cool enough not to burn them off.
Phase 3: The Set (24 to 48 Hours). This is the silent phase. The wax is reorganizing its crystalline structure. Moving the candle during this time disrupts the "cold throw" (the scent of the candle when unlit).
THE CORE METHOD
1. Preparing the Foundation
First, we clean the vessel with isopropyl alcohol to remove any residual oils. Secure your wick to the exact geometric center of the base using a heat resistant adhesive dot. Mastery Tip: Centering is not just about aesthetics; it is about heat distribution. If the wick is off center, one side of the glass will experience higher thermal stress, potentially leading to a crack, while the other side fails to melt, creating a "tunneling" effect.
2. The Controlled Melt
Load your soy flakes into the pouring pitcher and place it in a double boiler. Use your infrared thermometer to track the temperature until it reaches 185 degrees Fahrenheit. Mastery Tip: This specific temperature is the "saturation point" for soy. At 185 degrees, the wax molecules are sufficiently agitated to allow fragrance oils to bond chemically rather than just sitting in a physical suspension.
3. Scent Engineering
Once you hit the target temp, remove from heat and add your chosen scent. For a workspace, I recommend a 6 percent fragrance load. Stir slowly for two full minutes using a stainless steel rod. Mastery Tip: Stirring is about kinetic energy. You are ensuring that the fragrance oil is evenly distributed throughout the wax "lattice" so that every layer of the candle smells exactly the same as it burns down.
4. The Precision Pour
Wait for the wax to cool to approximately 135 degrees Fahrenheit before pouring into your vessel. Pour slowly to minimize air entrapment. Mastery Tip: This is all about surface tension. A slow, steady pour prevents the formation of "caverns" or air bubbles near the wick. If air is trapped, it creates a "pop" during the burn, which can destabilize the flame and cause flickering.
5. The Curing Ritual
Place the candles on a level, room temperature surface away from drafts. Trim the wick only after the wax has completely opaque and hardened. Mastery Tip: Soy wax is polymorphic, meaning it can take many physical forms. A slow, insulated cool down ensures the smoothest surface finish and the strongest structural integrity for the finished Natural Soy Candles.
THE TECHNICAL LEDGER
Maintenance & Longevity: Always trim your wick to 1/4 inch before every single light. This controls the "fuel to flame" ratio. If the wick is too long, it draws too much wax, leading to a tall, smoky flame that creates carbon buildup.
Material Variations:
- Sustainable: Use 100 percent organic soy wax sourced from local farms.
- Premium: Blend in 10 percent beeswax to increase the "tensile strength" of the wax, making the candle last 15 percent longer.
- Recycled: Use crushed sea glass at the bottom of the vessel for a refracted light effect.
The Correction:
- The Sinkhole: If a hole forms around the wick, use a heat gun on a low setting to remelt the top 1/4 inch of wax. This allows the air to escape and the surface to self level.
- Frosting: Those white crystalline patches are natural in soy. To minimize them, ensure your studio temperature is a steady 70 degrees during the curing phase.
- Weak Scent: If you cannot smell the candle, you likely added the oil at too low a temperature. Next time, ensure you hit that 185 degree mark for optimal bonding.
Studio Organization: Store your finished candles in a cool, dark cabinet. UV light can degrade the fragrance oils and turn the natural white soy into a yellowish hue. Keep your wicks in a sealed container to prevent them from absorbing ambient moisture, which causes sputtering.
THE FINAL REVEAL
Look at that smooth, creamy finish! There is nothing quite like the sight of a perfectly poured soy candle. When you light these in your workspace, you are not just setting a mood; you are activating a tool for productivity. The five scents we focused on; perhaps a sharp Eucalyptus for clarity or a deep Sandalwood for grounding; are now locked into a stable wax matrix. The flame should be steady, the melt pool should be edge to edge, and the scent should be a subtle, constant companion to your creative process. You have mastered the physics of the pour!
STUDIO QUESTIONS
Why is my soy candle "sweating" oil?
This usually happens due to a "fragrance overload" or sudden temperature changes. If the wax cannot hold the oil, it beads on the surface. Blot it with a paper towel and keep the candle in a climate controlled environment.
How do I prevent my candle from tunneling?
Ensure your first burn lasts long enough for the melt pool to reach the glass edges. This "sets the memory" of the wax. Because soy has a specific thermal memory, failing to do this causes permanent tunneling.
What is the best wick for a 3-inch jar?
For a 3 inch diameter, a medium sized braided cotton wick (like a CD 12 or HTP 105) is ideal. It provides enough heat to melt the wide surface without overheating the borosilicate glass vessel.
Can I add dried flowers to my soy candles?
While aesthetically pleasing, botanical inclusions are a fire hazard. They can act as secondary wicks, causing the flame to grow uncontrollably. It is safer to keep the wax pure and focus on high quality fragrance oils.
Why does my candle have a "mushroom" on the wick?
A "mushroom" is a carbon buildup caused by the wick consuming more fuel than it can burn. This happens if the fragrance load is too high or if the wick needs trimming. Always trim before relighting.