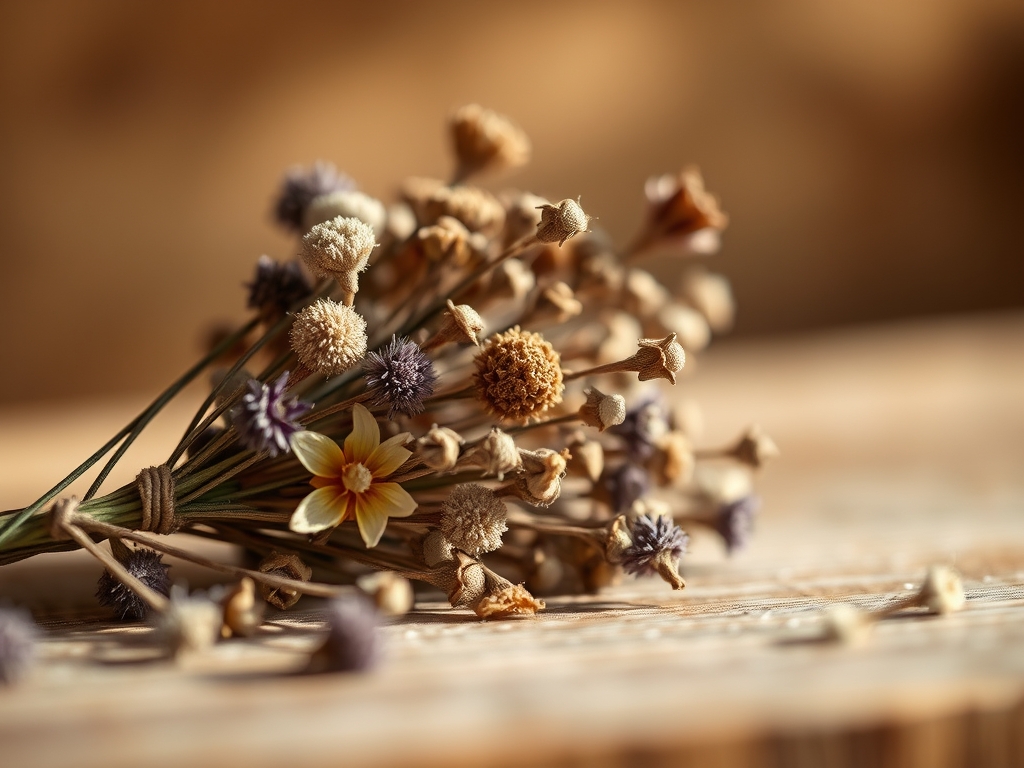
Imagine the scent of ancient libraries mixed with the crisp, ozone bite of a high-altitude meadow. That is the aroma of your studio when you commit to the art of Dried Flower Pressing. You are not just squishing petals; you are performing a delicate extraction of moisture while maintaining the structural integrity of cellular walls. As your fingers brush against the velvet surface of a fresh petal, you can feel the turgor pressure holding it upright. Our goal is to replace that water with stillness. We are capturing a botanical ghost, locking it into a two dimensional plane without losing the vibrant pigment or the intricate vein patterns that define its life. It feels like a heist against time itself. You need a steady hand and a deep appreciation for the physics of organic decay. We are going to take these living, breathing specimens and turn them into permanent artifacts through a series of refined, antique maneuvers that rely on pressure, airflow, and the specific gravity of the materials we choose.
THE STUDIO KIT
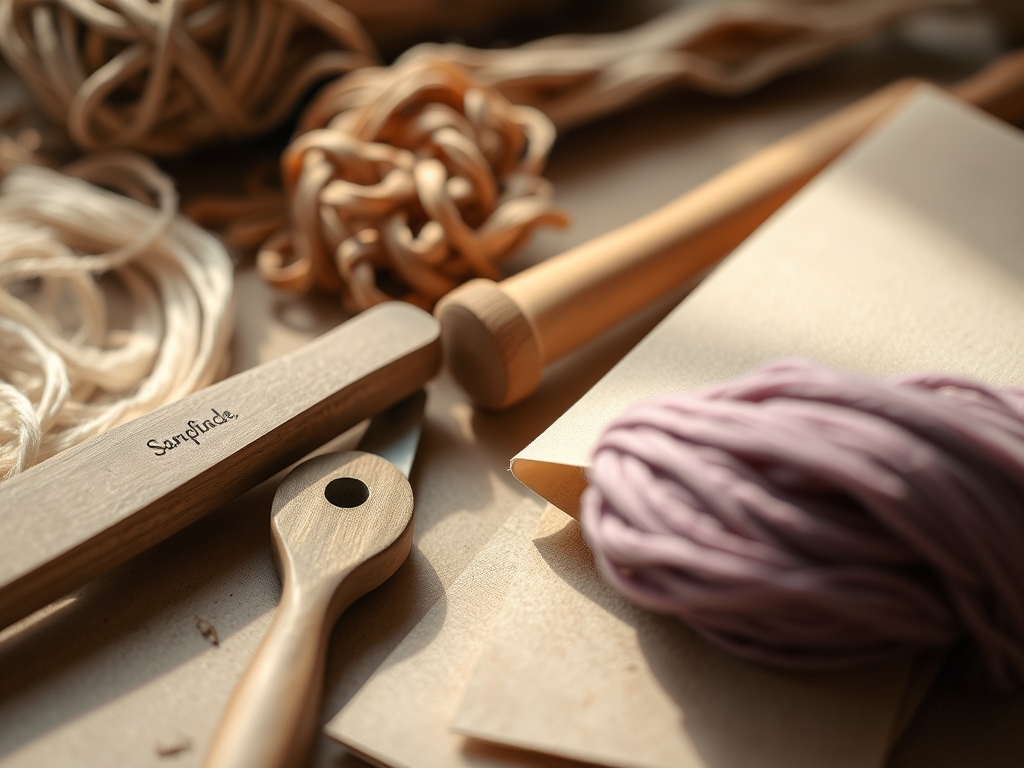
To master this, you need more than just a heavy book. We are looking for porous interfaces that allow for rapid moisture migration. Your primary tool is the wooden flower press, ideally constructed from high-density birch plywood to prevent warping under the high-torque tension of the carriage bolts. You will need acid-free blotting paper with a high GSM (grams per square meter) to ensure that the moisture wicks away without bleeding color back into the specimen. A bone folder is essential for burnishing the edges of thicker stems, while a pair of fine-tipped jeweler's tweezers allows you to manipulate delicate stamens without the oils from your skin degrading the plant tissue. For precision trimming, a rotary cutter or a scalpel provides a clean, vertical shear that prevents the crushing of vascular bundles.
Material Substitutions: If you lack professional blotting paper, unglazed newsprint or coffee filters (the flat kind) work in a pinch because they lack the sizing agents found in standard printer paper. Instead of a professional press, two slabs of marble provide excellent, consistent gravitational pressure, though they lack the adjustable tension of a bolt-and-wingnut system.
THE TEMPO
The "Maker's Rhythm" in Dried Flower Pressing is a game of patience and decreasing increments. The initial phase is the Loading Phase, which takes about thirty minutes of intense focus to ensure no petals overlap. Then comes the Dehydration Phase, which lasts anywhere from two to four weeks depending on the ambient humidity of your studio. During the first week, you must check the tension of your press every forty-eight hours. As the flowers lose volume, the pressure drops; you must tighten the wingnuts to maintain the tensile load required to keep the specimens flat. This is not a "set it and forget it" project. It is a slow, rhythmic dialogue between you and the evaporating sap of the plant.
THE CORE METHOD
1. The Anatomical Prep
Before a single petal touches paper, you must address the anatomy. Use your scalpel to bisect thick calyxes or heavy stems. By reducing the bulk density of the flower's center, you ensure that the entire specimen dries at a uniform rate. If the center is too thick, the petals will dry and turn brittle before the core is safe from mold.
Mastery Tip: This relies on the principle of surface area to volume ratio. By exposing the interior moisture of the stem, you facilitate faster evaporation through capillary action, preventing the dreaded "browning" caused by internal rot.
2. The Blotting Sandwich
Layering is everything. Place your specimen between two sheets of acid-free blotting paper, then sandwich those between corrugated cardboard. The ridges in the cardboard act as miniature ventilation shafts, allowing air to circulate through the stack even under heavy pressure.
Mastery Tip: The cardboard flutes must be aligned in the same direction across all layers to create a chimney effect. This optimizes the airflow and ensures that moisture is pulled away from the center of the press toward the edges.
3. The Initial Compression
Place the sandwich into the press and tighten the bolts. You want to apply enough pressure to flatten the cells but not so much that you rupture the cell walls and cause the pigments to leak. Use a torque-sensitive touch; tighten until you feel significant resistance, then give it one half-turn more.
Mastery Tip: This phase utilizes mechanical dehydration. By physically compressing the plant tissue, you are forcing water out of the vacuoles and into the absorbent blotting paper, effectively "locking" the color in place before it can oxidize.
4. The Blotter Swap
After twenty-four hours, open the press and replace the damp blotting paper with fresh, bone-dry sheets. This is the most critical step for color preservation. If the flower sits in its own expelled moisture for too long, the pH balance shifts and the colors fade.
Mastery Tip: This is an application of osmotic potential. By introducing a completely dry medium, you create a steep moisture gradient that pulls the remaining water out of the flower with greater efficiency.
5. The Long Rest
Once the second set of papers is in place, tighten the press and move it to a warm, dark, and dry location. Light is the enemy of pigment; UV rays will break down the chemical bonds of the natural dyes. A closet or a specialized drying cabinet is ideal.
Mastery Tip: Maintaining a constant ambient temperature prevents the contraction and expansion of the wooden press boards, which ensures that the pressure remains constant and the flowers do not develop "ripples" or structural stress fractures.
6. The Delicate Extraction
After three weeks, use your tweezers to gently lift a corner of the petal. If it feels like paper and does not droop when lifted, the process is complete. If it feels cool to the touch or slightly leathery, it still holds moisture and needs another week.
Mastery Tip: This is a test of hygroscopic equilibrium. When the flower no longer feels "cool," it means it has reached the same moisture level as the surrounding air, signaling that the biological activity has completely ceased.
THE TECHNICAL LEDGER
Maintenance & Longevity: To keep your press in top shape, lightly sand the wooden boards once a year to remove any salt or sap deposits. Store your blotting papers in a sealed container with silica gel packets to keep them at 0 percent humidity.
Material Variations:
- Sustainable: Use recycled grayboard instead of fresh corrugated cardboard.
- Premium: Invest in 100 percent cotton rag paper for the ultimate archival interface.
- Technical: Use a vacuum press for professional-grade speed, though this can sometimes compromise the "antique" look of the texture.
The Correction:
- Problem: Petals are turning brown. Fix: You didn't change the blotter paper early enough. Increase the frequency of your paper swaps in the first forty-eight hours.
- Problem: Flowers are sticking to the paper. Fix: The specimen was too wet or the paper was too textured. Use a silicone-coated parchment layer for extremely "juicy" succulents.
- Problem: Petals are translucent. Fix: The pressure was too high, crushing the cell structure. Reduce the torque on your wingnuts for delicate species like poppies.
Studio Organization: Store finished specimens in glassine envelopes filed by genus and date. Keep these in a flat-file cabinet or a dark box to prevent light degradation and physical shearing.
THE FINAL REVEAL
There is nothing quite like the moment you peel back that final layer of blotting paper to find a perfectly preserved specimen. It is a tactile triumph. The flower is now a wafer-thin masterpiece, possessing a matte finish and a structural rigidity that feels like fine parchment. The colors are concentrated and deep, captured in a state of permanent grace. When you hold it up to the light, the vascular system glows like a map of a tiny, frozen kingdom. You have successfully navigated the physics of decay and come out the other side with a piece of history.
STUDIO QUESTIONS
Which flowers are best for beginners in Dried Flower Pressing?
Start with flowers that have a low moisture content and naturally flat profiles, such as pansies, violas, or Queen Anne's Lace. These specimens have a high surface-to-volume ratio, making them less prone to mold during the initial dehydration phase.
How do I prevent my pressed flowers from fading over time?
Keep them out of direct sunlight and store them in a low-humidity environment. For archival displays, use UV-filtered glass and acid-free mounting adhesives to prevent chemical reactions that break down the natural pigments and weaken the plant's structural fibers.
Can I use a microwave to speed up the pressing process?
Yes, but it requires specialized terracotta pressing plates. The microwave uses electromagnetic radiation to vibrate water molecules, causing rapid evaporation. While fast, this method can sometimes "cook" the pigments, leading to less vibrant results than traditional air-drying methods.
What is the best way to handle very delicate, thin petals?
Use a static-charged brush or fine jeweler's tweezers to move them. Avoid using your fingers, as the natural oils and moisture from your skin can cause the thin tissue to tear or develop transparent "grease spots" that ruin the aesthetic.