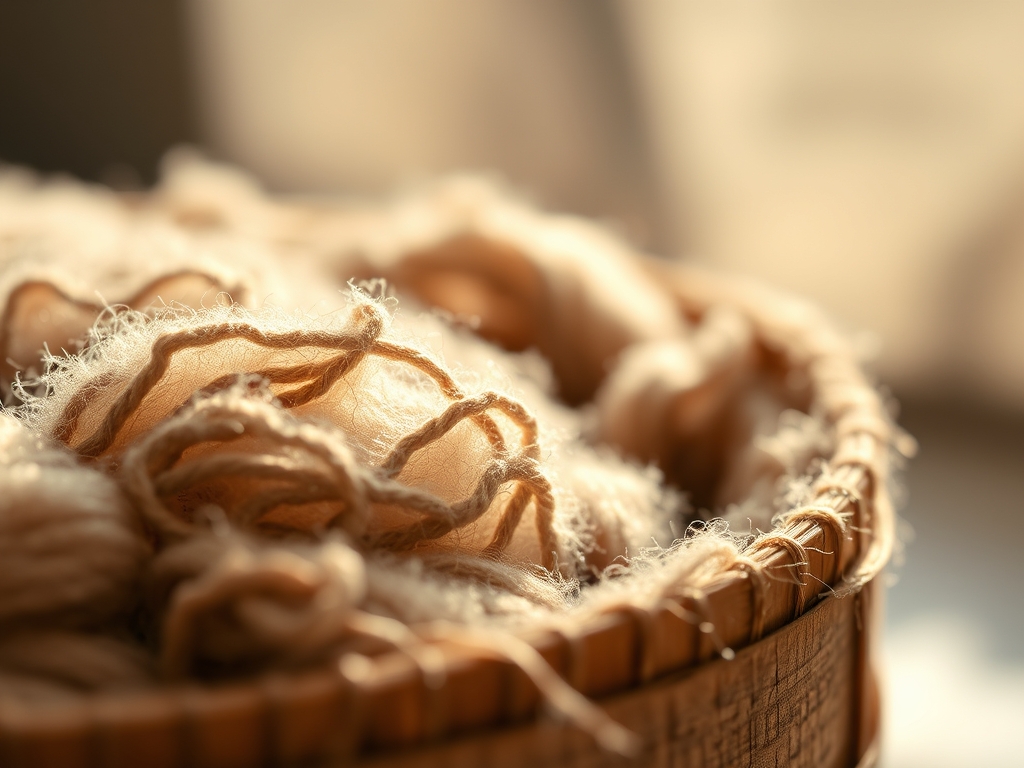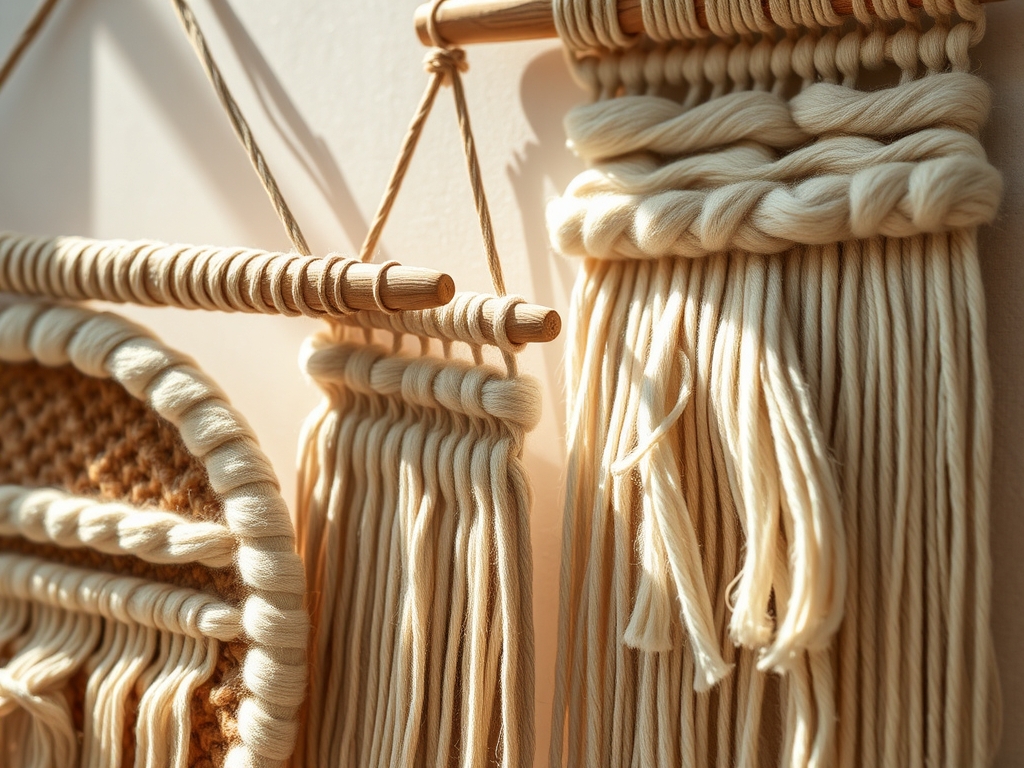
Grab a handful of that unspun wool and squeeze it. Can you feel the potential energy trapped in those crimped fibers? It is soft; it is airy; it is the secret weapon for creating high-impact Woven Wall Hangings without spending a fortune on premium yarns. We are talking about scrap roving, those fluffy leftovers from spinning or needle felting that usually end up in the bin. Instead of tossing them, we are going to exploit their unique tensile strength and high fiber density to build architectural depth. When you work with roving, you are not just weaving; you are sculpting with protein fibers. The way the light hits the scales of the wool creates a soft diffusion that flat yarn simply cannot replicate. We are going to layer these clouds of wool to create a 3D landscape that begs to be touched. This project is about the intersection of physics and aesthetic joy. By the time we are done, you will understand exactly how to manipulate the staple length of your wool to ensure your masterpiece stays structural and stunning for years.
THE STUDIO KIT
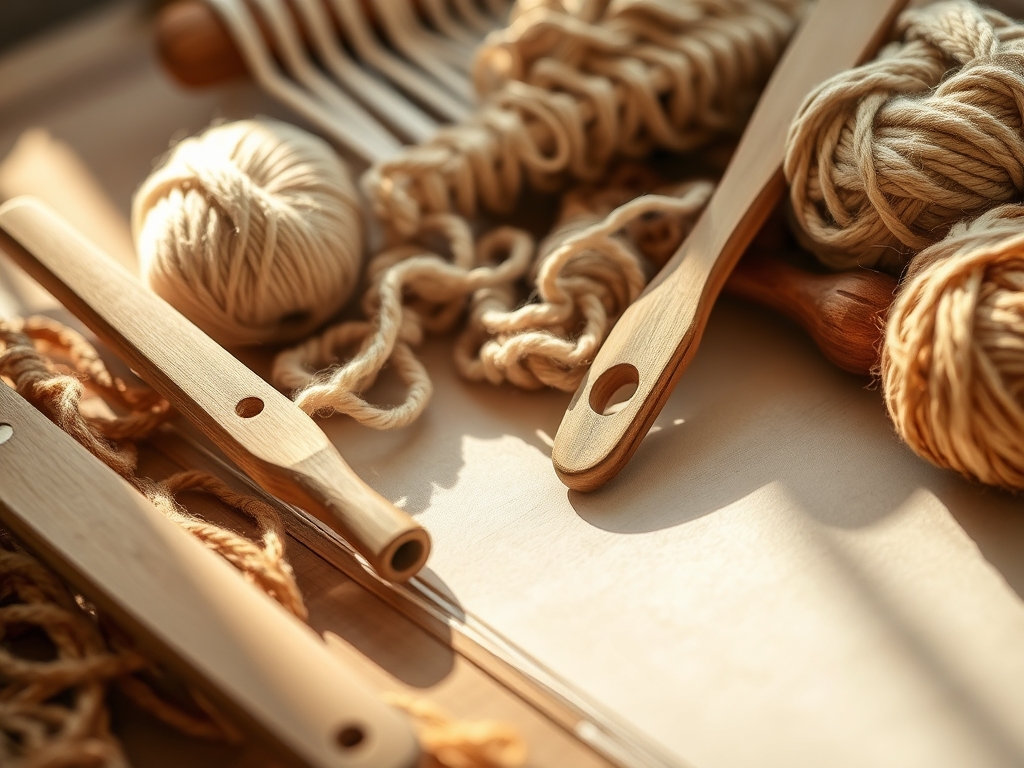
To master the art of Woven Wall Hangings, you need more than just a frame; you need a kit that respects the porous nature of your materials. Start with a sturdy frame loom, preferably one with adjustable tension. You will need a weaving sword or a shed stick to create a clean path for your roving. For fine-tuning the placement of your fibers, a tapestry needle and a small metal awl are indispensable for nudging stray hairs into place. If you are working with particularly thick roving, a pair of precision calipers can help you maintain a consistent gauge across your horizontal rows.
For material substitutions, if you run out of wool roving, look for recycled sari silk ribbon or even unraveled cotton mop heads. These materials offer a similar tactile bulk but with different capillary action properties if you decide to hand-dye them later. Always keep a rotary cutter and a self-healing mat nearby to trim your fringe with surgical precision. The goal is to balance the organic chaos of the roving with the structural rigidity of your warp thread, usually a high-strength cotton or linen twine that can withstand significant tensile stress without snapping.
THE TEMPO
The "Maker's Rhythm" is a physiological state where your heart rate syncs with the repetitive motion of the loom. For this eight-layer project, expect to spend about five to seven hours at the bench. The first hour is dedicated to the "Foundation Phase," where you warp the loom and establish your base. This requires high focus to ensure your warp tension is perfectly even. The next three hours are the "Flow Phase," where you build your eight layers of textured roving. This is the most creative part, where you play with ply and volume. The final two hours are the "Refinement Phase," focusing on securing the back, tucking in loose ends with a bone folder for a flush finish, and mounting the piece. Respecting this tempo prevents hand fatigue and ensures that your ergonomic posture remains intact throughout the build.
THE CORE METHOD
1. The Structural Foundation
Before the fluff, you need a skeleton. Warp your loom with a high-twist cotton cord. Ensure the gauge is tight enough to support the weight of heavy roving. If the warp is too loose, the weight of the wool will cause the piece to sag over time due to gravitational pull.
Mastery Tip: Understand Hooke's Law here; the strain on your warp should be proportional to the stress of the roving. Use a tension meter or simply pluck the strings; they should emit a consistent, high-pitched "ping."
2. The Soumak Base
Start with a row of Soumak weaving. This technique involves wrapping the yarn around each warp thread, creating a braided look that locks the subsequent layers in place. It acts as a physical barrier to prevent the roving from sliding down the warp.
Mastery Tip: This technique increases the friction coefficient between the yarn and the warp, providing a stable "shelf" for your textured layers to sit upon.
3. The Cloud Insertion
Take a thick piece of scrap roving and gently pull it apart to create a "cloud." Do not cut it; pulling preserves the staple length, which keeps the fibers interlocked. Weave this in a simple over-under pattern, but leave large loops on the surface.
Mastery Tip: By preserving the staple length, you utilize the natural interlocking scales of the wool fibers to maintain structural integrity without needing adhesive.
4. The Tassel Fringe Layer
Incorporate "Rya knots" using shorter scraps of roving. This creates a waterfall effect. Aim for a high fiber density here to give the bottom of your Woven Wall Hangings a sense of "weight" and grounding.
Mastery Tip: Rya knots rely on mechanical interlocking. The tighter you pull the knot against the warp, the more the fibers compress, increasing the knot's security.
5. The Twisted Rope Technique
Twist two different colors of roving together before weaving. This increases the ply count and creates a marled, rope-like texture that stands out against the softer clouds.
Mastery Tip: Adding a twist introduces torsional strain, which makes the roving more resistant to shedding and pilling over time.
6. The Bubbled Weft
Weave a row of roving and then use your fingers or a bone folder to pull sections forward, creating "bubbles." This adds a dramatic 3D topographical element to the piece.
Mastery Tip: This technique manipulates the surface area of the hanging. More surface area means more light refraction, making the colors appear more vibrant.
7. The Tapered Gradient
Layer thinner strips of roving on top of thicker ones. This creates a visual and physical gradient. Use your metal awl to blend the edges of the roving together so the transition looks seamless.
Mastery Tip: This uses the principle of cohesion. The microscopic scales on the wool fibers will naturally grab onto each other when agitated slightly with the awl.
8. The Compression Row
Finish your eight layers with another row of tight Soumak or plain weave using a high-tensile yarn. This "caps" the roving and prevents it from expanding upward.
Mastery Tip: This final row acts as a compression member in your structural design, ensuring the airy roving layers remain trapped in their intended positions.
THE TECHNICAL LEDGER
Maintenance & Longevity: To keep your Woven Wall Hangings pristine, avoid direct sunlight which can degrade the protein bonds in the wool. Use a soft-bristled brush to gently whisk away dust. Never use a vacuum, as the high suction will pull the roving fibers out of their weave.
Material Variations: For a sustainable approach, use "core spun" roving made from recycled textile waste. For a premium feel, choose Merino or Alpaca roving, which have a higher luster and softer micron count.
The Correction:
- Shedding: If your roving is shedding, lightly mist it with a mixture of water and a tiny drop of wool wash to help the fibers "felt" together slightly.
- Sagging: If the piece sags, use a tapestry needle to weave a "support wire" of clear monofilament through the back.
- Gaps: If you see the warp peeking through, use your awl to tease the roving fibers sideways to fill the void.
Studio Organization: Store your scrap roving in airtight, non-porous bins. Wool is a natural fiber that can attract pests; adding a block of cedar or a sachet of lavender will protect the structural integrity of your stash.
THE FINAL REVEAL
Step back and look at that texture! Your Woven Wall Hangings are no longer just decor; they are a masterclass in fiber physics. The way the eight layers interact creates a sense of movement and depth that transforms a flat wall into a tactile experience. The scrap roving, once destined for the trash, now provides the soul of the piece. The contrast between the tight, structural rows and the billowy, unspun clouds creates a visual tension that is incredibly sophisticated. You have successfully balanced tensile strength with organic form.
STUDIO QUESTIONS
How do I stop roving from shedding?
Lightly felt the surface by misting it with water and gently agitating the fibers. This creates fiber entanglement, which locks the loose ends into the main body of the roving without ruining the fluffy aesthetic.
What is the best warp for heavy roving?
Use a multi-ply cotton or linen cord with high tensile strength. These materials have minimal "creep," meaning they will not stretch significantly over time under the weight of the heavy wool layers.
Can I wash my woven wall hanging?
No, immersion will cause the roving to felt and shrink unevenly. Spot clean only with a damp cloth. The capillary action of wool means it absorbs moisture quickly, which can lead to permanent distortion.
How do I calculate how much roving I need?
Estimate by volume rather than weight. Roving is highly compressible. A good rule of thumb is to have three times the visual volume of the area you plan to fill on the loom.
What tool is best for finishing ends?
A bent-tip tapestry needle is superior for weaving ends back into the dense structure. The angle allows you to navigate the warp and weft without disturbing the delicate surface tension of the roving layers.