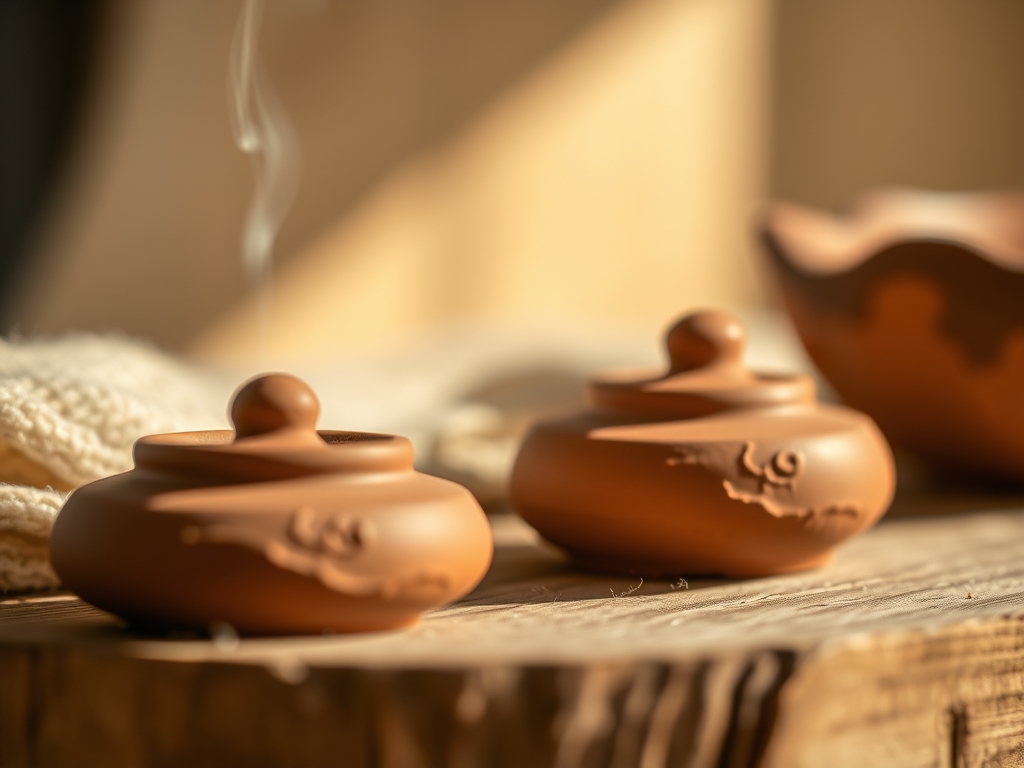
Imagine the feeling of cool, damp earth yielding under your fingertips; it is a moment of pure potential where physics meets art. We are diving deep into the world of Clay Incense Burners today because your space deserves a functional masterpiece that actually works. We are not just making pretty objects; we are engineering ash-catchers that respect the laws of gravity and thermal expansion. You want that sleek, minimalist aesthetic without the messy cleanup of gray dust scattering across your walnut dresser. By mastering the moisture content and structural integrity of your medium, you can create vessels that are both ethereal and indestructible. We are looking for that perfect balance of weight and grace. It is about the way the light hits a burnished edge and how a single, centered hole holds a stick at the precise angle required for an aerodynamic burn. Grab your apron and clear your workbench. We are about to transform a raw lump of mineral-rich mud into a sophisticated tool for your daily rituals.
THE STUDIO KIT
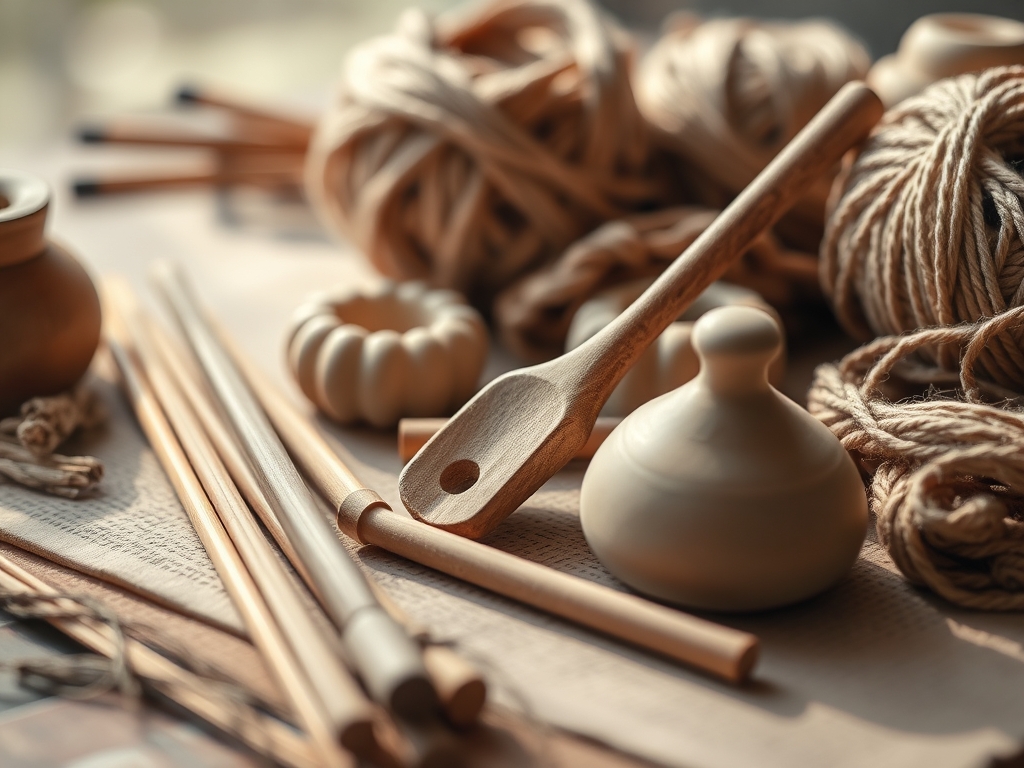
To execute these designs with professional precision, you need a kit that respects the tensile strength of your medium. Start with a high-fire stoneware or a premium air-dry clay with a high fiber density to prevent warping. You will need a stainless steel needle tool for piercing apertures and a set of calipers to ensure your dimensions are symmetrical. A silicone rib is essential for smoothing the surface without adding excess water, which can weaken the internal bonds of the clay. For the refined edges, keep a fine-grit sanding sponge and a chamois cloth nearby.
Material Substitutions: If you cannot access a kiln, high-quality polymer clay offers excellent durability and water resistance once cured. You can substitute a professional rolling pin with a heavy glass bottle, provided it has no seams. Instead of a specialized wire cutter, a high-gauge fishing line tied to two wooden dowels creates a clean, shearing force through the clay block.
THE TEMPO
The Maker's Rhythm is a dance between patience and chemistry. You cannot rush the evaporation cycle without risking structural failure.
- Preparation (20 Minutes): Wedging the clay to remove air pockets and align the internal plate-like particles.
- Forming (45 Minutes): Sculpting the six minimal shapes while the clay is in its most plastic state.
- Refining (30 Minutes): Trimming and burnishing once the pieces reach the leather-hard stage.
- Drying (24 to 48 Hours): A slow, controlled dehydration process to prevent uneven shrinkage.
- Finishing (15 Minutes): Final sanding and sealing to ensure the surface is non-porous and ash-resistant.
THE CORE METHOD
1. The Monolith Slab
Roll out a thick, uniform slab of clay using guide sticks to maintain a consistent gauge. Cut a long, narrow rectangle and gently curve one end upward like a frozen wave. Use your needle tool to create a hole at a 45-degree angle at the elevated end.
Mastery Tip: This angle is vital because it utilizes cantilever physics. The weight of the incense stick must be offset by the mass of the base to prevent the burner from tipping forward.
2. The Sunken Sphere
Roll a perfect sphere of clay between your palms until the surface is vitrified and smooth. Use a thumb indentation to create a shallow crater in the center. This creates a natural gravity well for the ash to collect.
Mastery Tip: Use a ball stylus to compress the clay inside the crater. This increases the surface density, making it easier to wipe away resinous residue later.
3. The Geometric Wedge
Cut a triangular prism from a solid block of clay using a wire cutter. This form uses sharp, architectural lines to create a modern silhouette. The stability of the wide base provides excellent structural integrity.
Mastery Tip: When drilling the incense port, ensure the depth does not exceed two-thirds of the block height. This maintains the thermal mass needed to absorb heat if a coal drops.
4. The Floating Disc
Create a thin, wide circle and use a small wooden block to slightly elevate the center from beneath. This creates a subtle convex slope that guides ash toward the perimeter.
Mastery Tip: This design relies on surface tension during the drying phase. Dry it between two pieces of drywall to ensure the edges do not curl upward as the moisture departs.
5. The Trough Runner
Model a long, U-shaped channel by pressing a dowel into a rectangular strip of clay. This form is the ultimate ash-catcher, providing a literal runway for the falling embers.
Mastery Tip: Smooth the interior of the trough with a damp chamois. A smoother surface reduces friction, allowing you to tip the ash out cleanly without it sticking to microscopic ridges.
6. The Vertical Pillar
Construct a tall, slender cylinder with a weighted base. This design is intended for "hanging" incense where the stick is inserted upside down. It requires a precise, centered aperture at the top.
Mastery Tip: The pillar must be perfectly vertical to keep the center of gravity within the base footprint. Use a plumb line or a small level to check your alignment before the clay sets.
THE TECHNICAL LEDGER
Maintenance & Longevity: To keep your Clay Incense Burners in peak condition, avoid submerged washing. Instead, use a dry, soft-bristled brush to remove ash. For stubborn resin, a cotton swab dipped in isopropyl alcohol will dissolve the oils without compromising the porosity of the clay.
Material Variations:
- Sustainable: Use reclaimed "slop" clay from previous projects, re-wedged for consistency.
- Recycled: Mix in finely ground grog (fired clay) to add texture and reduce shrinkage.
- Premium: Use a translucent porcelain body for a delicate, glass-like finish after firing.
The Correction:
- Cracking at the base: This usually happens due to uneven drying. Fix it by slowing the process under a plastic sheet.
- Loose incense stick: If the hole is too wide, the stick will wobble. Shrink the hole by adding a small "plug" of wet clay and re-piercing with a smaller awl.
- Warping: If the form bends, it was likely moved while too wet. Support the shape with foam blocks during the initial 12 hours of drying.
Studio Organization: Store your unfinished pieces in a "damp box" (a plastic container with a layer of wet plaster at the bottom). This maintains a 100 percent humidity environment, preventing the clay from reaching the bone-dry stage before you are finished carving.
THE FINAL REVEAL
There is nothing quite like the satisfaction of seeing your finished Clay Incense Burners lined up on the studio table. These six forms represent a perfect marriage of minimalist design and rigorous physics. They are heavy enough to feel substantial in your hand, yet delicate enough to disappear into your decor. When you light that first stick, watch how the ash falls in a perfect, predictable line, captured entirely by the geometry you engineered. You have moved beyond mere crafting; you have created a functional tool that masters the elements of earth and fire.
STUDIO QUESTIONS
How do I prevent my clay burner from cracking?
Ensure the clay is wedged thoroughly to remove air. Dry the piece slowly away from direct sunlight or drafts. Covering it loosely with plastic for the first 24 hours allows for even moisture evaporation across the entire form.
What is the best clay for beginners?
A mid-fire stoneware with grog is ideal. The added grit provides structural support and reduces the shrinkage rate. This makes the clay easier to handle and less likely to warp or crack during the drying and firing stages.
How do I clean resin off the burner?
Use a cloth dampened with a small amount of rubbing alcohol. The alcohol breaks down the sticky oils without saturating the porous surface of the clay. Avoid using soap and water, which can leave a film or cause water spots.
Why does the incense stick fall over?
This is usually caused by a hole that is too shallow or a base that lacks sufficient counterweight. Ensure the hole is at least half an inch deep and angled so the stick's weight stays centered over the base.