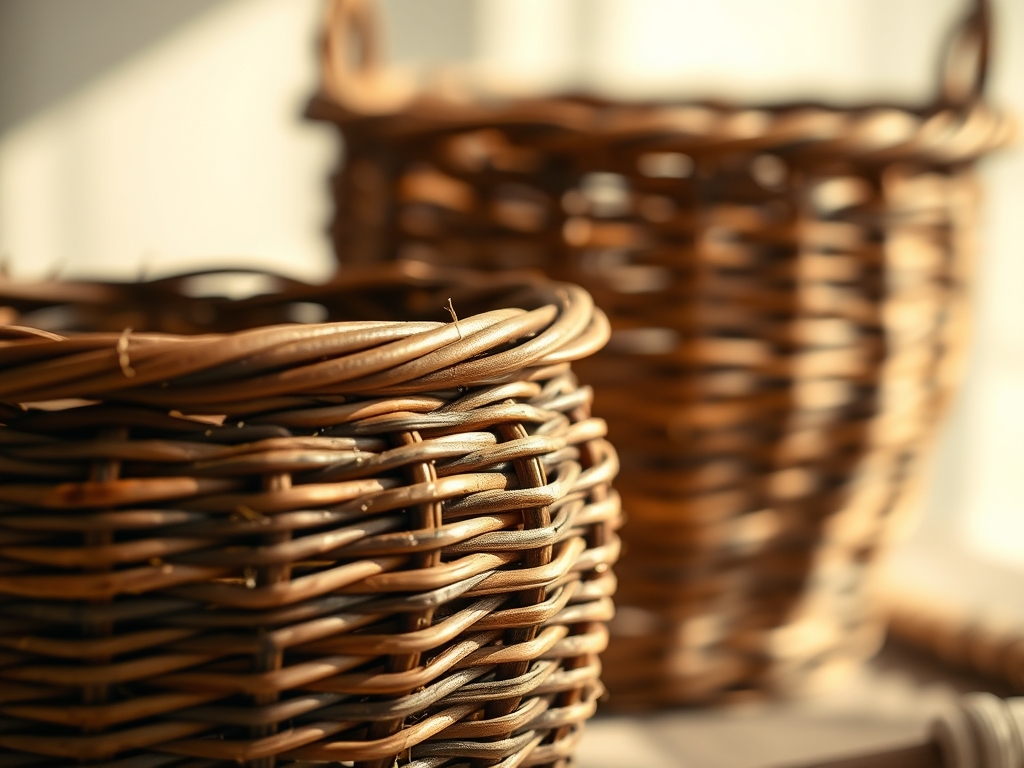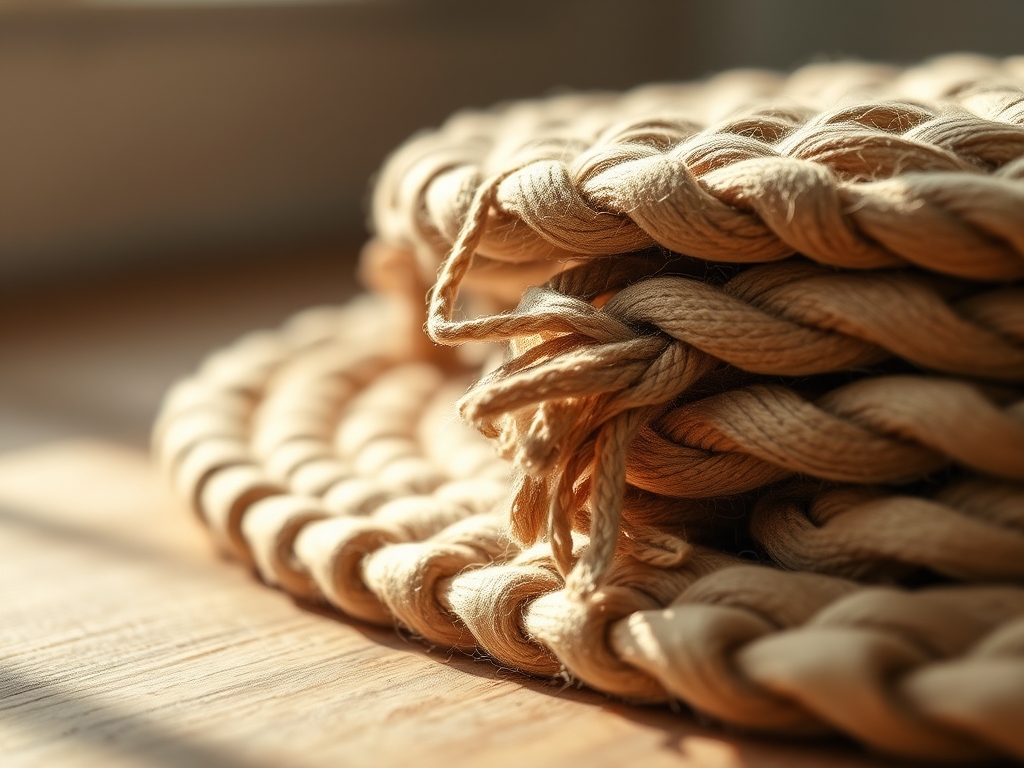
Picture this: your hands are buried in a mountain of vintage cotton percale. You can feel the distinct tensile strength of the fibers as you pull the fabric taut. There is something deeply primal about the sound of a crisp sheet tearing along the grain; it is a sharp, percussive rip that signals the start of something beautiful. We are not just cleaning out a closet; we are reclaiming history. Creating Braided Rag Rugs is the ultimate alchemy of the domestic world. It turns worn, soft, high-thread-count memories into a structural masterpiece for your floor. The tactile feedback of the fabric tells you everything you need to know about its history. A sheet that has been washed a hundred times has a lower fiber density but a much higher level of softness, making it perfect for a rug that feels like a cloud underfoot. We are going to dive deep into the physics of the braid, exploring how tension and friction turn flat strips of cloth into a three dimensional architectural marvel that can withstand years of foot traffic.
THE STUDIO KIT
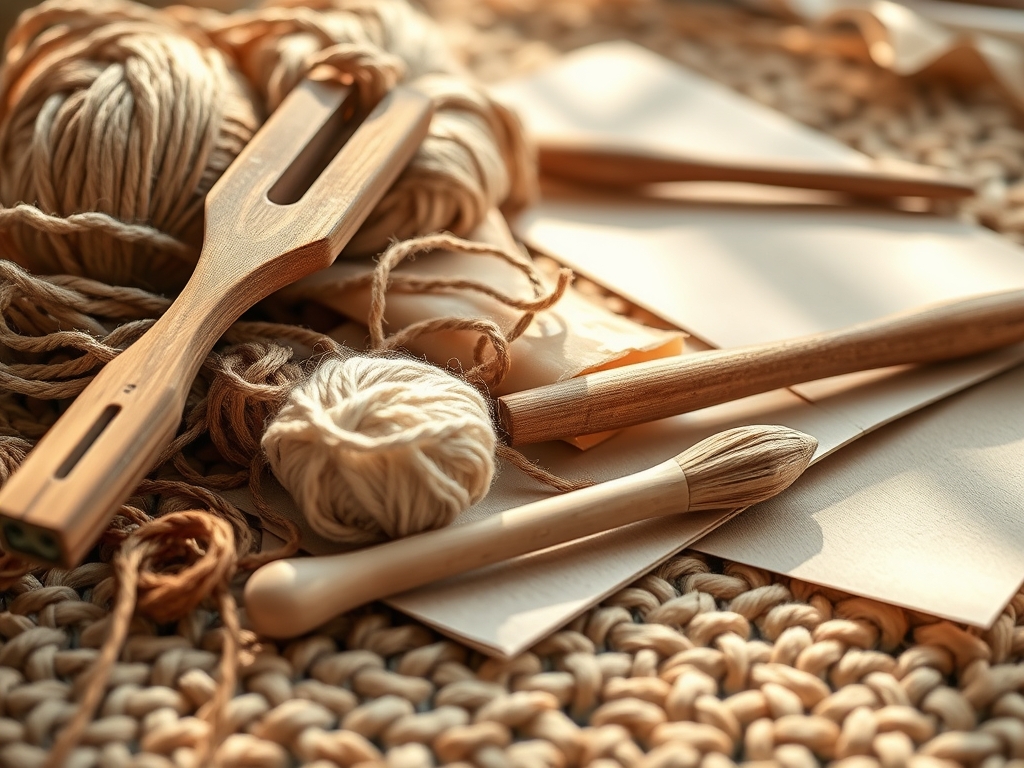
To build a professional grade rug, you need more than just scraps. Your primary engine is a high quality rotary cutter with a fresh 45mm tungsten carbide blade. Unlike standard scissors, a rotary cutter applies even downward pressure, preventing the fraying of the transverse threads during the stripping process. You will also need a self healing cutting mat with a printed grid to ensure your strips maintain a consistent gauge. For the assembly phase, a heavy duty tapestry needle or a curved upholstery needle is non negotiable. This allows you to navigate the dense, coiled layers without straining your hand.
Material Substitutions: While 100 percent cotton is the gold standard for its porous nature and ease of washing, you can integrate jersey knits for a plush feel. However, be wary of the elasticity coefficient of knits; they stretch significantly more than woven sheets, which can lead to a wavy, unstable rug if your tension is not perfectly calibrated. If you want a premium finish, use a bone folder to crisp your folds before you begin the braiding process. This creates a sharper edge and a more compact internal structure.
THE TEMPO
Creating a rug is a marathon, not a sprint. It is all about the Maker's Rhythm. You should allocate approximately two hours for the "Deconstruction Phase," where you strip the sheets and organize your bobbins by color and weight. The "Braiding Phase" is the most time intensive, often requiring ten to fifteen hours depending on the desired diameter. Finally, the "Coiling and Lacing Phase" takes about five hours.
The rhythm is a physiological state. As you braid, your muscle memory takes over, and your hands find a consistent torque for each cross over. This consistency is vital. If your rhythm breaks and your tension fluctuates, the rug will develop "cupping" or "ruffling." Think of it as a low frequency vibration; you want a steady, even pulse from the first inch to the last.
THE CORE METHOD
1. Stripping the Grain
Start by removing all finished hems and elastic from your sheets using a sharp seam ripper. Locate the straight grain of the fabric. You want to cut your strips parallel to the selvage to take advantage of the fabric's natural longitudinal stability. Cut your strips to a width of three inches.
Mastery Tip: Understanding grain direction is crucial. Fabric cut on the bias (diagonally) has a high degree of stretch, which will cause your braid to thin out under pressure. By cutting on the straight grain, you ensure the structural integrity of the rug remains intact even after years of use.
2. The Invisible Join
Instead of bulky knots, use the "slit and pull" method to join your strips. Cut a small vertical slit at the end of each strip. Pull the new strip through the slit of the old one, then pull the tail of the new strip through its own slit. This creates a flat, friction based mechanical bond that is virtually undetectable within the braid.
Mastery Tip: This method relies on surface tension. As the rug is used, the fibers in the join interlock more tightly, creating a permanent connection without the lumpiness of a traditional knot, which could cause a tripping hazard or uneven wear.
3. The Three Ply Braid
Secure three strips to a heavy object using a clamping tool. Begin a standard three strand braid, folding the raw edges inward as you go. This technique, known as "folding to center," hides the frayed edges and creates a smooth, professional finish.
Mastery Tip: Maintain a constant angular velocity as you cross the strands. If you pull too hard on one side, the braid will twist. A perfectly balanced braid ensures that the load distribution across the finished rug is even, preventing premature fiber breakdown.
4. The Spiral Coil
Lay your finished braid on a flat work surface. Begin coiling it into a tight oval or circle. Use your tapestry needle and a high strength polyester thread to "lace" the braids together. You are not sewing through the fabric, but rather catching the loops of the adjacent braids.
Mastery Tip: This is where lateral tension comes into play. If you lace the coils too tightly, the rug will "cup" like a bowl. If you lace them too loosely, it will ripple. Keep the rug flat on the table at all times to ensure the planar alignment is perfect.
5. Tapering the Tail
As you reach the end of your material, gradually trim the width of your three strips so they become thinner. Continue braiding until the braid itself tapers down to a point. Tuck this point under the previous row and sew it firmly into place.
Mastery Tip: Tapering reduces the bulk density at the finish line. By gradually reducing the volume of the material, you allow the rug to terminate in a flush edge, preventing a "bump" that would otherwise disrupt the geometric symmetry of the piece.
THE TECHNICAL LEDGER
Maintenance & Longevity: To preserve the capillary action of the cotton fibers, wash your rug on a gentle cycle with cold water. Avoid high heat drying, which can cause the fibers to become brittle. Air drying is preferred to maintain the ergonomic softness of the weave.
Material Variations: For a sustainable upgrade, incorporate hemp or linen scraps. These fibers have a higher abrasion resistance than cotton. For a premium aesthetic, use silk sheets for a "sheen" effect, though be aware that silk has a much lower coefficient of friction, making the braiding process more slippery.
The Correction:
- The Cup: If the rug bowls up, your lacing is too tight. Solution: Unpick the last three rows and re-lace with zero tension.
- The Ripple: If the edges wave, you have added too much braid to the outer circumference. Solution: Increase the "lead" of your braid as you round the corners.
- The Fray: If threads poke out, your folds were not deep enough. Solution: Use a stiletto tool to tuck the stray fibers back into the braid and secure with a tiny drop of fabric adhesive.
Studio Organization: Store your strips on acid free cardboard bolts to prevent the degradation of the fabric dyes. Keep your bobbins in a climate controlled environment to prevent the cotton from absorbing excess atmospheric moisture, which can lead to mildew.
THE FINAL REVEAL
There it is. You have just transformed a pile of discarded linens into a heavy, durable, and stunning work of art. Feel the weight of it; a well made Braided Rag Rug has a significant mass, which helps it grip the floor without the need for a non slip pad. The colors blend in a beautiful, chaotic harmony that no factory could ever replicate. You have mastered the physics of the fold and the geometry of the spiral. This rug is not just a floor covering; it is a testament to your technical skill and your eye for sustainable design.
STUDIO QUESTIONS
How many sheets do I need for a standard rug?
For a 3×5 foot rug, you will typically need six to eight queen sized sheets. This provides enough material volume to account for the compression that occurs during the braiding and lacing process.
Can I use a sewing machine for the lacing?
Yes, you can use a zigzag stitch on a heavy duty machine. However, you must ensure the machine has a high presser foot clearance to accommodate the thickness of the braids without jamming the feed dogs.
What is the best thread for lacing?
Use a bonded nylon or a heavy duty polyester thread. These have a high breaking strength and are resistant to the friction caused by the constant movement of the rug on the floor.
How do I stop the rug from sliding?
While the static friction of a heavy rug is high, you can apply a thin bead of 100 percent silicone caulk to the underside. Once cured, this provides a permanent, rubberized grip.