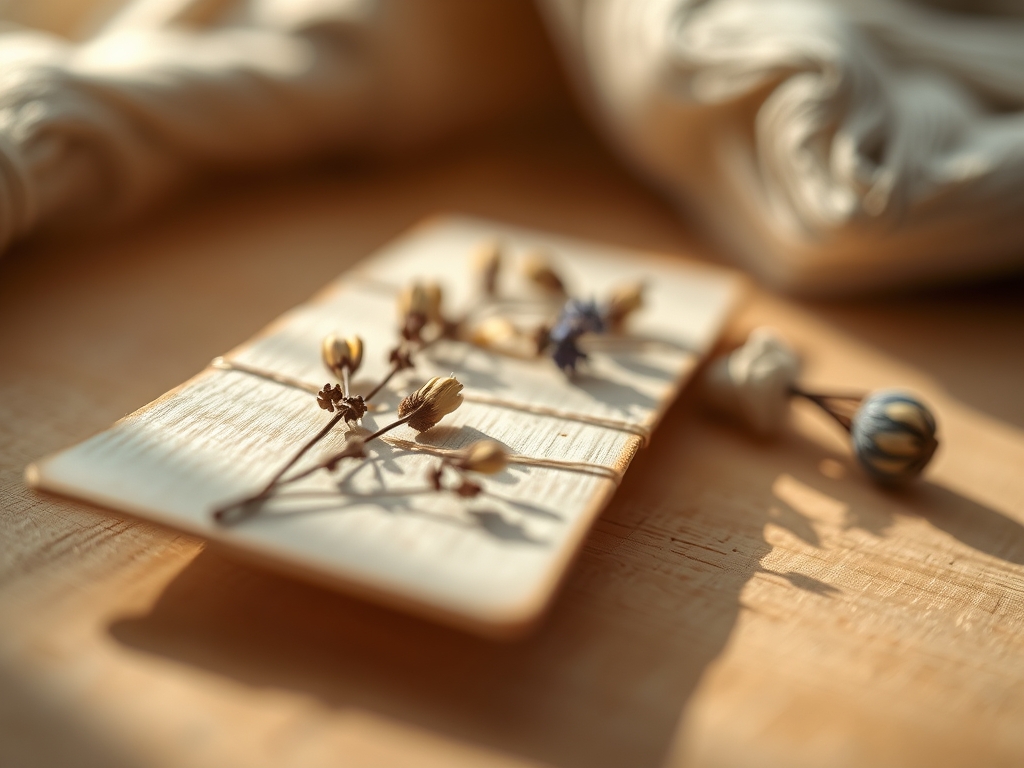
Picture the scent of sun-warmed meadow grass and the crisp, structural snap of high-grade cardstock. There is a specific, tactile thrill in merging the delicate biological geometry of nature with the rigid permanence of a well-bound book. When you create Pressed Wildflower Bookmarks, you are not just making a placeholder; you are performing a feat of botanical preservation. We are talking about capturing the cellular integrity of a petal before it succumbs to oxidative browning. You can feel the potential in your fingertips as you handle the raw materials. The petals are thin, almost translucent, possessing a cellular wall structure that demands respect. If you apply too much pressure, the fibers shatter. If you use the wrong adhesive, the moisture content triggers a fungal bloom. It is a high-stakes game of moisture management and aesthetic precision. Grab your favorite mug of tea and clear your workbench. We are about to engineer some miniature masterpieces that will survive decades of page-turning and shelf-shifting.
THE STUDIO KIT
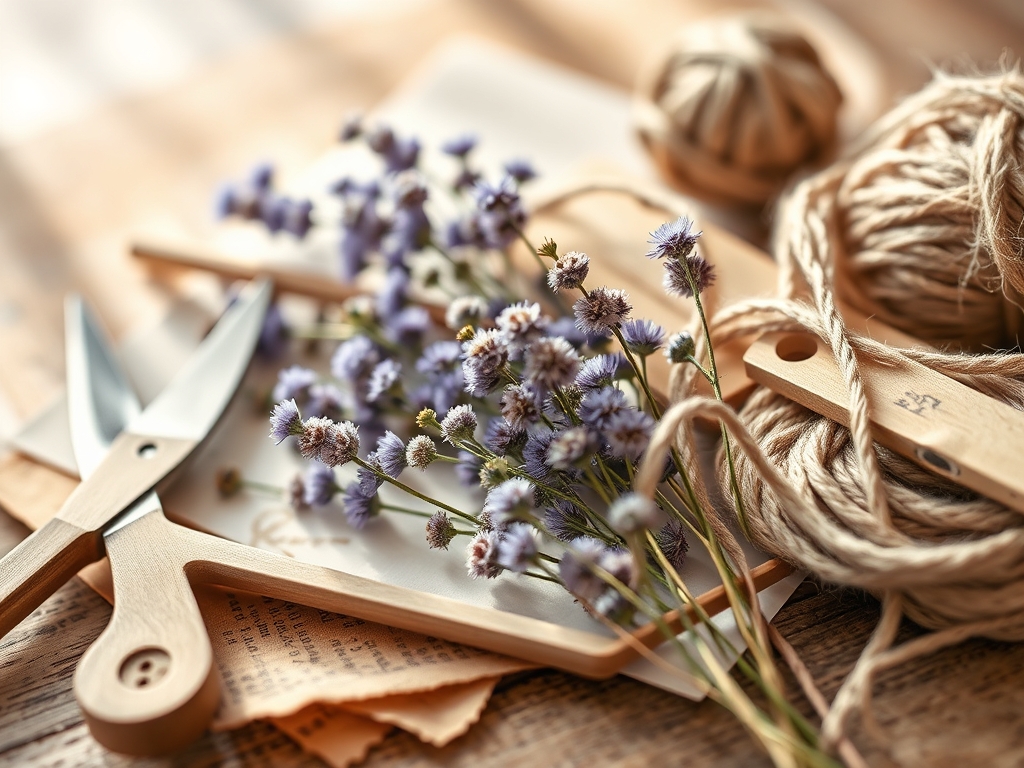
To achieve professional results, your kit must account for the hygroscopic nature of organic matter. You will need a heavy-duty flower press or a series of weighted architectural blocks to ensure even pressure distribution. For the base, select 300 GSM cold-pressed watercolor paper; its porous surface allows for superior adhesive penetration compared to slick, coated stocks. You will also need a pair of fine-tipped jeweler's tweezers for micro-adjustments and a bone folder to ensure a flush, air-free seal if you are using laminates.
For the chemistry, use a pH-neutral, acid-free PVA glue. This prevents the "acid migration" that causes paper to yellow and petals to turn brittle over time. If you want to go premium, source some handmade washi paper with visible silk fibers to add tensile strength.
Material Substitutions: If you lack a professional press, two sheets of unglazed ceramic tile held together by heavy-duty rubber bands work wonders because the ceramic absorbs residual moisture. Instead of specialized laminating film, you can use self-adhesive "cold" laminate sheets, which avoid the heat-induced pigment breakdown often caused by thermal laminators.
THE TEMPO
The "Maker's Rhythm" for this project is divided into two distinct velocities: the slow, metabolic crawl of the drying phase and the rapid, high-precision assembly phase. The botanical preparation requires a minimum of seven to fourteen days. This is the desiccation period, where moisture leaves the plant cells and is replaced by air, locking the pigment in place.
Once the flora is stabilized, the active assembly takes about forty-five minutes per batch. You must work in a low-humidity environment to prevent the dried specimens from re-absorbing ambient water vapor, which can make them limp and difficult to manipulate. Allow another twenty-four hours for the adhesive to fully cure before the bookmark enters the high-friction environment of a book spine.
THE CORE METHOD
1. The Botanical Harvest
Select specimens at the peak of their bloom, ideally in the mid-morning after the dew has evaporated but before the sun triggers wilting. Use a sharp pair of micro-snips to ensure a clean cut, preventing the crushing of the vascular bundles within the stem.
Mastery Tip: Understand capillary action. If you harvest damp flowers, the water trapped in the petals will have nowhere to go but into the paper, causing "foxing" or brown spots. Always pat your specimens with a lint-free microfiber cloth before pressing.
2. Calibrated Pressing
Place your flora between sheets of blotting paper, ensuring no two petals overlap. This prevents the specimens from fusing together during the drying process. Tighten your press evenly to apply uniform compressive force.
Mastery Tip: The science of structural integrity dictates that thinner flowers (like violas) press better than globular ones (like roses). For thick flowers, use a scalpel to bisect the calyx, reducing the vertical profile and ensuring a flat finish.
3. Substrate Preparation
Measure and cut your base material using a rotary cutter and a metal ruler for surgical precision. A standard 2-inch by 6-inch dimension provides the best aspect ratio for visual balance and structural stability within a standard hardcover.
Mastery Tip: Use a corner rounder to remove the 90-degree angles. Sharp corners are high-stress points that are prone to delamination and "dog-earing" over time; rounded edges distribute physical wear more effectively.
4. Adhesive Application
Using a fine-gauge needle applicator or a small brush, apply minute dots of PVA glue to the sturdiest parts of the flower, such as the center or the stem. You only need enough to counteract gravitational pull until the final seal is applied.
Mastery Tip: Avoid "over-saturation." Too much glue introduces moisture back into the dried cell walls, which can cause the petal to "re-hydrate" and lose its vibrant color through a process called hydrolysis.
5. The Protective Seal
Lay your protective film or second layer of paper over the arrangement. Use your bone folder to burnish the surface, starting from the center and moving outward to expel any trapped oxygen pockets.
Mastery Tip: This step relies on surface tension. By removing air, you create a vacuum-like seal that protects the organic matter from oxidation, which is the primary cause of color fading in Pressed Wildflower Bookmarks.
THE TECHNICAL LEDGER
To maintain the longevity of your bookmarks, keep them away from direct UV light. Photodegradation will break down the natural pigments (anthocyanins and carotenoids) within weeks if left on a sunny windowsill.
Material Variations: For a "Sustainable" version, use recycled kraft paper and a cornstarch-based bio-plastic film. For a "Premium" version, use 100% cotton rag paper and finish with a silk tassel threaded through a brass eyelet for added mechanical reinforcement.
The Correction:
- Petal Browning: This is caused by trapped moisture. Fix: Increase the frequency of blotting paper changes during the first three days of pressing.
- Bubbles in Laminate: Caused by uneven pressure. Fix: Use a heat gun on a low setting to slightly soften the adhesive, then re-burnish with a bone folder.
- Adhesive Seepage: Caused by using too much glue. Fix: Use a "dry mount" technique or a spray adhesive designed for delicate vellum.
Studio Organization: Store your finished bookmarks in a flat, dark file folder lined with acid-free glassine paper. This prevents "offsetting," where the ink or oils from one project transfer to another.
THE FINAL REVEAL
Look at that! You have successfully frozen a moment of the seasons into a functional tool. The colors are vibrant, the edges are crisp, and the tactile feedback of the finished bookmark feels expensive and intentional. These Pressed Wildflower Bookmarks are a testament to your patience and your technical skill. They turn every reading session into a high-sensory experience. Whether you chose the ethereal transparency of Queen Anne's Lace or the bold geometry of a buttercup, your library just got a major upgrade.
STUDIO QUESTIONS
How do I prevent flowers from losing color?
Harvest at peak bloom and dry them rapidly in a dark, cool environment. Rapid desiccation locks in the pigment molecules before they can oxidize. Avoid UV exposure, as light energy breaks down the chemical bonds that create color.
What is the best glue for delicate petals?
A pH-neutral, acid-free PVA glue is superior. It offers a strong molecular bond without the acidity that causes organic tissue to degrade. Use a micro-applicator to avoid over-saturating the porous fibers of the dried flora.
Can I use a microwave to dry flowers faster?
Yes, but it requires a specialized silica-gel press. The microwave uses dielectric heating to vibrate water molecules, evaporating them quickly. This method preserves color well but can make petals more brittle due to the rapid moisture loss.
Why is my bookmark curling after it dries?
This is due to differential shrinkage between the paper and the adhesive. To fix this, place the finished bookmark under a heavy weight for 24 hours to allow the fibers to settle into their new, permanent tension.