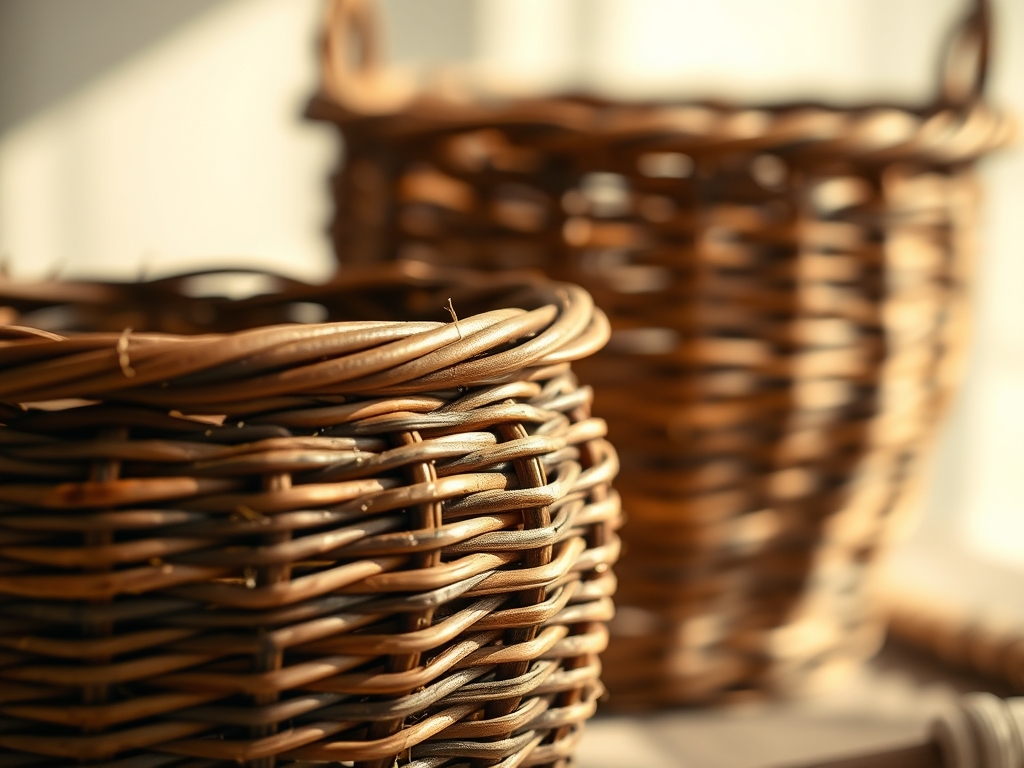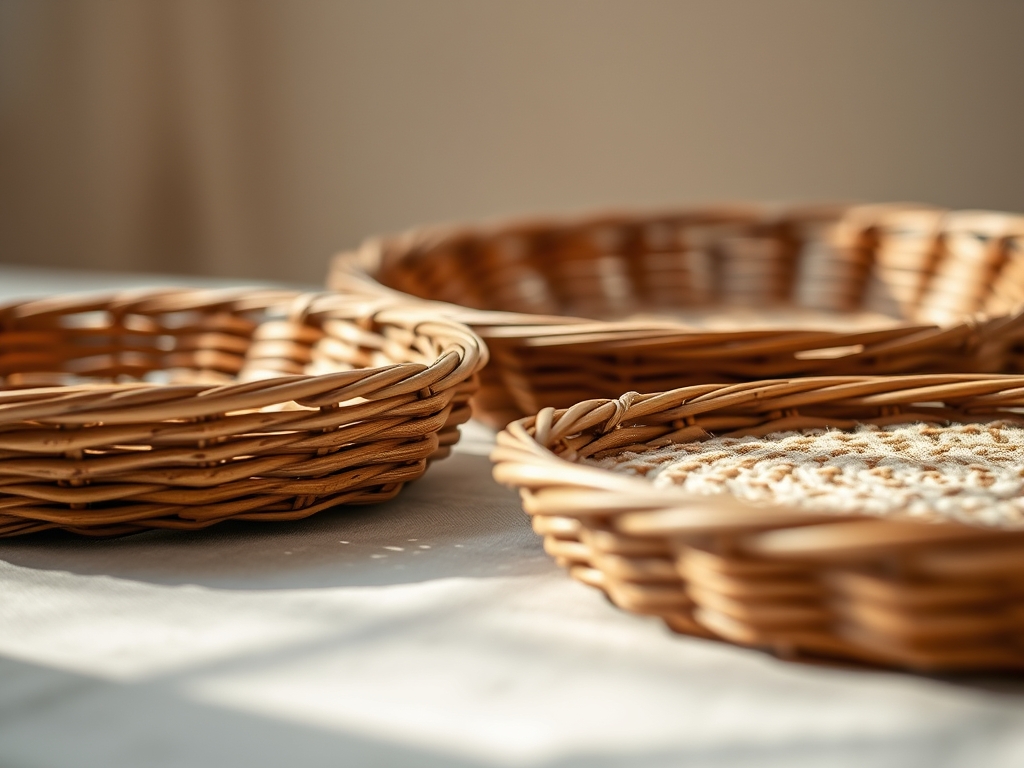
Imagine the scent of wet earth and crushed sap filling your studio as you run your thumb along a fresh rod of Salix viminalis. There is a specific, electric snap that happens when you find a branch with the perfect moisture content; it is a promise of structural integrity. We are not just making containers today. We are mastering the physics of tension and torque to create Woven Willow Trays that can support the weight of a heavy ceramic teapot without sagging. The magic of willow lies in its cellular structure. Unlike brittle oak or soft pine, willow possesses a high concentration of salicylic acid and long, uninterrupted cellulose fibers that allow it to bend into extreme radii without fracturing. When you weave these branches, you are essentially creating a biological lattice that distributes weight through friction and overlapping pressure. It is tactile, it is slightly messy, and it is the most satisfying way to turn a bundle of sticks into a functional piece of art. Grab your coffee and clear your workbench; we are about to dive deep into the rhythmic, meditative world of professional basketry.
THE STUDIO KIT
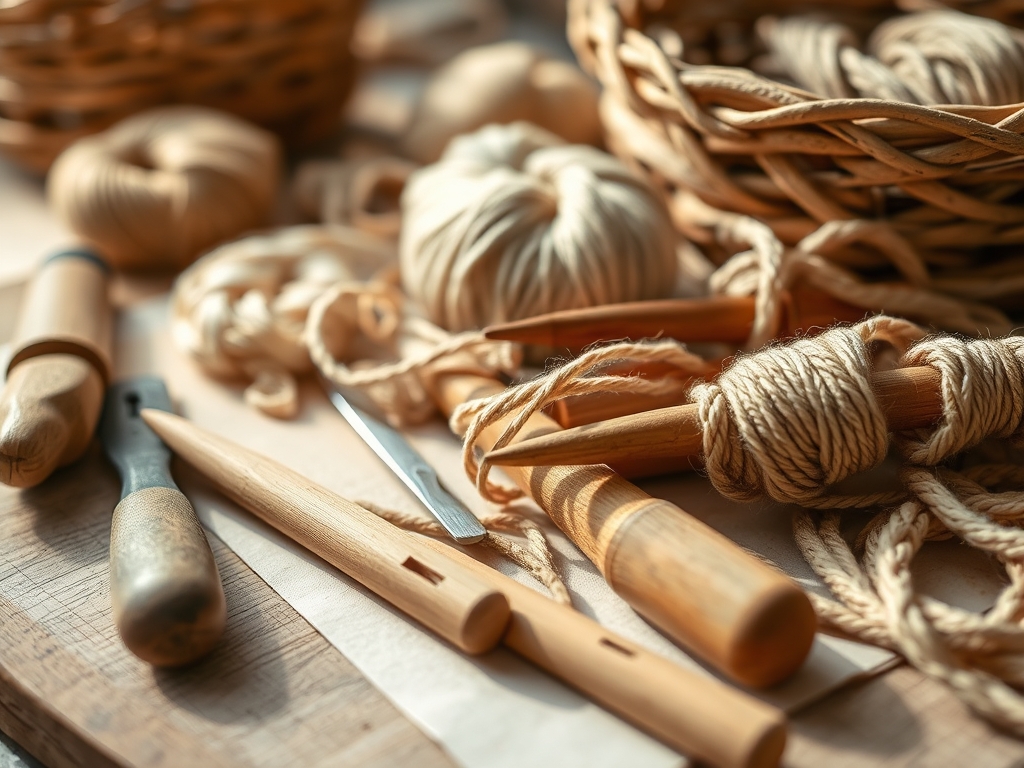
To build a professional grade tray, your toolkit must prioritize precision and leverage. You will need a high quality pair of bypass pruners for clean cuts that do not crush the vascular bundles of the wood. A specialized rapping iron is essential for packing the rows tightly; this tool uses kinetic energy to eliminate gaps that would otherwise compromise the tray's rigidity. You should also have a sharp bodkin or a heavy duty awl to create space between tight weaves for inserting the handle ends. For measuring the diameter of your stakes, use a set of digital calipers to ensure uniformity; even a one millimeter difference can cause an asymmetrical warp during the drying process.
Your primary material is "brown willow," which is willow that has been dried with the bark on and then soaked to restore its elasticity. The bark provides a protective layer of tannins that prevents decay. If you cannot source traditional basketry willow, consider "Material Substitutions" such as dogwood for its vibrant red color or grapevine for a more rustic, gnarled aesthetic. However, be aware that grapevine has a lower tensile strength and requires more frequent hydration during the build. You will also need a soaking tank or a large trough; the water must be able to fully submerge the rods to ensure even capillary action throughout the wood fibers.
THE TEMPO
The "Maker's Rhythm" is governed by the hydration cycle of the wood. You cannot rush the physics of absorption. Typically, dried willow requires one day of soaking per foot of length. Once out of the tank, the rods need a "mellowing" period of four to six hours in a damp cloth to allow the moisture to migrate from the outer skin to the inner pith. The actual construction of Woven Willow Trays happens in three distinct phases. The base construction takes about ninety minutes of intense, high tension work. The "upsett" and side weaving require a steady, rhythmic pace of two hours. Finally, the border and finishing touches take one hour of meticulous tucking and trimming. Total active bench time is roughly five hours, but the project spans several days due to the necessary soaking and drying intervals.
THE CORE METHOD
1. Constructing the Slath
The foundation of your tray begins with the slath. Cross four thick stakes over four others, piercing the center of the first group with your awl to allow the second group to pass through. This creates a structural "X" that serves as the anchor for your weave. Use two thin weavers to perform a pairing weave around these stakes to lock them in place.
Mastery Tip: This step relies on structural integrity through compression. By piercing the stakes rather than layering them, you maintain a low profile and ensure the center of the tray remains flat. If the slath is too bulky, your teapot will wobble.
2. Radiating the Spokes
Once the slath is secure, fan out the eight stakes into sixteen individual spokes. Continue the pairing weave, ensuring that the tension is equal on every stroke. Use your calipers to check that the distance between each spoke remains consistent as you move outward. This creates a centrifugal tension that prevents the base from cupping.
Mastery Tip: Centrifugal force is your enemy here. If you pull too hard on one side, the base will become elliptical. Maintain a constant "pull-and-set" motion to ensure the grain direction of the weavers stays perpendicular to the spokes.
3. The French Randing Technique
To build the floor of the tray, transition to a French Rand. This involves using one weaver for every stake, creating a beautiful diagonal pattern that is incredibly strong. Insert the butt end of a rod behind a stake and weave it over two and under one. Repeat this around the entire circumference.
Mastery Tip: This technique utilizes the principle of distributed load. By having multiple weavers active at once, the pressure is spread across all spokes simultaneously, which prevents any single branch from snapping under the stress of the bend.
4. Setting the Border
When the base reaches your desired diameter, usually twelve to fourteen inches for a tea tray, you must "tie off" the edge. Bend each stake down and weave it through its neighbors in a three-rod plain border. This creates a thick, rolled edge that acts as a structural hoop.
Mastery Tip: This is where you encounter the "yield point" of the wood. If the willow is too dry, it will kink. Use your spray bottle to rehydrate the stakes specifically at the bend point to ensure the lignin remains flexible enough to navigate the tight turn.
THE TECHNICAL LEDGER
Maintenance & Longevity: To keep your Woven Willow Trays in peak condition, avoid extreme temperature fluctuations. Every six months, apply a light coat of food grade linseed oil. This penetrates the porous surface and creates a hydrophobic barrier against tea spills. If the tray becomes dusty, use compressed air or a soft brush; never submerge a finished tray in water for cleaning as it can trigger mold growth in the tight crevices.
Material Variations: For a premium look, use "buff willow," which has had the bark removed after boiling. This releases the tannins into the wood, staining it a deep ginger color. For a sustainable approach, harvest wild willow from creek beds, but ensure you test the "wrap test" first; wrap a branch around your finger, and if it snaps, the fiber density is too low for weaving.
The Correction:
- The Kink: If a rod snaps during a bend, do not try to glue it. Use your awl to create a path alongside the broken rod and "double up" with a fresh, hydrated piece.
- The Wobble: If the base is not flat, place it under a heavy weight (like a stack of books) while it is still slightly damp. This forces the fibers to dry in a planar alignment.
- The Gap: If you see daylight between your rows, use your rapping iron and a small hammer to gently tap the weave down. This increases the friction coefficient between the rods.
Studio Organization: Store your willow rods horizontally in a cool, dark place. Vertical storage causes the tips to dry out faster than the butts, leading to uneven tension. Keep your "soaking log" updated so you know exactly how long each bundle has been submerged.
THE FINAL REVEAL
There is nothing quite like the moment you trim the final stray ends with your bypass pruners and hold the finished tray up to the light. The geometric precision of the French Rand combined with the organic warmth of the willow creates a piece that feels both ancient and modern. When you set your teapot down, you will hear a solid, reassuring thud rather than a rattle; that is the sound of perfect tension. Your Woven Willow Trays are not just accessories; they are a testament to your understanding of botanical engineering and your patience as a maker.
STUDIO QUESTIONS
How do I prevent mold on my willow?
Ensure total airflow during the drying phase. Never store damp trays in plastic bags. Use a fan to circulate air around the fresh weave for the first forty-eight hours to drop the moisture content below twenty percent.
What is the best willow variety for trays?
Salix viminalis and Salix triandra are the gold standards. They offer the highest tensile strength and the longest, straightest rods, which minimizes the need for frequent joins in your weaving pattern.
Can I weave with fresh "green" willow?
You can, but the tray will shrink as it dries. This leads to loose weaves and structural instability. It is always better to use dried and rehydrated willow for a professional, tight finish.
What if my willow is too thick for the border?
Use a shave or a sharp knife to carefully taper the ends of the stakes. This reduces the bulk at the turn-down point without compromising the overall strength of the structural hoop.