
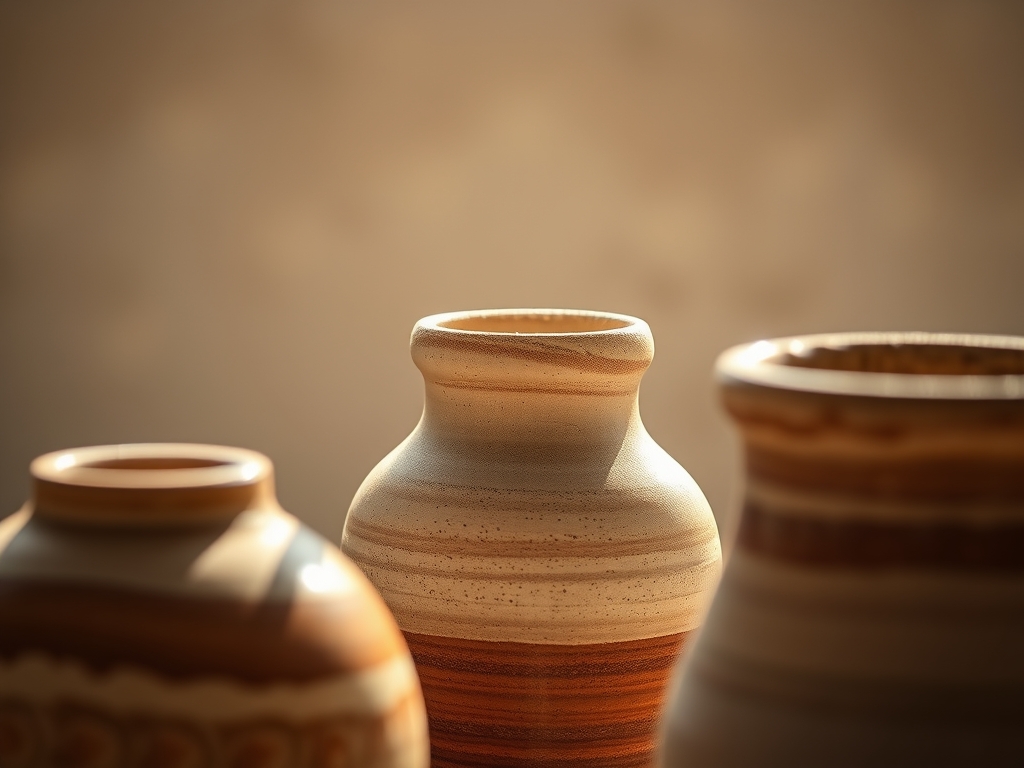
Wet clay is a fickle, beautiful beast that demands your full attention. The moment you press your thumbs into a fresh ball of stoneware, you feel the tensile strength of the water-saturated particles fighting back against your palms. This isn't just mud; it is a complex suspension of alumina and silica waiting for form. When you are creating Hand Crafted Pottery Vases for single stems, the stakes are surprisingly high because the scale is so intimate. You are not just making a vessel; you are engineering a structural support system for a living specimen. The tactile feedback of the spinning wheel or the rhythmic pinch of a hand-built neck tells you everything about the moisture content. If it feels too grainy, your short clay body lacks plasticity. If it is too slick, you risk a structural collapse. We are aiming for that perfect "leather hard" state where the surface is firm enough to carve but still holds a cool, damp energy. It is a dance of physics and patience that transforms a raw lump of earth into a permanent piece of art.
THE STUDIO KIT
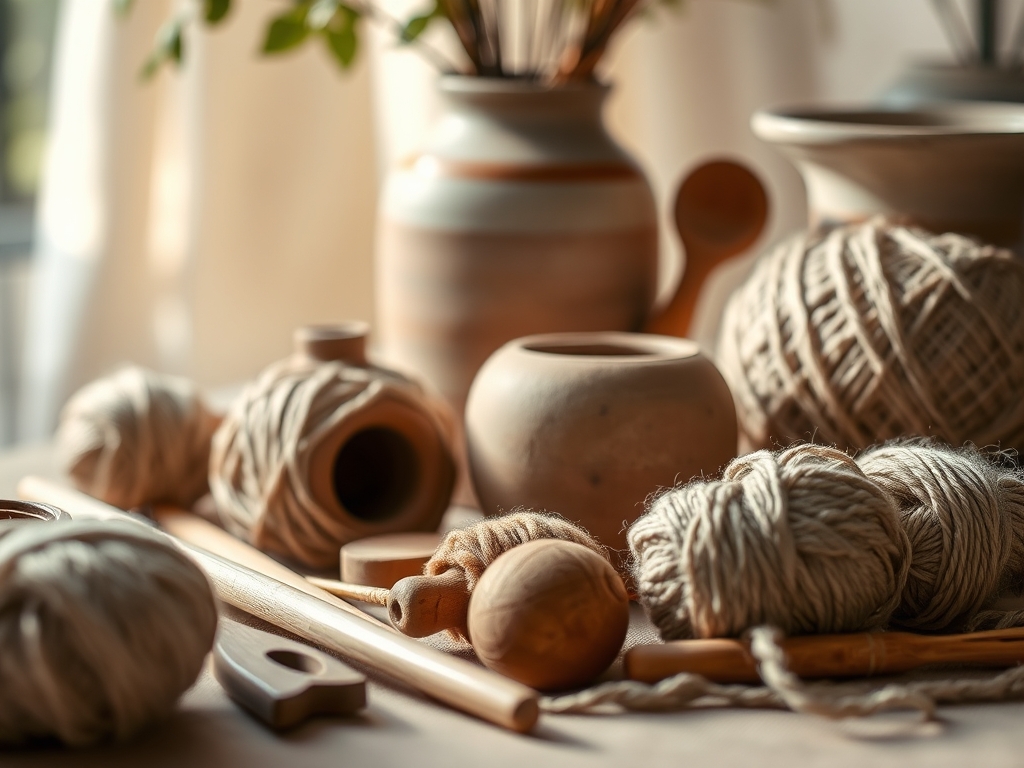
To master these miniature silhouettes, your workstation needs more than just enthusiasm. You need a serrated rib for scoring, a needle tool for checking wall thickness, and a high-quality caliper to ensure your neck openings stay consistent. I always keep a chamois cloth soaking in a jar; it is the secret weapon for compressing the rim to prevent micro-cracks during the drying phase. For the glazes, we are looking at specific chemical compositions like rutile for variegation or zinc-free bases to keep colors crisp.
Material Substitutions: If you cannot find a specific commercial flux, you can sometimes substitute gerstley borate to lower the melting point, though be warned that it changes the viscosity. If a loop tool is missing from your kit, a sharpened spoon handle can serve as a makeshift burnishing tool to smooth out the foot of your vase.
THE TEMPO
The "Maker's Rhythm" is less about a stopwatch and more about atmospheric pressure. For a single-stem vase, the initial throwing or hand-building phase takes about twenty minutes of intense focus. However, the evaporative cooling process dictates the real timeline. You must allow the piece to reach a leather-hard state over twelve to twenty-four hours depending on your studio's humidity.
The bisque fire usually clocks in at eight to ten hours, followed by a full day of cooling to avoid thermal shock. Glazing is a quick, thirty-minute affair of dipping and pouring, but the final high-fire maturation takes another twelve hours. In total, you are looking at a seven-day cycle from raw earth to finished masterpiece. Respecting this tempo ensures the molecular bonds in the clay body fully vitrify without warping.
THE CORE METHOD
1. Centering and Compression
Start by securing your clay to the bat with a firm downward force. As the wheel spins, use the fleshy part of your palm to drive the clay toward the center. This aligns the platelet structure of the minerals. If your centering is off by even a millimeter, the narrow neck of your single-stem vase will wobble and eventually collapse under its own centrifugal force.
Mastery Tip: Always compress the floor of your vase with a wooden rib. This increases the structural integrity of the base and prevents "S-cracks," which are caused by uneven tension as the clay shrinks during the drying process.
2. Pulling the Narrow Neck
For single stems, the "bud vase" profile is king. Use your index finger and thumb to slowly constrict the clay as you pull upward. This is a lesson in fluid dynamics; you are moving a solid mass that behaves like a liquid. Keep your movements slow and steady to avoid thinning the walls too much, which would compromise the load-bearing capacity of the rim.
Mastery Tip: Use a sponge on a stick to remove excess water from the interior. Trapped water creates a localized high-moisture zone that leads to "slumping" because the base cannot support the weight of the saturated upper walls.
3. Trimming the Foot
Once the piece is leather-hard, invert it on the wheel. Use a sharp tungsten-carbide loop tool to shave away excess mass. You want a narrow, elegant foot that provides a stable center of gravity. A well-trimmed foot also prevents the glaze from "running" and fusing your vase to the kiln shelf.
Mastery Tip: Aim for a consistent wall thickness from top to bottom. This ensures a uniform coefficient of thermal expansion, meaning the piece will expand and contract at the same rate in the kiln, preventing cracks.
4. Glaze Application and Dipping
The magic happens in the dip. For a minimalist look, a single-dip method is best. Ensure your glaze has been mixed to the correct specific gravity (usually between 1.4 and 1.5). Submerge the vase for exactly three seconds. This allows the capillary action of the porous bisque-ware to pull the glaze particles into the surface.
Mastery Tip: Use a wax resist on the bottom quarter-inch of the vase. This creates a clean "dry foot" and utilizes surface tension to keep the molten glass from flowing onto your kiln furniture during the peak of the firing cycle.
5. The Final Firing
Load your kiln with enough space for radiant heat to circulate. We are firing to "Cone 6" for these minimalist glazes, which is approximately 2,232 degrees Fahrenheit. This is the point where the silica and flux melt into a durable, non-porous glass.
Mastery Tip: Do not rush the cooling. Opening the kiln too early causes crazing, where the glaze shrinks faster than the clay body, resulting in a network of tiny, unwanted cracks.
THE TECHNICAL LEDGER
Maintenance & Longevity: Hand-crafted pottery vases should be hand-washed. Even though they are vitrified, the high-alkaline environment of a dishwasher can eventually dull the refractive index of delicate minimalist glazes.
Material Variations: For a sustainable twist, try a reclaimed clay body. This is a mix of all your studio scraps, which often results in a unique, speckled "wild" look. For a premium finish, use a translucent porcelain; it has a higher kaolin content, offering a delicate, glass-like quality when held to the light.
The Correction:
- Pinholing: Small bubbles in the glaze. Fix: Increase your "soak" time at the top temperature to allow gases to escape.
- Shivering: Glaze flakes off the edges. Fix: Your glaze has a lower expansion than the clay; try adding a bit more silica to the mix.
- Crawling: Glaze bunches up, leaving bare spots. Fix: This is usually caused by dust or oil on the bisque. Always wipe your vases with a damp sponge before glazing.
Studio Organization: Store your raw clay in airtight, heavy-gauge plastic bins to prevent dehydration. Organize your glazes by opacity and finish (matte vs. gloss) to streamline your workflow and prevent accidental cross-contamination of chemical oxides.
THE FINAL REVEAL
There is nothing quite like the moment you crack the kiln lid and see your Hand Crafted Pottery Vases glowing in the morning light. When you pull out a slender, minimalist vessel finished in a soft oatmeal matte or a deep celadon, the weight feels perfect in your hand. The narrow neck is ready to cradle a single sprig of eucalyptus or a solitary dried poppy pod. It is a triumph of ergonomic design and chemical alchemy. You have taken raw, chaotic earth and turned it into a disciplined, elegant object that celebrates the beauty of a single stem.
STUDIO QUESTIONS
What is the best clay for a single-stem vase?
A mid-fire stoneware with fine grog is ideal. It provides enough tensile strength to support a tall, narrow neck while remaining smooth enough for a refined, minimalist aesthetic. The grog helps prevent warping during the intense heat of the kiln.
How do I prevent my vase from leaking?
Ensure your piece is fired to full vitrification. This means the clay has reached a temperature where it becomes non-porous glass. You can test this by weighing the dry vase, soaking it in water, and re-weighing it to check for absorption.
Why does my glaze look streaky?
Streaks usually occur when the viscosity of the glaze is too high or the bisque-ware was too damp. Always stir your glaze thoroughly with a high-speed mixer to ensure the heavy minerals are fully suspended before dipping your vase.
Can I use these vases for fresh flowers?
Yes, as long as the interior is fully glazed or the clay body is vitrified. A functional glaze creates a waterproof barrier that prevents moisture from seeping through the porous walls and damaging your furniture surfaces over time.

