
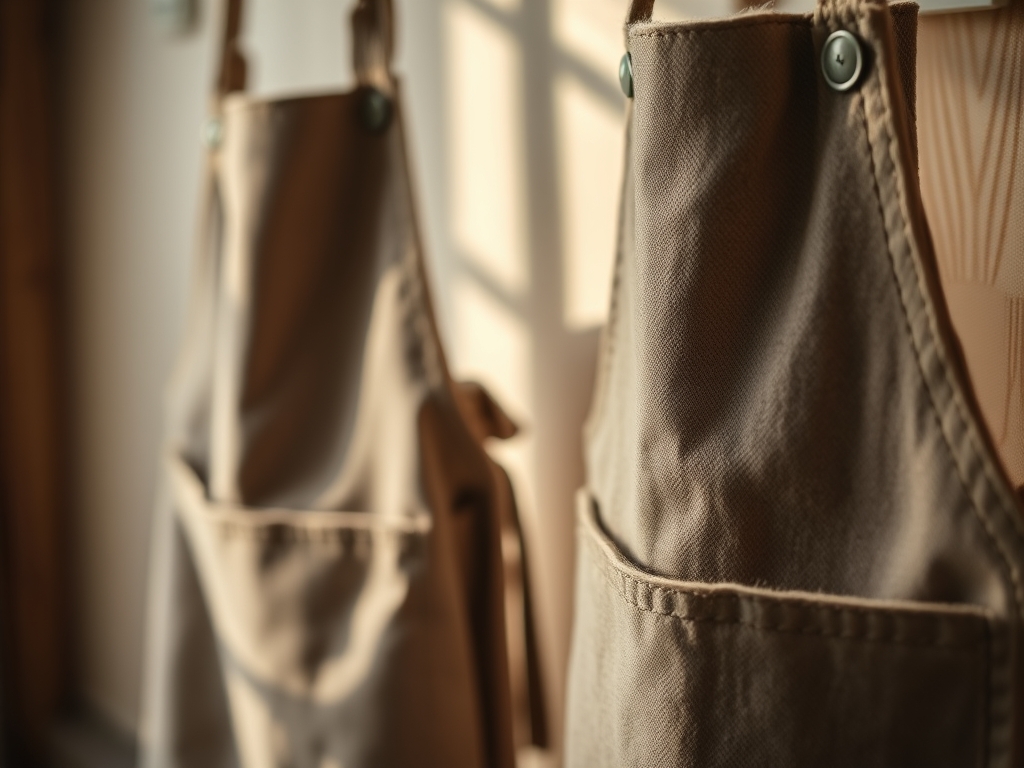
The scent of raw linseed oil and freshly sheared fibers is the only perfume a real maker needs. When you step into a quiet workshop, the air feels different; it carries a specific weight, a promise of focused creation. We are here to talk about the foundational armor of the studio: Hand Stitched Aprons. This is not about fast fashion or flimsy kitchen linens. We are diving into the physics of textile resistance and the glorious, tactile satisfaction of pulling a waxed thread through a heavy weave. To build an apron that survives decades of sawdust, metal shavings, or clay splatter, you must understand the tensile strength of your base material. A high-quality apron acts as a secondary skin, protecting your torso from abrasive forces while offering a specialized holster for your most-used tools. We are looking for fabrics that possess a high thread count density and a structural integrity that refuses to sag under the weight of a heavy brass mallet or a set of steel calipers. Grab your coffee; we are about to engineer some wearable art.
THE STUDIO KIT
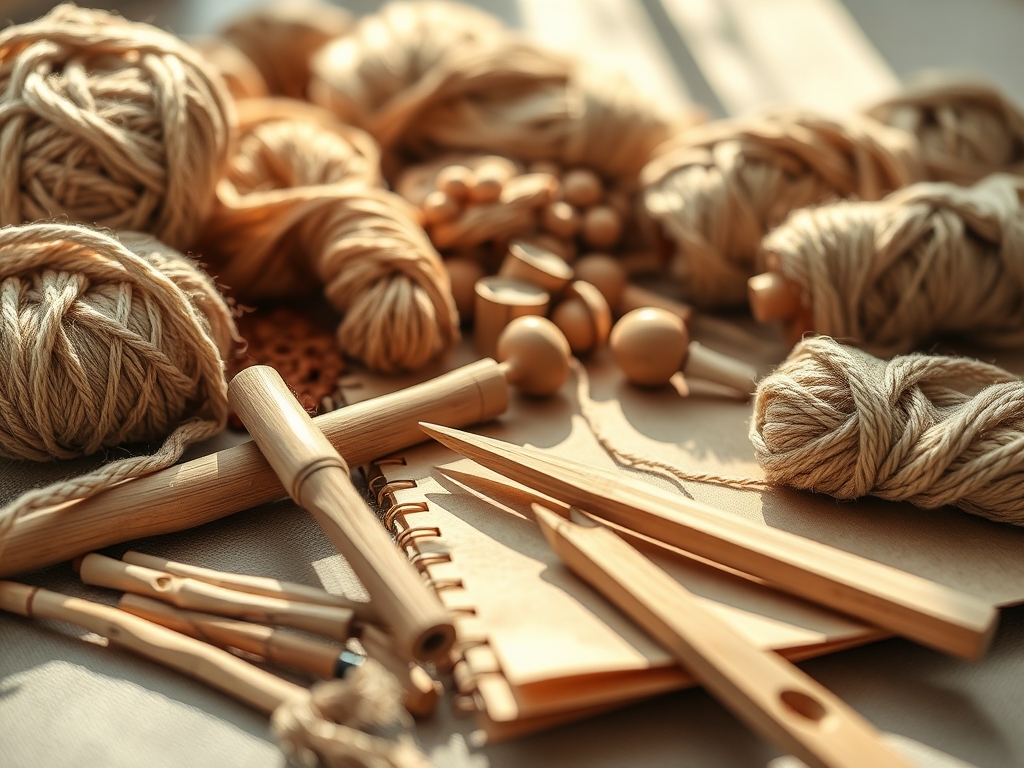
To master Hand Stitched Aprons, you need more than just a needle. You need a curated selection of tools designed for high-resistance textiles. Start with a heavy-gauge harness needle; its blunt tip is designed to follow pre-punched holes without splitting the fibers. You will also need waxed polyester thread (0.8mm is the sweet spot) because the wax coating reduces friction as the thread passes through the fabric, preventing heat buildup and fraying. A diamond-point awl is essential for piercing heavy canvas or leather reinforcements, while a rotary cutter ensures your edges are perfectly perpendicular to the grain line.
For Material Substitutions, if you cannot find traditional duck canvas, look for 18oz denim or heavyweight linen. If you lack a professional bone folder to crisp your hems, a smooth polished stone or the handle of a metal spoon works surprisingly well to compress the fibers. Always keep a beeswax block nearby; running your thread over it increases the hydrophobic properties of your seams, ensuring that moisture does not seep into the stitch line and rot the core of the thread over time.
THE TEMPO
Creating a professional-grade apron is a marathon, not a sprint. The Maker's Rhythm is divided into three distinct phases. First is the Preparation Phase (2 hours), which involves washing, drying, and "squaring" the fabric to ensure the grain is perfectly straight. If you skip this, your apron will twist after the first wash due to internal kinetic tension.
Next is the Assembly Phase (6 to 8 hours). This is where the hand stitching happens. You should aim for a steady pace of about four stitches per minute to maintain consistent tension control. Finally, the Finishing Phase (1 hour) involves burnishing the edges and installing hardware like copper rivets. Total project time: approximately 11 hours of focused, meditative labor.
THE CORE METHOD
1. Mapping the Grain
Before you make a single cut, identify the warp and weft of your fabric. Align your pattern pieces so the vertical length of the apron follows the warp (the stronger, longitudinal threads). This utilizes the natural tensile resilience of the fabric to prevent the apron from stretching out of shape when you load your pockets with heavy tools.
Mastery Tip: Use a tailor's chalk to mark the grain. The science here is load distribution; by aligning the vertical axis with the warp, you ensure the fabric can support the gravitational pull of your tools without microscopic fiber tearing.
2. The Double-Fold Hem
Fold your edges twice to hide the raw fringe. This creates a "structural beam" at the perimeter of your garment. Use your bone folder to crush the fibers at the fold, which increases the material density at the edge, making it much harder for a stray spark or blade to penetrate.
Mastery Tip: This technique relies on mechanical compaction. By pressing the fold, you reduce the air pockets between fibers, which significantly increases the abrasion resistance of the hem.
3. The Saddle Stitch
This is the gold standard for Hand Stitched Aprons. Unlike a machine lockstitch, the saddle stitch uses two needles on a single thread, crossing them through every hole. If one thread breaks, the other remains locked in place, preventing the entire seam from unraveling.
Mastery Tip: This is about redundancy and friction. The overlapping threads create a high-friction bond within the fabric's porous structure, ensuring that even under extreme stress, the seam maintains its structural integrity.
4. Pocket Reinforcement
Pockets are the highest stress points. Instead of a simple stitch, use a "box and cross" pattern at the top corners. This distributes the weight across a larger surface area of the base fabric, preventing the corners from ripping away.
Mastery Tip: This utilizes force dissipation. By spreading the attachment point over a square inch rather than a single point, you lower the pressure per square millimeter on the base fibers.
5. Hardware Integration
Install copper rivets at the stress points of the straps. Use a ball-peen hammer to mushroom the rivet head. This creates a permanent, mechanical bond that no amount of tugging can break.
Mastery Tip: This is a lesson in malleability. Copper is soft enough to deform under the hammer but strong enough to provide a permanent mechanical fastener that outperforms any thread-based attachment.
6. The Final Burnish
If you are using leather straps, use a wooden slicker to burnish the edges. This uses heat generated by friction to melt the natural fibers and waxes together, creating a smooth, waterproof edge.
Mastery Tip: This process is called thermal bonding. The friction raises the temperature of the tannins and waxes, creating a collagen-based seal that prevents the leather from delaminating.
THE TECHNICAL LEDGER
Maintenance & Longevity: Never machine wash a heavy-duty apron. Instead, use a stiff brush to remove dry debris. For deep cleans, use cold water and a pH-neutral soap. Re-wax the surface every six months using a paraffin-beeswax blend to maintain the hydrophobic barrier.
Material Variations:
- Sustainable: Hemp canvas offers incredible tensile strength and is naturally antimicrobial.
- Recycled: Repurposed sailcloth provides a unique aesthetic with pre-broken-in flexibility.
- Premium: Selvedge denim from Japanese mills offers a tight weave that develops a "patina" reflecting your specific movements.
The Correction:
- Puckered Seams: This happens when your thread tension is too high. Fix: Use a seam ripper to loosen every third stitch and re-tension the line.
- Needle Deflection: If your needle keeps hitting a snag, your alignment is off. Fix: Use a stitching pony to hold the fabric perfectly vertical.
- Fraying Edges: If the fabric unravels before you hem it. Fix: Apply a tiny amount of fabric glue or beeswax to the raw edge to "lock" the fibers temporarily.
Studio Organization: Store your apron by hanging it on a wide, contoured hanger. Folding heavy canvas can lead to permanent fiber creasing, which weakens the material along the fold line over time.
THE FINAL REVEAL
There is nothing quite like the moment you slip on a finished apron that you have stitched by hand. It feels substantial; a heavy, protective embrace that signals to your brain that it is time to work. The way the waxed canvas catches the light, the rhythmic precision of the saddle stitches, and the solid "thunk" of the copper rivets all combine to create a piece of gear that is uniquely yours. It is more than a garment; it is a kinetic history of your time in the workshop. As you move, the fabric will soften in the areas you bend and stiffen where it needs to protect, eventually becoming a perfect ergonomic map of your making process.
STUDIO QUESTIONS
What is the best thread for hand stitching canvas?
Use a bonded nylon or waxed polyester thread in a 0.2mm to 0.8mm thickness. These threads offer superior tensile strength and UV resistance, ensuring the seams do not degrade when exposed to workshop lights or sunlight over many years.
How do I prevent my hands from cramping?
Maintain an ergonomic grip on your needle and use a stitching pony. This tool holds the fabric for you, allowing your hands to focus on the fluid motion of the needles rather than gripping the heavy material, reducing muscle fatigue.
Can I use a regular sewing needle?
No, regular needles are too thin and brittle for heavy textiles. You need a harness needle or a "glover's needle" with a triangular point to pierce through high-density weaves without snapping the steel under the lateral pressure of the stitch.
Why is my waxed canvas turning white in some spots?
Those are "craze marks," caused by the wax breaking along fold lines. It is a natural characteristic of the material's viscoelastic properties. You can easily remove them by applying heat with a hair dryer to re-melt the wax into the fibers.

