
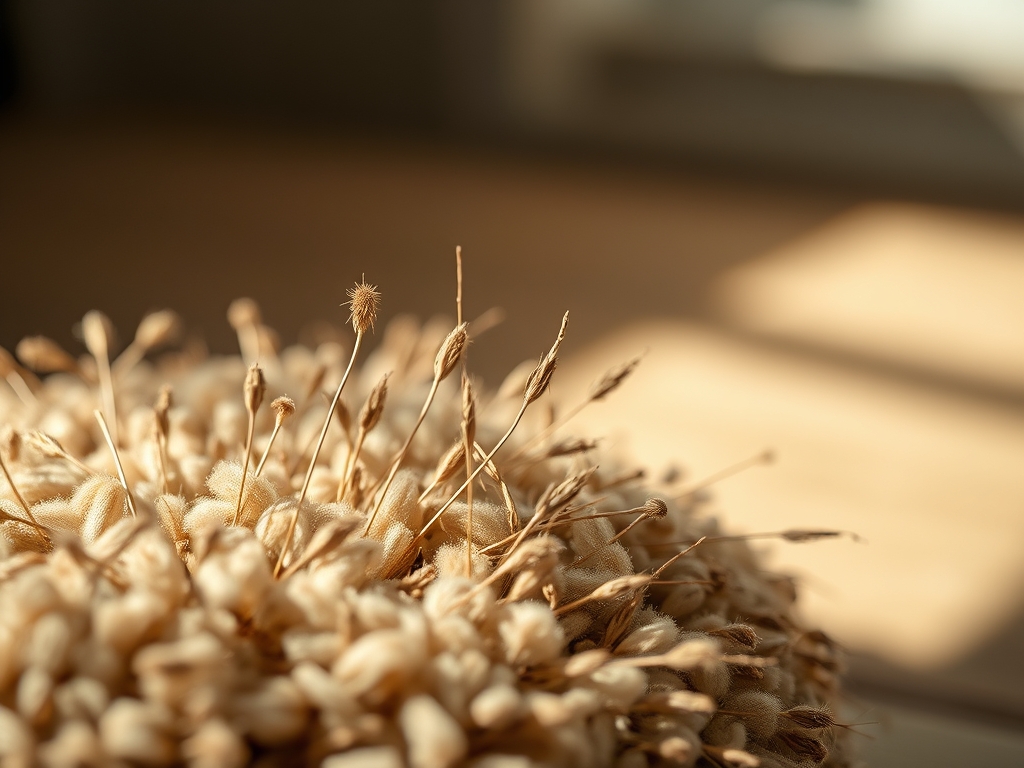
Imagine the smell of a sun-drenched meadow compressed into a single, sharp exhale. That is the initial rush of working with Pressed Grass Art. You are not just flattening weeds; you are manipulating the cellular architecture of the Poaceae family to create high-end, minimalist decor. The tactile sensation of dry blades against your fingertips is addictive. It is a game of managing moisture content and structural integrity before the fibers become too brittle to handle. We are taking the wild, unruly energy of the outdoors and taming it into six sophisticated vertical layouts that look like they belong in a high-end gallery. Grab your coffee because we are about to turn botanical specimens into archival masterpieces.
THE STUDIO KIT
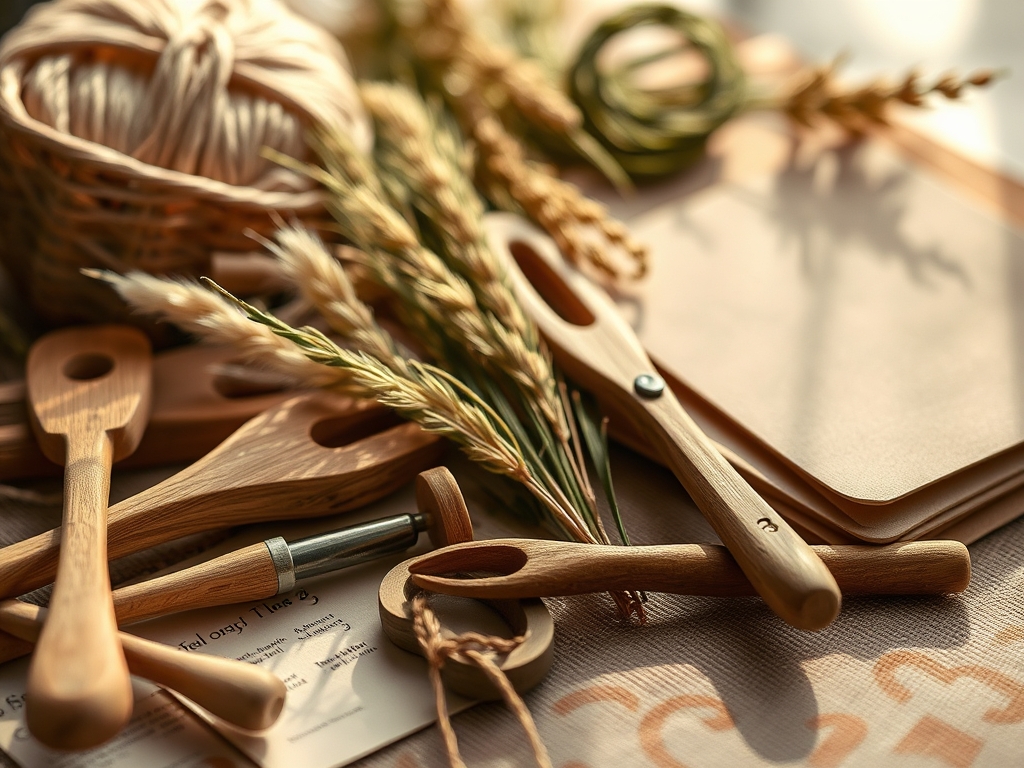
To master this craft, you need more than just a heavy book. We are looking for precision. Your primary tool is a high-pressure botanical press equipped with corrugated cardboard spacers to facilitate airflow. You will also need a pair of fine-point jeweler's tweezers for micro-adjustments and a bone folder to ensure the blades lay perfectly flat without snapping the midrib. For the mounting phase, a neutral-pH archival adhesive is non-negotiable; anything else will yellow the grass over time.
Material Substitutions: If you cannot find high-tensile field grass, you can substitute with dried papyrus or even thin strips of palm fronds. If you lack a professional press, two sheets of plywood and four C-clamps will apply the necessary even pressure. Instead of a bone folder, the smooth side of a stainless steel spoon can burnish the fibers effectively. Always use acid-free heavy-stock paper (at least 300 gsm) to prevent the paper from buckling under the moisture of the adhesive.
THE TEMPO
The Maker's Rhythm is a lesson in patience. This project is divided into three distinct phases: The Harvest, The Cure, and The Composition. The Harvest takes about an hour of mindful foraging. The Cure is the longest phase, requiring seven to ten days in the press to ensure the vascular bundles are completely dehydrated. If you rush this, residual moisture will cause mold or "silvering" behind the glass. Finally, The Composition takes roughly two hours of focused studio time. It is a meditative process where you align the grain of the grass with the vertical axis of your frame. Respect the tempo; you are working with biological timelines, not a factory clock.
THE CORE METHOD
1. Specimen Selection and Prep
Start by selecting grasses with varying tensile strength. Look for stalks that are flexible rather than woody. Use an exacto blade to trim the base at a forty-five degree angle. This increases the surface area for the press to grip. Strip away any decaying lower leaves to reveal the clean, architectural lines of the stem.
Mastery Tip: Understand the capillary action of the plant. If you harvest right after rain, the cells are turgid and prone to bursting under pressure. Harvest in the late afternoon when the plant has naturally transpired most of its surface moisture.
2. The Primary Compression
Lay your specimens between sheets of unbuffered blotting paper. Ensure no two blades overlap, as the moisture transfer will cause them to fuse. Tighten your press evenly. You are aiming for a pressure that collapses the vacuoles within the cells without crushing the external cell walls into a pulp.
Mastery Tip: Use a digital caliper to measure the thickness of your stack. Even pressure across the entire board prevents the grass from "skewing" or curving as it dries, maintaining that perfect verticality needed for minimalist layouts.
3. Layout Mapping
Before applying glue, map out your six vertical layouts on a dry run. Minimalist design relies on negative space. Use a T-square to ensure your grasses are perfectly perpendicular to the frame base. This is where the "art" meets engineering; the eye will detect a one-degree tilt instantly.
Mastery Tip: Consider the optical center of your frame. Placing the heaviest part of the grass slightly above the geometric center creates a sense of "lift," preventing the composition from looking bottom-heavy or stagnant.
4. Adhesive Application
Using a micro-applicator or a fine-gauge needle, apply dots of adhesive to the thickest parts of the stem. Do not coat the entire blade. The grass needs room to expand and contract slightly with changes in ambient humidity. If you bond it too tightly, the tensile stress will cause the paper to tear or the grass to snap.
Mastery Tip: This is all about surface tension. A tiny bead of glue is stronger than a smeared layer. The glue should "grab" the fibrous texture of the paper without soaking through to the other side.
5. The Final Burnish
Once the glue is tacky, place a sheet of wax paper over the grass and use your bone folder to lightly burnish the specimen. This ensures a flush mount against the backing board, which is critical for the "floating" look in minimalist frames.
Mastery Tip: Burnishing flattens the cuticle layer of the grass, reflecting light more evenly and giving the specimen a professional, satiny finish that mimics the look of high-end botanical illustrations.
6. Sealing the Frame
Clean your glass with a microfiber cloth and ionized water to remove static. Static electricity is the enemy; it will pull tiny fragments of dried grass away from the paper. Secure the backing with a point driver, ensuring a tight seal to prevent dust and pests from entering.
Mastery Tip: Create a micro-climate by adding a small packet of silica gel hidden behind the matting. This regulates internal humidity, preserving the structural integrity of the cellulose fibers for decades.
THE TECHNICAL LEDGER
Maintenance & Longevity: Keep your Pressed Grass Art out of direct UV light. Even though we used archival materials, the natural pigments in grass are susceptible to photodegradation. A light dusting of the frame every month is all it needs.
Material Variations:
- Sustainable: Use reclaimed wood frames and handmade hemp paper.
- Premium: Opt for museum-grade UV-filtering glass and silk-covered mounting boards.
- Recycled: Use old phone book pages for the pressing phase to absorb moisture.
The Correction:
- The Snap: If a stem breaks, use a tiny amount of wheat starch paste to bridge the gap. It dries clear and remains flexible.
- The Ghosting: If glue seeps out, wait for it to dry completely and use a crepe eraser to gently lift it without damaging the paper fibers.
- The Ripple: If the paper buckles, you used too much glue. Next time, use a dry-mount tissue and a heat press for a perfectly flat bond.
Studio Organization: Store your extra pressed specimens in acid-free glassine sleeves inside a flat file cabinet. Label them by species and harvest date. Keeping them flat and dark is the only way to prevent the fibers from becoming brittle before you can use them.
THE FINAL REVEAL
There is nothing quite like the moment you hang those six frames. The way the light catches the ribbed texture of the grass creates a subtle shadow play that changes throughout the day. It is clean, it is organic, and it is a total "smart girl" flex. You have taken the simplest material on earth and used physics and precision to turn it into a high-density design statement. Your walls now breathe with a quiet, sophisticated energy that is entirely your own.
STUDIO QUESTIONS
How do I prevent the grass from turning brown?
Harvesting at the peak of vitality and drying specimens rapidly in a high-pressure press preserves the chlorophyll. Avoid high humidity during the curing phase, as slow drying leads to enzymatic browning and cellular breakdown.
Can I use any frame for this?
Minimalist layouts work best with thin-profile shadow boxes or deep-set frames. This provides enough clearance so the glass does not crush the delicate seed heads, maintaining the three-dimensional "tactile" quality of the grass.
What is the best glue for Pressed Grass Art?
Use a Lineco Neutral pH Adhesive. It is a professional-grade polyvinyl acetate that remains flexible when dry. This prevents the grass from snapping due to the natural expansion and contraction of the organic fibers.
How long will the art last?
If you use archival-grade materials and keep the piece out of direct sunlight, your Pressed Grass Art can last for over fifty years. The key is preventing moisture ingress and UV-induced chemical breakdown of the plant's cellulose.

