
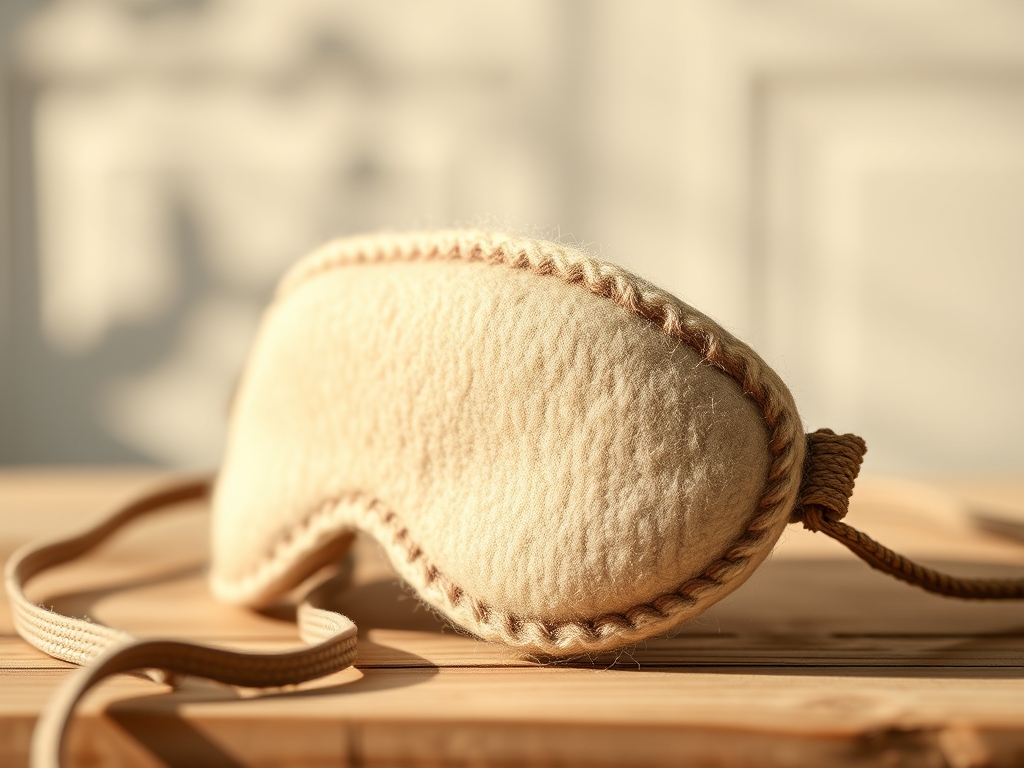
Imagine the heavy, cool weight of pure mulberry silk resting against your eyelids after a long day of screen glare. There is a specific, scientific magic in how fabric interacts with human skin, especially when you are crafting Hand Stitched Eye Masks designed for total sensory deprivation. We are not just making a sleep accessory; we are building a light-blocking fortress using five distinct layers of high-grade textile engineering. To achieve total darkness, we have to manipulate the way photons interact with fiber density. When you hold a piece of 22-momme silk, you are feeling a protein fiber with a triangular prism-like structure that refracts light, creating that signature shimmering luster. But beneath that beauty lies the technical challenge of structural integrity. If the tension is off by even a millimeter, the mask will gap at the bridge of the nose, allowing light to bleed in and ruining the circadian rhythm reset we are aiming for. Grab your shears and clear your workbench; we are about to dive deep into the physics of the perfect rest.
THE STUDIO KIT
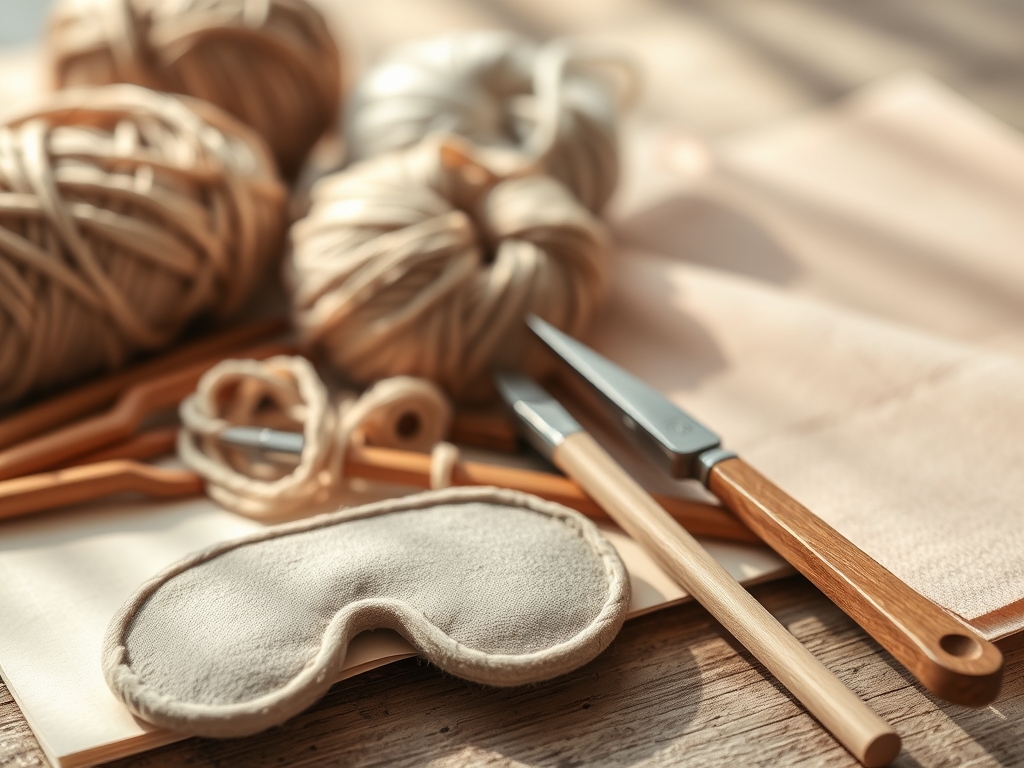
To execute this project with professional precision, your toolkit must prioritize tactile feedback and edge control. You will need a pair of high-carbon steel fabric shears for clean, non-frayed edges and a rotary cutter for navigating the tight curves of the ocular cavities. For the internal layers, we utilize a dense black cotton interlining and two layers of bamboo batting; the bamboo provides a high thermal regulation index compared to synthetic polyesters. You will also need silk thread (Size A), which possesses the necessary tensile strength to hold five layers without snapping under the pressure of a tight whipstitch.
If you cannot source 22-momme silk, a high-density washed linen serves as a functional substitute, though it lacks the low-friction coefficient of silk which prevents skin creasing. For the light-blocking core, a blackout drapery liner can replace the cotton interlining, provided it is a non-toxic, breathable variety. Always use a bone folder to crisp your seams before stitching; this manual compression aligns the fibers and reduces bulk, ensuring the mask sits flush against the zygomatic arches of your face.
THE TEMPO
The Maker's Rhythm for this project is divided into three distinct phases: The Preparation, The Assembly, and The Finish. Expect to spend approximately 45 minutes on the Template Calibration and Cutting. This phase requires extreme focus because the grain direction of the silk must be perfectly horizontal to allow for a slight natural stretch across the face.
The Layer Lamination and Basting takes about 30 minutes. This is where you stabilize the five-ply sandwich to prevent shifting during the final stitch. Finally, the Hand Stitching and Edge Burnishing will require 90 to 120 minutes of meditative work. Hand stitching is not just an aesthetic choice; it allows you to adjust the thread tension dynamically as you move over the varying thicknesses of the nose bridge and temples. Total project time is roughly three hours of high-density crafting.
THE CORE METHOD
1. Mapping the Ocular Topography
First, we must create a template that accounts for the three-dimensional curvature of the face. Use a caliper to measure the distance between your temples and the depth of your nasal bridge. Transfer these coordinates to cardstock.
Mastery Tip: This step relies on understanding structural ergonomics. By tailoring the "nose notch" to your specific anatomy, you create a mechanical seal. If the notch is too shallow, the mask will lift, creating a light leak; if it is too deep, the fabric will bunch and apply unnecessary pressure to the tear ducts.
2. Calibrating the Five-Layer Sandwich
Stack your materials in this specific order: Outer Silk, Bamboo Batting, Blackout Core, Bamboo Batting, and Lining Silk. This configuration uses the Loft Principle to create a soft cushion while the central dense layer acts as the primary photon barrier.
Mastery Tip: Pay attention to fiber friction. Silk is notoriously slippery. Use fine entomology pins or specialized fabric clips to prevent the layers from sliding. If the layers shift even 2mm, the needle will struggle to penetrate the stack evenly, leading to dropped stitches.
3. Executing the Controlled Baste
Before the final decorative stitch, run a wide-gauge basting stitch 1/8 inch from the edge. This temporary hold ensures that the internal batting does not migrate or "bunch" during use or cleaning.
Mastery Tip: This involves lateral stability. By securing the perimeter first, you lock the internal layers in a state of compression. This prevents the "pillowing effect" where the center of the mask becomes thicker than the edges, which would otherwise compromise the light-blocking seal.
4. The Precision Hand Stitch
Using a tailor's thimble for ergonomic leverage, begin a tight backstitch around the perimeter. Keep your stitches small and consistent; aim for 10 to 12 stitches per inch to ensure the seam is strong enough to withstand the elasticity of the head strap.
Mastery Tip: This step utilizes tensile distribution. A backstitch is superior to a running stitch here because it creates a continuous line of thread on both sides of the fabric. This distributes the pressure of the elastic strap across the entire circumference of the mask rather than stressing a single point.
5. Integrating the Elastic Tensioner
Insert the ends of your silk-covered elastic between the outer layer and the batting. Secure this with a triple-reinforced stitch. The tension should be firm but not restrictive to avoid localized pressure headaches.
Mastery Tip: Consider the modulus of elasticity. The strap must provide enough force to maintain the seal against the face without compressing the delicate capillaries around the eyes. Aim for a 15 percent stretch factor when the mask is worn.
THE TECHNICAL LEDGER
Maintenance & Longevity: Silk is a delicate protein fiber. To maintain the mask, hand wash in cool water using a pH-neutral detergent. Avoid twisting or wringing, as this breaks the silk filaments and ruins the luster. Air dry flat on a porous surface to ensure moisture escapes from the internal batting layers.
Material Variations: For a premium upgrade, use organic Peace Silk, which is harvested after the moth has emerged. For a sustainable version, repurpose high-thread-count cotton sheets for the internal light-blocking layers.
The Correction:
- The Gap: If light enters near the nose, add a small "dart" to the bottom edge to pull the fabric closer to the skin.
- The Bunch: If the batting feels lumpy, use a bone folder to smooth the internals and add a few "quilting" stitches in the center to tack the layers together.
- The Slip: If the mask slides off during sleep, the elastic is too wide or the silk is too heavy. Replace with a thinner, high-grip velvet-lined strap.
Studio Organization: Store your silk remnants in airtight, acid-free containers. Silk is susceptible to UV degradation and moisture; keeping it in a dark, climate-controlled drawer preserves the tensile strength for future repairs.
THE FINAL REVEAL
There is nothing quite like the moment you finish the last stitch and hold your completed Hand Stitched Eye Masks. The weight is substantial yet soft; the five layers feel like a professional-grade tool designed for the serious business of rest. When you put it on, the world should simply disappear. The darkness is not just a lack of light; it is a heavy, velvet void that signals your brain to flood your system with melatonin. You have successfully engineered a piece of high-performance sleep gear that looks as beautiful as it functions.
STUDIO QUESTIONS
Why use five layers instead of two?
Five layers provide the necessary optical density to block 100 percent of light. The multiple plies of batting also create a physical buffer that contours to your facial features, ensuring a total seal that a thinner mask simply cannot achieve.
What is the best thread for silk masks?
Size A silk thread is the gold standard. It matches the fiber content of the mask, meaning it will expand and contract at the same rate as the fabric during washing, preventing puckered seams and maintaining the mask's long-term structural integrity.
How do I prevent the mask from pressing on my eyelashes?
Ensure your batting layers are slightly recessed from the very center of the ocular area. This creates a subtle "pocket" within the five-layer sandwich, allowing your eyes to move freely during REM sleep without the fabric touching your lids.
Can I use a sewing machine instead of hand stitching?
While possible, a machine lacks the tactile sensitivity required to navigate five varying layers of thickness. Hand stitching allows you to feel the needle's resistance, ensuring every layer is caught and secured without the risk of "bird-nesting" thread.

