
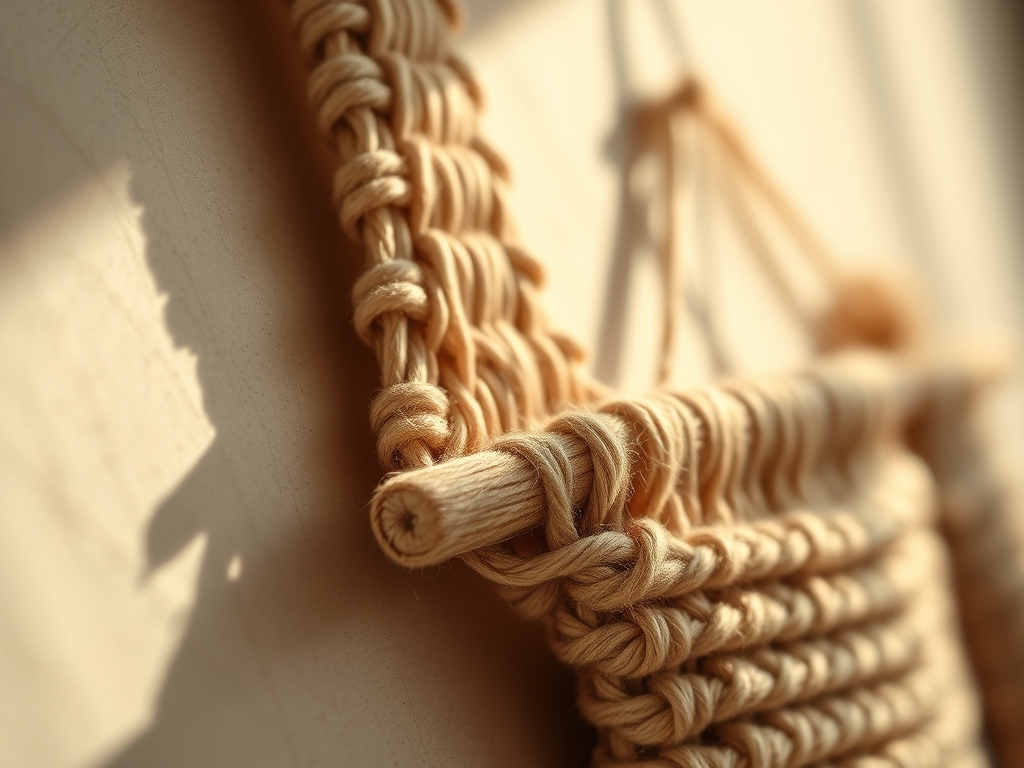
Close your eyes and listen to the snap of high-tensile seagrass. It is a sharp, percussive sound that signals the material is hydrated just enough to bend without snapping its internal cellulose fibers. When you run your thumb along a strand of split rattan, you are feeling the vascular bundles that once transported water through a jungle vine. We are not just making storage; we are engineering structural vessels. Integrating Woven Wall Pockets into your entryway transition zone solves the chaotic physics of daily life. It takes the kinetic energy of mail, keys, and loose change and brings it to a static, organized halt. The tactile friction of the weave grips your envelopes, ensuring that gravity does not win the battle against your important documents. This is where high-end aesthetics meet the cold, hard science of load-bearing fiber art. We are about to transform a flat plane of reeds into a three-dimensional masterpiece of tension and torque. Grab your coffee; we have some serious structural integrity to build.
THE STUDIO KIT
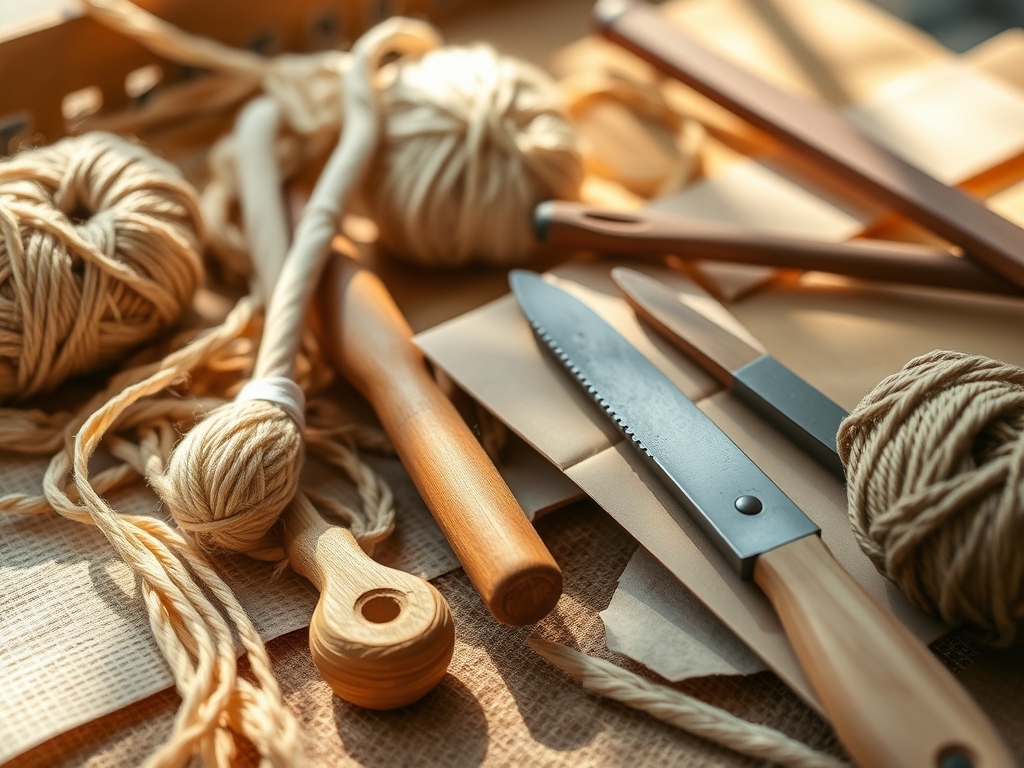
To execute these designs, you need more than just "craft supplies." You need a precision toolkit designed to manipulate organic polymers. Start with a heavy-duty awl for opening space between tight rows; this tool allows you to bypass the friction of the weave without tearing the grain. You will also need stainless steel spring clamps to maintain tension while the fibers dry and shrink. For measurement, skip the flimsy tape and use digital calipers to ensure your reed thickness is consistent across the entire warp.
The primary material is flat oval reed, which offers a superior strength-to-weight ratio compared to round cord. You will also need waxed linen thread for the binding phases; the wax provides a mechanical lock that prevents knots from slipping under the weight of heavy key rings. For "Material Substitutions," if you cannot source high-grade rattan, look for recycled PET plastic strapping. It has a much higher tensile strength and is completely impervious to the humidity shifts that can cause organic fibers to expand or contract. If you want a premium finish, incorporate vegetable-tanned leather strips for the hanging loops, which offer excellent durability against the shear forces of a wall mount.
THE TEMPO
The "Maker's Rhythm" is a psychological state where your muscle memory takes over the repetitive motions of the weave. This project follows a specific chronological arc. The Hydration Phase takes 20 minutes; you must submerge your reeds in lukewarm water to reach the "glass transition temperature" of the lignin, making them pliable. The Base Construction requires 45 minutes of intense focus to ensure the foundation is perfectly square.
The Ascension Phase, where you build the walls of the pocket, takes approximately two hours of steady, rhythmic weaving. Finally, the Curing Phase is the most critical. You must allow the Woven Wall Pockets to air dry for at least 12 hours. As the water evaporates, the fibers shrink and tighten around each other, creating a self-tensioning structure that is significantly stronger than the wet assembly. Do not rush this; the structural integrity of your mail holder depends on this slow molecular contraction.
THE CORE METHOD
1. Establishing the Warp and Weft
Lay out your vertical stakes (the warp) on a flat surface, ensuring they are perfectly parallel. Use your bone folder to create crisp, permanent creases at the base transition point. By pre-stressing the fibers at the bend, you prevent the outer radius from splintering.
Mastery Tip: This step relies on structural geometry. By keeping the warp spacing identical to the reed width, you create a balanced weave that distributes the weight of your mail evenly across the entire surface area.
2. The Twining Foundation
Secure the base by "twining" two thin weavers around each stake. This creates a locking row that prevents the vertical stakes from shifting laterally. Use your spring clamps to hold the corners in place while you work.
Mastery Tip: Twining utilizes torsional force. As you cross the two weavers between each stake, they exert pressure on each other, effectively "pinching" the warp in place and preventing the base from sagging under a heavy load of keys.
3. Vertical Wall Ascension
Transition from the flat base to the vertical walls by folding the stakes upward at a 90-degree angle. Begin a standard over-under weave, ensuring that each row is packed tightly against the one below it using the flat edge of a heavy-gauge ruler.
Mastery Tip: This is an exercise in friction coefficients. The tighter you pack the rows, the more surface area contact exists between the fibers. This increased friction is what allows the pocket to hold its shape without internal wire supports.
4. Integrating the Key Hooks
Before finishing the top rim, slide small copper "S" hooks or leather loops through the weave. Position them at the intersection of a warp and weft for maximum support.
Mastery Tip: This addresses point loading. By placing the hooks at the structural junctions, the weight of the keys is distributed through multiple fiber paths rather than pulling on a single strand, preventing "tear-out" failures.
5. The Rim and Lashed Finish
Fold the excess warp stakes over a thick "rim reed" and lash them down using waxed linen or a thin flat weaver. This creates a reinforced "top beam" for the entire structure.
Mastery Tip: The rim acts as a tension ring. It prevents the vertical stakes from splaying outward when the pocket is stuffed with mail, maintaining the ergonomic shape and long-term durability of the piece.
THE TECHNICAL LEDGER
To ensure your Woven Wall Pockets last for decades, you must understand the chemistry of the fibers. Organic reeds are porous and hygroscopic, meaning they will breathe with the room. Apply a light coat of beeswax or matte polyurethane to seal the surface. This prevents dust from embedding in the grain and protects against moisture-induced rot.
Material Variations: For a sustainable approach, use upcycled denim strips woven between the reed stakes; the cotton fibers provide excellent padding for delicate envelopes. For a premium "Executive" look, use smoked black reed paired with brass hardware.
The Correction:
- The Bowing Base: If the bottom of your pocket curves, your tension was too high on the outer edges. Fix this by re-wetting the base and drying it under a heavy weight.
- Splintered Stakes: This happens when the reed is too dry. Use a fine-grit sandpaper (400 grit) to smooth the fibers, then apply a drop of cyanoacrylate glue to stop the crack from propagating.
- Loose Weave: If the pocket feels "squishy," your rows aren't packed. Use an awl to push the rows down and insert a "filler" weaver to take up the slack.
Studio Organization: Store your raw reeds horizontally in a cool, dry place. If they are stored vertically, gravity will cause them to bow over time, ruining your alignment before you even start.
THE FINAL REVEAL
The finished product is a masterclass in organic engineering. When you hang your Woven Wall Pockets, notice how the natural texture catches the light, creating a rhythmic pattern of shadows. It feels substantial in your hand; the "thunk" of a heavy set of keys hitting the bottom of the pocket is muffled by the natural dampening properties of the wood. You have successfully turned a bundle of sticks into a sophisticated organizational system. It is witty, it is functional, and it is scientifically sound. Your entryway is no longer a drop zone; it is a curated gallery of your own making.
STUDIO QUESTIONS
How do I clean my woven wall pockets?
Use a vacuum with a soft brush attachment to remove dust from the crevices. For deeper cleans, a slightly damp microfiber cloth works best. Avoid saturation, as excess moisture can weaken the lignin bonds and cause structural warping over time.
Can these pockets hold heavy sets of keys?
Yes, provided you have reinforced the rim. The tensile strength of high-quality rattan can support several pounds. Ensure your wall anchor is rated for the total weight to prevent the leather hanging loops from experiencing excessive shear stress.
What is the best reed size for beginners?
Start with a 1/2 inch flat reed for the stakes and a 1/4 inch flat oval for the weavers. This ratio provides a sturdy frame that is easy to manipulate without requiring the advanced finger strength needed for smaller, tighter gauges.
How do I prevent the reed from molding?
Ensure the project is completely dry before applying any sealant. Use a fungicidal wood conditioner if you live in a high-humidity environment. Proper airflow around the pocket is the best defense against organic degradation and spore growth.
Why is my weave uneven?
Unevenness usually stems from inconsistent hydration levels. If one side of your reed is wetter than the other, it will stretch more during the weaving process. Always soak your materials uniformly and work at a steady, consistent pace.

