Snap into the crisp, biting air of a late autumn afternoon. Your boots crunch against a carpet of frozen pine needles, and the scent of damp earth fills your lungs. You are not just walking; you are scavenging for the perfect fuel. To master the art of Natural Wax Fire Starters, you must first understand the physics of the forest floor. We are looking for high-surface-area materials that act as a natural wick, drawing molten wax into their fibers through capillary action. The goal is a sustained, slow burn that can withstand the draft of a cold chimney. When you hold a dried pinecone or a curl of birch bark, you are holding a complex network of cellulose and lignin. These organic polymers are the backbone of your hearth experience. By infusing these forest finds with refined wax, we create a chemical bridge between the initial spark and the heavy logs. It is about more than just heat; it is about the tactile satisfaction of building a fire that catches on the first strike.
THE STUDIO KIT
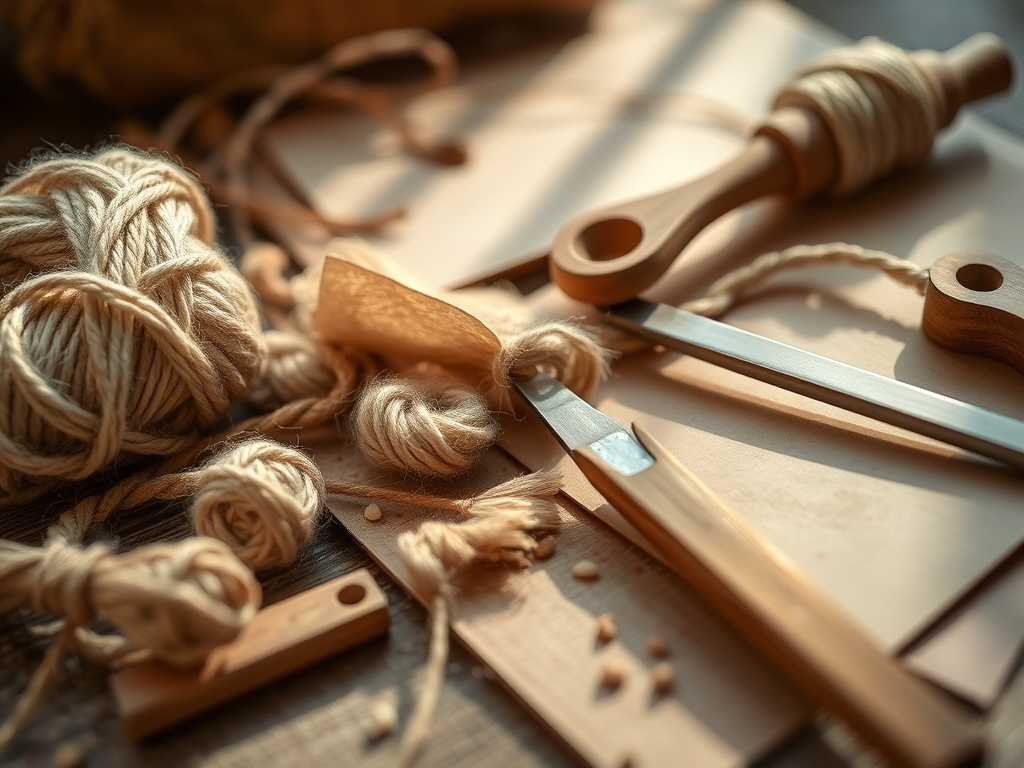
To transform your forest finds into professional grade Natural Wax Fire Starters, your workbench needs a specific set of tools. First, you need a high precision infrared thermometer to monitor the wax temperature. If the wax exceeds its flash point, you risk a studio fire; if it is too cool, it will not penetrate the porous fibers of your botanicals. You will also need a double boiler system to ensure even heat distribution. For handling the materials, use a pair of stainless steel tweezers or long nosed pliers to avoid skin contact with the hot medium.
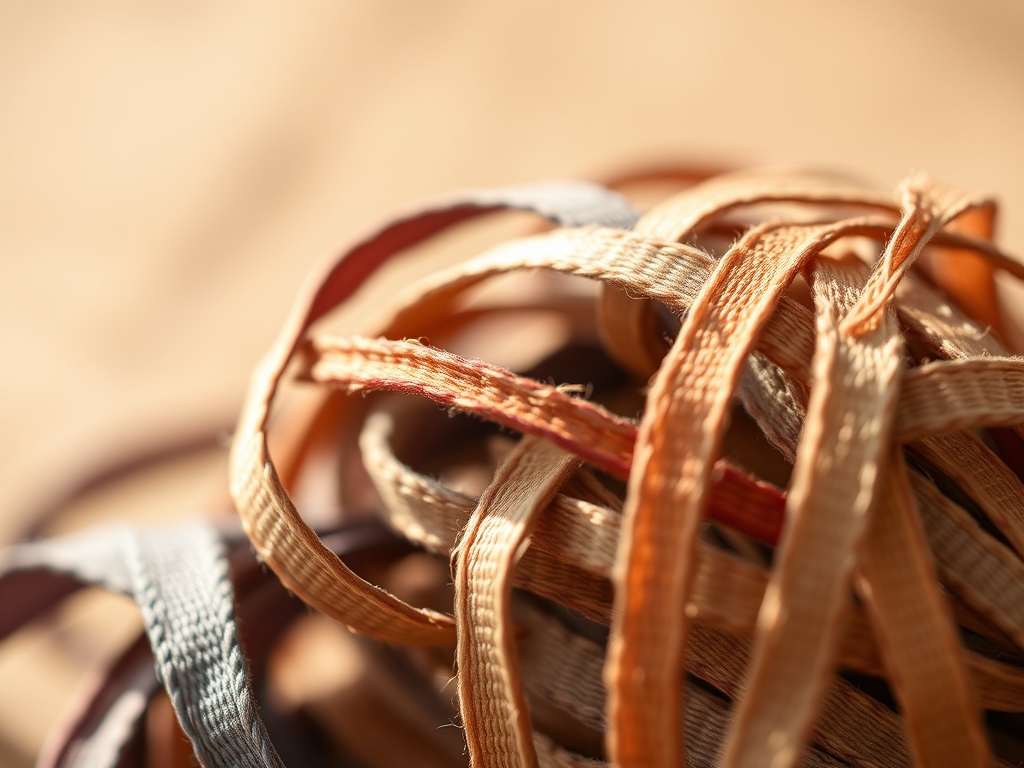
The materials list includes soy or beeswax pellets, which offer a cleaner burn than paraffin. For the forest finds, gather nine specific items: pinecones, birch bark curls, dried acorns, hemlock cones, cedar sprigs, walnut shells, dried orange peels, cinnamon sticks, and star anise. If you are missing a specific forest find, you can utilize Material Substitutions such as shredded kraft paper, cotton twine, or even dried lavender stems. Each material has a different porosity, meaning they will absorb the wax at different rates. Use a digital scale to measure your wax by weight rather than volume for consistent results across every batch.
THE TEMPO
The Maker's Rhythm is a three phase process that demands patience and precision. Phase one is the Desiccation Phase, which takes approximately 24 to 48 hours. Your forest finds must be entirely moisture free. Any residual water inside a pinecone or shell will turn to steam when dipped in hot wax, causing dangerous splattering and compromising the structural integrity of the starter.
Phase two is the Infusion Phase, lasting about 1 hour. This is the active "making" time where you melt, dip, and set your starters. Finally, phase three is the Curing Phase. Allow your starters to sit for at least 4 hours at room temperature. This allows the wax to reach its maximum tensile strength, ensuring it does not crack or flake when handled. Total project time is roughly two days, but the active labor is minimal. It is a slow, methodical dance between the heat of the stove and the cooling of the wax.
THE CORE METHOD
1. Material Preparation and Moisture Extraction
Before the wax even touches the heat, you must ensure your forest finds are “bone dry.” Spread your pinecones and barks on a baking sheet and place them in an oven at 200 degrees Fahrenheit for 30 minutes. This kills any hitchhiking insects and evaporates hidden moisture.
**Mastery Tip:** This process utilizes **thermal desiccation** to open the cellular pores of the wood. When the material is warm and dry, it creates a vacuum effect that sucks the molten wax deeper into the grain than cold wood ever could.
2. Calibrating the Wax Reservoir
Fill your double boiler with water and bring it to a simmer. Add your wax pellets and monitor the temperature until it reaches exactly 175 degrees Fahrenheit. This is the “sweet spot” for most natural waxes.
**Mastery Tip:** Maintaining the correct **viscosity** is essential. If the wax is too thick, it will only coat the surface. If it is too thin (overheated), it will run off the material before it can bond. Use your infrared thermometer to check the temperature every three minutes.
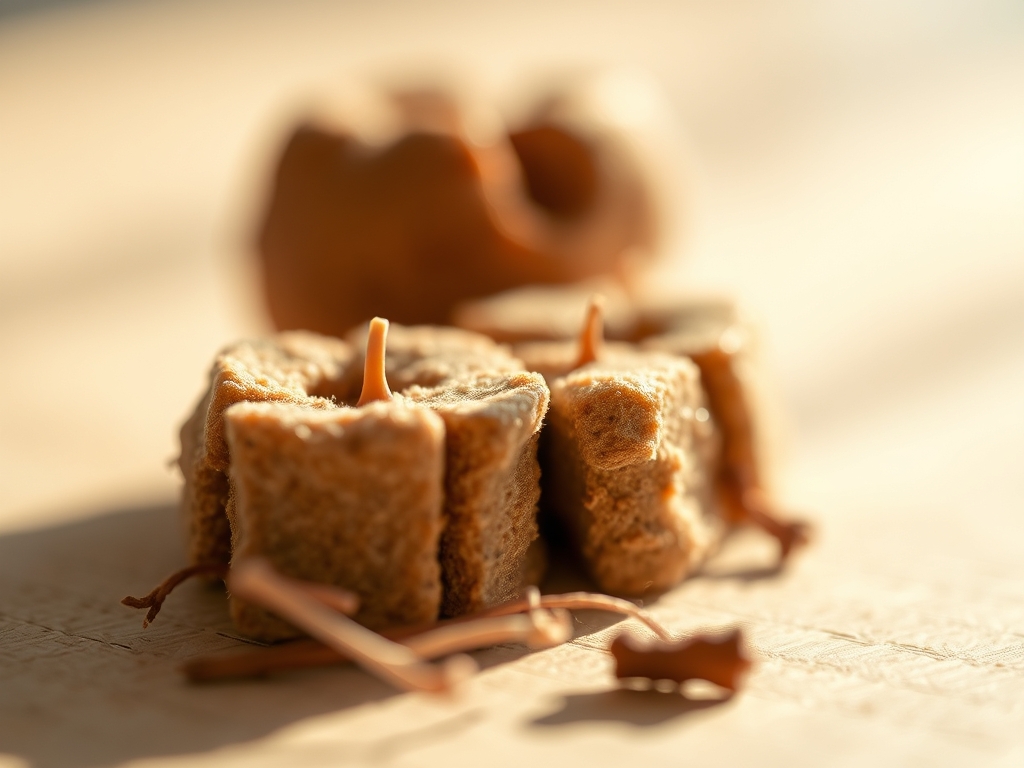
3. The Precision Dip
Using your tweezers, submerge your forest find into the wax for exactly five seconds. Lift it out, let the excess drip back into the pot, and place it on a sheet of parchment paper. For highly porous items like birch bark, a single dip is sufficient. For dense items like walnut shells, a second dip after two minutes of cooling is required.
**Mastery Tip:** This step relies on **surface tension**. The wax must overcome the air pockets within the material. By holding the item submerged, you allow the heat to displace the air, ensuring a dense, slow burning core.
4. Structural Reinforcement
While the wax is still tacky, you can wrap a small length of hemp twine around the base of the starter. This acts as an auxiliary wick and provides a tactile grip for the user. Ensure the twine is also coated in wax to prevent it from burning away too quickly.
**Mastery Tip:** This adds a layer of **composite strength** to the starter. The twine acts like rebar in concrete, holding the wax and botanical together as they begin to melt in the fireplace.
THE TECHNICAL LEDGER
Maintenance & Longevity: When stored correctly, these Natural Wax Fire Starters have a shelf life of over five years. Because natural waxes like beeswax are chemically stable, they do not "expire," though they may develop a white powder called "bloom" over time. This is simply the oils migrating to the surface and does not affect performance.
Material Variations: For a premium version, add a few drops of high flash point essential oils like Siberian Fir or Cedarwood. For a sustainable approach, use recycled candle ends, but be sure to filter out old wick fragments using a fine mesh strainer to maintain the purity of the burn.
The Correction:
- The Wax is Flaking: This happens when the material was too cold during the dip. Fix: Re-heat the starter with a heat gun to allow the wax to re-bond.
- The Starter Won't Light: Usually caused by too much wax clogging the wick area. Fix: Use an awl to scratch the surface and expose the raw fibers before lighting.
- The Wax is Smoking: This indicates the wax was scorched during melting. Fix: Always use a double boiler; never apply direct flame to the wax melting pot.
Studio Organization: Store your completed starters in a galvanized steel tin or a glass jar with a gasket seal. Keep them in a cool, dark environment. Heat will cause the wax to soften and deform, while UV light can break down the organic pigments in your forest finds, making them brittle.
THE FINAL REVEAL
Look at that craftsmanship! You have successfully turned a handful of forest debris into a high performance tool for the hearth. These Natural Wax Fire Starters are not just functional; they are aesthetically stunning. The way the wax catches the light on the scales of a pinecone or the ridges of a walnut shell is pure studio magic. When you toss one of these into your fireplace, you aren't just starting a fire; you are initiating a controlled chemical reaction that smells like a winter forest and burns with a steady, reliable flame. It is the ultimate marriage of biology and physics, wrapped in a cozy, handmade package.
STUDIO QUESTIONS
What is the best wax for fire starters?
Beeswax and soy wax are superior for Natural Wax Fire Starters because they have higher melting points and cleaner burn profiles than paraffin. This ensures a longer, soot free burn that effectively ignites larger logs in your hearth.
How do I prevent the wax from cracking?
Cracking is caused by rapid cooling or poor adhesion. Ensure your forest finds are pre-warmed in the oven and allow the finished starters to cool at room temperature rather than in the fridge to maintain structural integrity.
Can I use fresh green pine needles?
No. Fresh needles contain high levels of moisture and sap that will cause the wax to bubble and pop dangerously. Always use materials that have undergone desiccation to ensure a safe and steady burn.
Why is my fire starter burning out too fast?
If the starter burns too quickly, the material density is likely too low. Try using denser forest finds like acorns or walnut shells, or apply a second coat of wax to increase the total fuel load.