
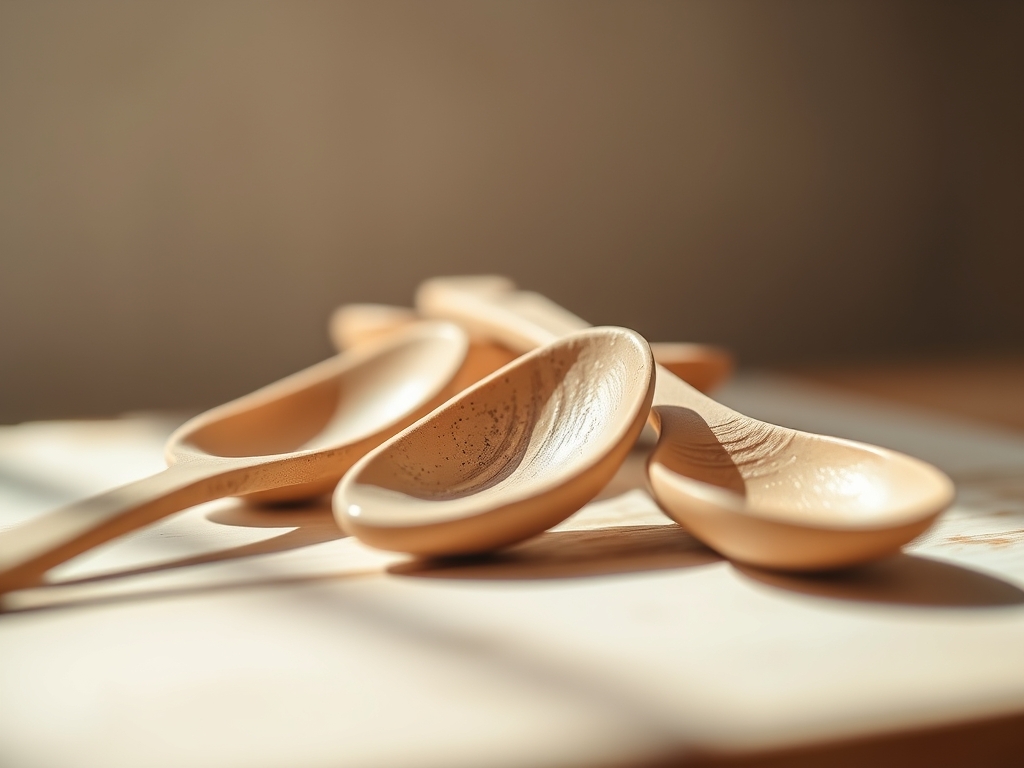
Imagine the cool, damp weight of raw stoneware pressing into your palm as you prepare to create something tiny but transformative. We are diving into the world of Hand Crafted Clay Spoons for salt cellars today. There is a specific, tactile thrill in manipulating a material that transitions from a malleable silicate slurry into a vitrified, rock hard tool. When you are working on a scale this small, every millimeter of depth and every curve of the handle affects the ergonomic balance of the piece. We are not just making cutlery; we are engineering miniature vessels designed to deliver the perfect pinch of crystalline sodium chloride to your favorite dish. The physics of the pinch is real. You can feel the tensile strength of the clay body as you wedge it, driving out microscopic air pockets that would otherwise expand and shatter your work in the kiln. Grab your apron and tie your hair back because we are about to turn a lump of earth into a functional masterpiece.
THE STUDIO KIT
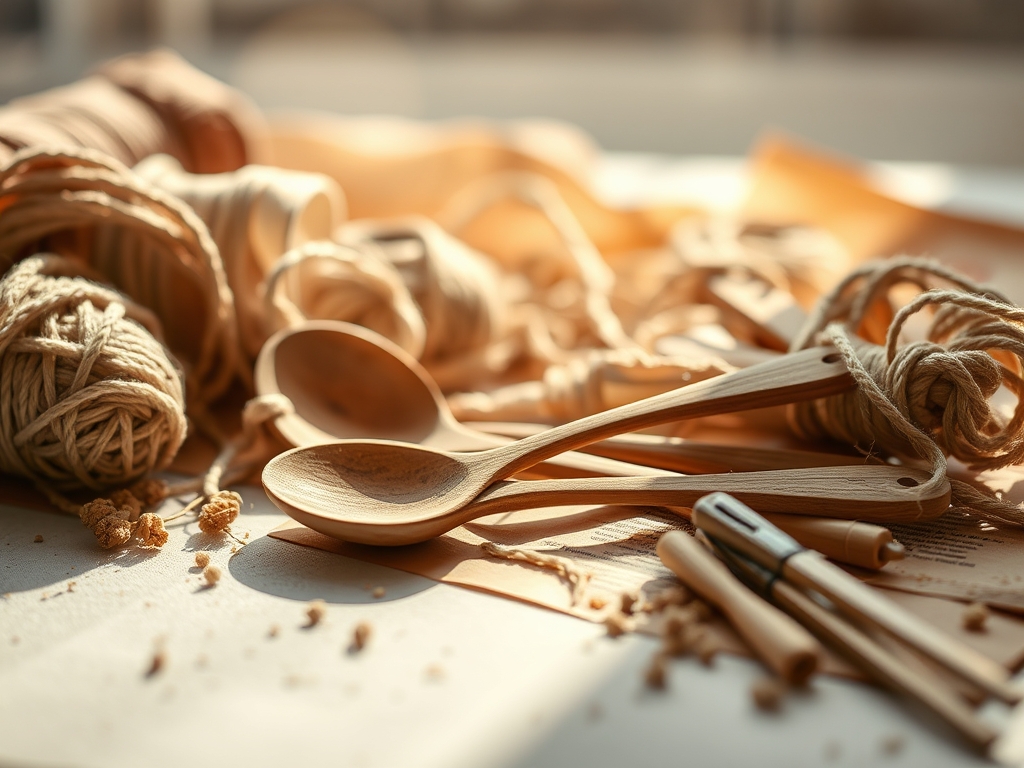
To master Hand Crafted Clay Spoons, you need a kit that respects the porous nature of the medium. Start with a high fire stoneware or porcelain clay body; these offer the best vitrification levels for food safety. You will need a needle tool for precise outlines and a small loop tool for carving out the bowl of the spoon. A rubber kidney rib is essential for compressing the clay surface to prevent cracking during the drying phase. For measurement, keep a pair of calipers handy to ensure your spoon heads actually fit inside your salt cellars.
Material Substitutions: If you do not have access to a kiln, you can use high grade polymer clay. While it lacks the mineral density of fired ceramic, it offers excellent flexural strength for decorative use. Instead of professional sculpting tools, a ball stylus or even a polished stainless steel measuring spoon can act as a mold for your bowl shape. Just remember that air dry clays are often too hydrophilic for salt, which naturally draws moisture from the air and can soften the material over time.
THE TEMPO
The "Maker's Rhythm" is all about respecting the evaporation rate of your workspace. You cannot rush the chemistry of hydration.
- The Prep (15 minutes): Wedging the clay to align the platelet structure and remove air.
- The Forming (30 minutes): Shaping the initial silhouette while the clay is in its most plastic state.
- The Rest (2 to 4 hours): Waiting for the "leather hard" stage where the clay is firm enough to carve but damp enough to join.
- The Refinement (20 minutes): Burnishing and smoothing the edges to eliminate stress fractures.
- The Cure (3 to 7 days): Slow drying under plastic to ensure uniform shrinkage across the entire form.
THE CORE METHOD
1. The Wedge and Slab
Start by wedging a small fist sized ball of clay to ensure a homogenous consistency. Roll it out into a slab approximately six millimeters thick. Using a slab ensures that the cross sectional density is even throughout the handle and the bowl, which prevents warping during the firing process.
Mastery Tip: Use a rolling pin with thickness rings to maintain a perfect gauge. If the slab is uneven, the thinner sections will lose moisture faster, leading to differential shrinkage and a curved handle.
2. The Template Trace
Place a paper template onto the slab and trace the outline with an awl or needle tool. For Hand Crafted Clay Spoons, the "neck" where the handle meets the bowl is the most vulnerable point. Aim for a slightly thicker transition here to handle the mechanical leverage of scooping salt.
Mastery Tip: Cut at a ninety degree angle to the slab. Angled cuts create "sharp" edges that are prone to chipping once the clay reaches its brittle, bone dry state.
3. The Bowl Depression
Lift your cutout and place the head over a curved surface, like a thumb or a wooden mold. Gently press the center to create a concavity. This increases the surface area of the spoon, allowing it to hold more granules while maintaining a compact footprint.
Mastery Tip: Watch for micro-cracking on the edges. If cracks appear, the clay is losing its plasticity. Use a damp sponge to reintroduce a tiny amount of moisture, utilizing capillary action to pull water into the fissures.
4. The Handle Texture
This is where the decorative magic happens. Use a burnishing tool or a carved stamp to press patterns into the handle. You can create a "twig" look by rolling the handle against a piece of real bark, or use a jeweler's saw to notch the edges for a geometric aesthetic.
Mastery Tip: Compressing the clay with a burnishing tool actually aligns the surface particles, making the finished piece more impermeable to stains and bacteria.
5. The Refining Burnish
Once the spoon is leather hard, take a smooth stone or the back of a metal spoon and rub the entire surface. This process, known as burnishing, closes the pores of the clay and creates a natural sheen even before glaze is applied.
Mastery Tip: This step reduces the surface roughness coefficient, meaning salt crystals are less likely to stick to the spoon through frictional resistance.
THE TECHNICAL LEDGER
Maintenance & Longevity: Hand Crafted Clay Spoons should be hand washed only. The thermal shock of a dishwasher can cause "crazing," which are tiny cracks in the glaze that harbor bacteria. Periodically inspect the spoon for chips; a chipped ceramic edge can be abrasive.
Material Variations:
- Premium: Porcelain offers the highest translucency and a glass like finish.
- Sustainable: Reclaimed "scrap" clay from previous projects can be re-hydrated to create unique, marbled "agateware" effects.
- Recycled: Some potters mix in finely ground "grog" (fired clay) to give the spoons a gritty, rustic texture and added structural integrity.
The Correction:
- Problem: The handle snapped during drying. Fix: This is usually due to "S-cracks" from uneven tension. Join the pieces using ceramic slip (clay glue) while still damp, or start over and ensure you are not bending the handle upward while the bowl is pinned down.
- Problem: The spoon wobbles on the table. Fix: Use a flat rasp or sandpaper on the bottom of the spoon once it is bone dry to create a stable "foot."
- Problem: Glaze is peeling off. Fix: This is "shivering," caused by a mismatch in the coefficient of thermal expansion between the clay and glaze. Switch to a glaze with a higher silica content.
Studio Organization: Store your drying spoons on a plaster bat inside a "damp box" (a plastic bin with a layer of wet plaster at the bottom). This maintains a 100 percent humidity environment, allowing the moisture to leave the clay at a glacial pace, which is the secret to preventing warping.
THE FINAL REVEAL
There is nothing quite like seeing your Hand Crafted Clay Spoons nestled inside a marble or wooden salt cellar. The contrast between the matte, earthy texture of the ceramic and the sparkling, crystalline structure of the salt is a visual feast. When you pick up the spoon, it should feel like an extension of your hand; balanced, weighted, and smooth. You have successfully navigated the transition from raw earth to a functional culinary tool. Whether you chose a minimalist white glaze or a rugged, thumb-pressed texture, these spoons are a testament to the beauty of applied physics in the kitchen.
STUDIO QUESTIONS
What is the best clay for salt spoons?
Stoneware is ideal because of its high vitrification and durability. It becomes non porous when fired to maturity, which prevents the salt from absorbing into the material and causing structural degradation over time.
How do I prevent the spoon handle from breaking?
Ensure the "neck" of the spoon has sufficient cross sectional thickness. Avoid making the handle too long or thin, as this increases the bending moment and makes the piece susceptible to snapping during use.
Can I use acrylic paint on my clay spoons?
Only if the spoons are purely decorative. Acrylic paint is not food safe and will peel when exposed to moisture. For functional salt spoons, always use food safe, lead free ceramic glazes fired in a kiln.
Why did my spoon warp in the kiln?
Warping usually occurs because of uneven moisture distribution during the drying phase. If one side of the spoon dries faster than the other, the resulting internal tension pulls the form out of alignment during the firing.
How do I get a perfectly smooth finish?
Use a rubber rib while the clay is wet, then burnish the surface with a smooth stone at the leather hard stage. After the first firing, you can use fine grit sandpaper to remove any remaining imperfections.

