
Imagine the scent of earth and heat colliding in your kitchen as a humble stone transforms into a liquid sunset. We are about to manipulate the chemical bonds of organic waste to create stunning Naturally Dyed Pillowcases that look like they were pulled from a high-end boutique in Copenhagen. This is not just a craft project; it is a lesson in molecular bonding and the extraction of tannins. When you hold a fresh avocado pit, you are holding a dense cache of anthocyanins and tannic acid that, when agitated by heat, releases a spectrum of dusty roses and vibrant corals. The goal here is a soft, permanent pink that feels as luxurious as it looks. We are looking for that perfect intersection of high-fashion aesthetics and home-grown science. Grab your apron because we are about to turn your bedroom into a sanctuary of botanical art.
THE STUDIO KIT
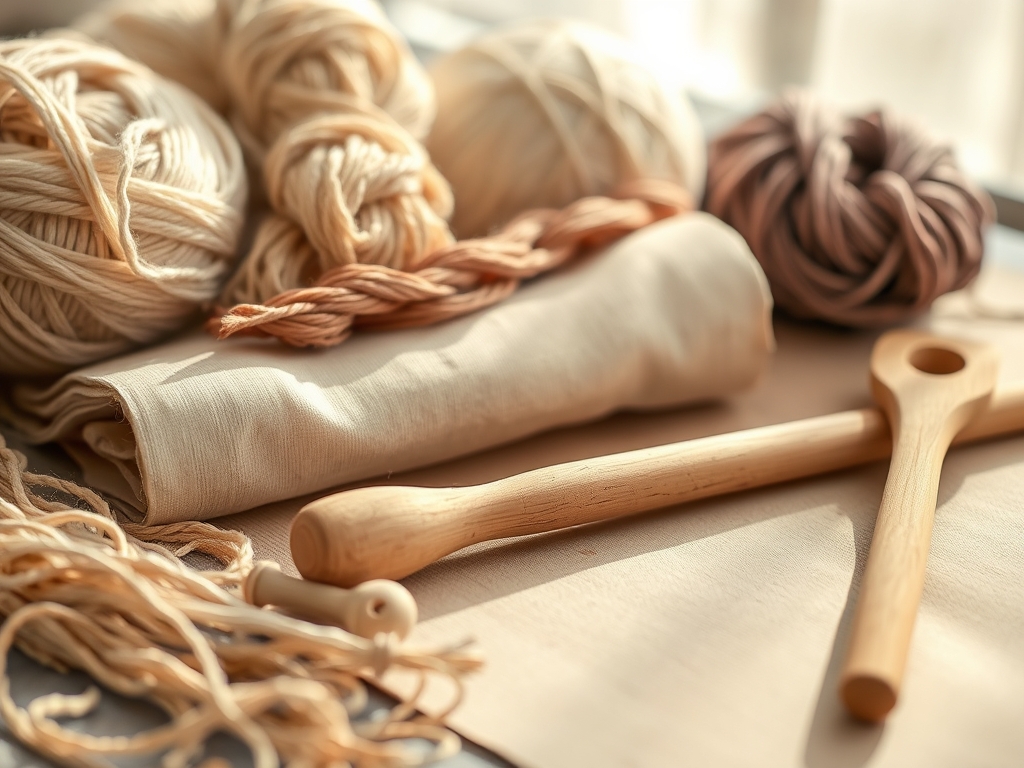
To achieve professional results, you need to think like a textile engineer. Your primary canvas should be a high-quality long-staple cotton or a linen-silk blend. These fibers have high porosity, allowing the dye molecules to lodge deep within the cellular structure of the thread. You will need seven large avocado pits, thoroughly scrubbed to remove any green fruit residue, as leftover lipids can create uneven spotting.
In terms of hardware, skip the flimsy kitchen spoons. You need a stainless steel stockpot with a minimum ten-quart capacity to allow for proper hydrostatic pressure and even pigment distribution. A digital thermometer is non-negotiable; we are targeting a specific thermal range to prevent the proteins in the fiber from denaturing. For handling, use silicone-tipped tongs to avoid snagging the tensile threads of your fabric.
Material Substitutions: If you cannot source fresh pits, high-quality dried avocado skins work beautifully, though they lean more toward a terracotta hue. If your fabric is a synthetic blend, you must introduce a mordant like aluminum potassium sulfate to create a chemical bridge between the dye and the non-porous polyester fibers. Without this, the pigment will simply slide off the surface during the first wash.
THE TEMPO
The "Maker's Rhythm" for botanical dyeing is a slow, deliberate cadence. This is not a project you rush before a dinner party. You should allocate approximately three hours for the active extraction phase and a full twenty-four hours for the curing process. The extraction requires a steady simmer; if you boil the pits, you risk oxidizing the liquid into a muddy brown. The rhythm is one of patience: heat, steep, and cool. Think of it as a low-frequency vibration that slowly coaxes the color out of the wood-like pits. The final "soak" is where the magic happens, as the fabric reaches a state of saturation equilibrium.
THE CORE METHOD
1. Scouring the Fibers
Before the first drop of dye touches the cloth, you must remove the "factory finish" or sizing. This involves boiling your pillowcases in a solution of soda ash. This opens the cuticle of the fiber, increasing the surface area for the dye to attach.
Mastery Tip: This process relies on capillary action. By removing oils and waxes, you ensure the dye travels vertically and horizontally through the weave at a uniform rate, preventing "islanding" or splotchy patches.
2. The Pit Extraction
Place your seven pits into the pot and cover with filtered water. Heat the water to exactly 190 degrees Fahrenheit. Do not let it reach a rolling boil. You will see the water turn from a pale yellow to a deep, bloody red.
Mastery Tip: The science here is thermal extraction. Maintaining a sub-boiling temperature prevents the breakdown of delicate pigment chains, ensuring the pink remains "clean" rather than "toasted."
3. Straining for Clarity
Once the liquid is dark, remove the pits and strain the bath through a fine-mesh cheesecloth. Any solid particulate left in the bath will cause dark "freckles" on your fabric where the pigment concentrates too heavily.
Mastery Tip: This is about fluid dynamics. A clear dye bath ensures that the solute (the pigment) is evenly distributed in the solvent (the water), leading to a professional, monochromatic finish.
4. The Submersion
Wet your pillowcases in plain warm water first. This prevents air bubbles from being trapped in the weave. Lower the fabric into the dye bath, ensuring it is fully submerged and not cramped.
Mastery Tip: We are managing surface tension here. Pre-wetting the fabric breaks the surface tension of the fibers, allowing the dye to penetrate the core of the yarn immediately rather than sitting on the surface.
5. The Agitation Phase
For the first thirty minutes, stir the fabric gently every five minutes using a smooth-edged paddle. This prevents the fabric from settling in folds where the dye might pool and create dark lines.
Mastery Tip: Consistent agitation ensures kinetic distribution. You are manually moving the dye molecules into the tightest parts of the seams and hems.
6. The Long Steep
Turn off the heat and let the pillowcases sit in the bath overnight. As the temperature drops, the fibers contract slightly, "locking" the pigment into the crystalline regions of the cellulose.
Mastery Tip: This is a lesson in thermodynamics. The cooling process slows down the molecular movement, allowing the dye to settle into a permanent state of adhesion within the fiber walls.
7. The Final Rinse and Set
Rinse the fabric in cool water until the water runs clear. Hang the pillowcases to dry in a shaded area. UV rays can act as a catalyst for photodegradation, fading your hard-earned pink before it even hits the bed.
Mastery Tip: Using a pH-neutral soap for the final wash is vital. Avocado dye is pH-sensitive; an alkaline soap can shift your soft pink toward a purple or grey tone instantly.
THE TECHNICAL LEDGER
Maintenance & Longevity: To preserve the colorfastness of your Naturally Dyed Pillowcases, always wash them in cold water with a gentle, sulfate-free detergent. Avoid drying them in direct sunlight. Over time, botanical dyes develop a "patina," softening into a more ethereal shade that reflects the age of the piece.
Material Variations:
- Sustainable: Use reclaimed vintage linen for a rustic, high-texture look.
- Premium: Use Mulberry silk for a high-luster finish that catches the light.
- Recycled: Use old cotton T-shirts to create "practice" cases before moving to expensive yardage.
The Correction:
- The Mistake: Streaky lines across the center. The Fix: This is caused by insufficient agitation. Re-dip the fabric in a fresh, weaker dye bath and stir constantly for twenty minutes to level the color.
- The Mistake: The color is too orange. The Fix: Your water may be too acidic. Add a pinch of baking soda to the bath to shift the pH toward alkaline, which pulls out the pinker tones.
- The Mistake: Dye washes out completely. The Fix: You skipped the scouring phase. You must re-scour the fabric and start over; the fibers were too "slick" to hold the pigment.
Studio Organization: Store your leftover dried pits in a hermetically sealed glass jar in a cool, dark cupboard. Moisture is the enemy of stored botanicals, as it invites mold which will ruin the chemical integrity of the tannins.
THE FINAL REVEAL
Look at that glow! Your Naturally Dyed Pillowcases should now sport a sophisticated, dusty rose hue that hums with organic energy. The texture of the fabric will feel slightly more substantial thanks to the tannin infusion, giving it a tactile quality that synthetic dyes simply cannot replicate. You have successfully navigated the physics of botanical extraction and the chemistry of textile bonding. This is not just bedding; it is a functional piece of art that proves the most beautiful colors often come from the things we usually throw away.
STUDIO QUESTIONS
Why are my avocado dyed pillowcases turning orange instead of pink?
This is usually a pH issue. Avocado dyes are sensitive to acidity. Add a tiny amount of baking soda to your dye bath to increase the alkalinity, which shifts the pigment spectrum from orange toward a true botanical pink.
Do I need a mordant for avocado dye?
Avocados are rich in natural tannins, which act as a built-in mordant. For protein fibers like silk or cellulose fibers like cotton, the tannins provide excellent adhesion without the need for additional heavy metal fixatives or chemicals.
How many avocado pits do I need for two pillowcases?
For a deep, saturated pink, use a minimum of seven large pits. Using fewer pits results in a very pale, flesh-toned beige. Increasing the solute concentration ensures the color remains vibrant even after the initial rinse and dry.
Can I use the avocado skins as well as the pits?
Yes, the skins contain significant amounts of pigment. However, skins often produce a slightly deeper, more "earthy" pink compared to the "clean" rose tones found in the pits. Use a combination of both for a complex, multi-tonal result.

