
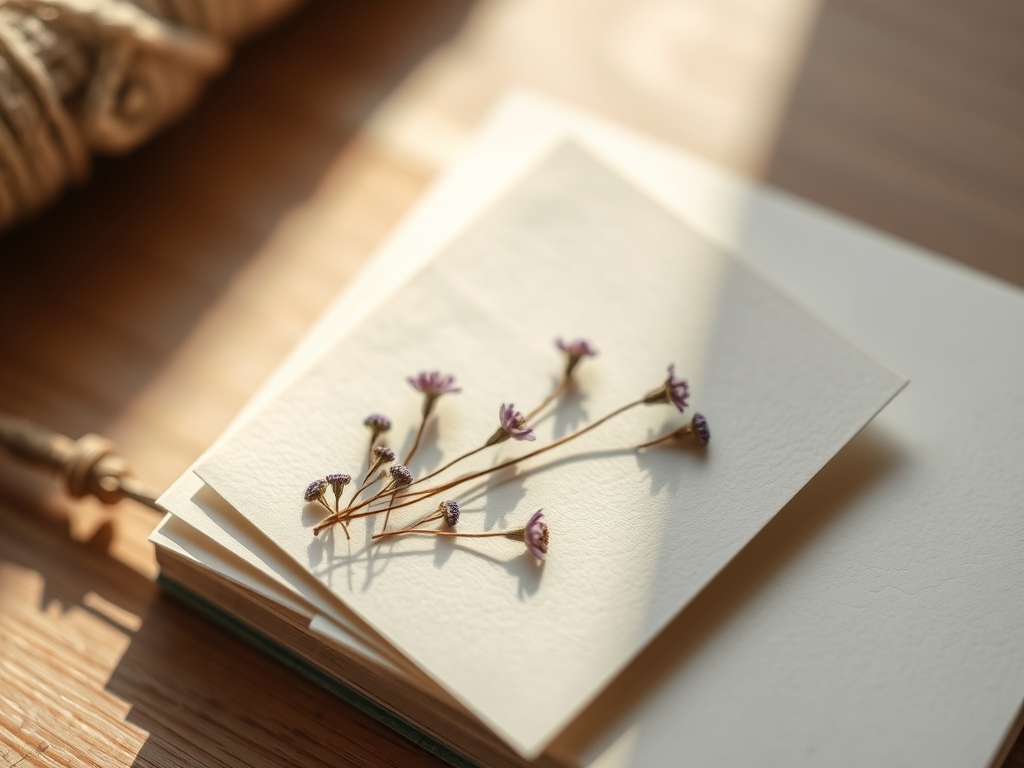
Imagine the crisp, cool snap of 120-pound cotton cardstock meeting the delicate, paper thin membrane of a dried larkspur. There is a specific, addictive friction that occurs when you slide a high quality sheet of Pressed Flower Stationery out of a vellum sleeve. It is a marriage of botanical fragility and structural permanence. We are not just gluing petals to paper; we are engineering a tactile experience that balances the moisture content of organic matter with the fibrous integrity of premium cellulose. When you run your thumb across a properly burnished petal, you should feel the subtle ridges of the veins without any lifting at the margins. It is about capturing a moment of peak bloom and locking it into a physical archive. We are going to dive deep into the physics of adhesion and the aesthetics of negative space to create something that feels like it belongs in a Victorian naturalist's private collection but with a modern, minimalist edge. Let's get our hands on some fibers.
THE STUDIO KIT
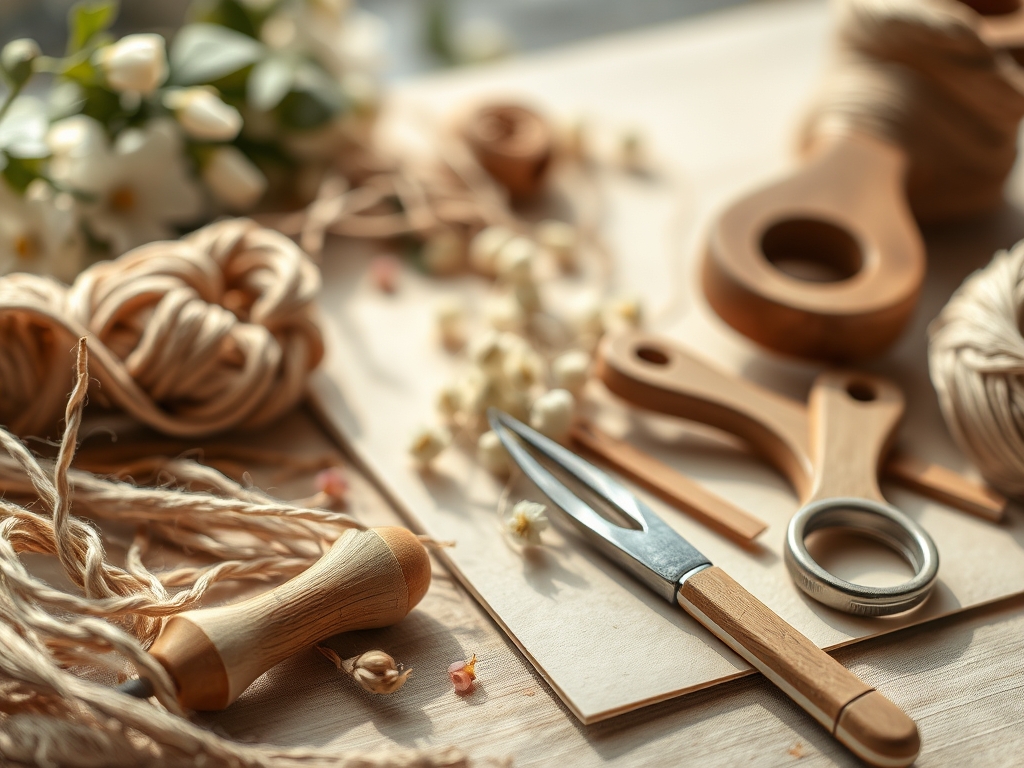
To master this craft, you need more than just a green thumb; you need a kit that respects the tensile strength of your materials. Start with a high quality bone folder for crisp creases and a pair of fine tip precision tweezers to handle delicate specimens without bruising the cellular walls. You will need a pH neutral, archival adhesive; acid is the enemy of longevity and will turn your vibrant petals into muddy brown ghosts. For the base, select a heavy 300 GSM watercolor paper or a handmade deckle edge rag. The high porosity of these papers allows the adhesive to create a mechanical bond rather than just sitting on the surface.
Material Substitutions: If you cannot find high rag content paper, a heavy cardstock with a linen finish works beautifully. If you lack a professional flower press, a stack of heavy books combined with blotting paper will suffice, provided you increase the weight to ensure even pressure across the entire surface area. Avoid using wax paper for pressing, as it traps moisture and leads to fungal growth within the plant fibers.
THE TEMPO
The "Maker's Rhythm" for stationery is a game of patience followed by a sprint of precision. The pressing phase is the longest, requiring seven to fourteen days depending on the ambient humidity and the thickness of the flora. Once the specimens are desiccated, the layout and adhesion phase for a set of nine cards takes approximately three hours of focused studio time. You must account for the curing time of the adhesive, which usually requires a twenty four hour "rest" under light pressure to prevent the paper from warping due to the introduction of moisture. Do not rush the drying; the water molecules must exit the plant cells slowly to maintain the structural integrity of the pigments.
THE CORE METHOD
1. The Perimeter Frame
Start by selecting long, linear specimens like ferns or lavender stems. Position them along the vertical axis of the card, roughly five millimeters from the edge. Use your calipers to ensure equidistant spacing. This layout relies on the geometric symmetry of the plants to frame the written word.
Mastery Tip: Understand capillary action. When applying glue to the stem, use a micro-brush. Too much liquid will travel up the dry fibers of the plant, causing the colors to bleed or the plant to become translucent.
2. The Botanical Cluster
Gather three varying species and overlap them in the bottom left corner. This creates a focal point with high visual density. Start with the largest, flattest leaf as the base layer and stack delicate petals on top.
Mastery Tip: This layout tests the ply thickness of your stationery. Ensure the total height of the cluster does not exceed two millimeters, or the envelope will snag during postal processing.
3. The Floating Specimen
Place a single, vibrant bloom exactly in the center of the card. This minimalist approach highlights the anatomical detail of the flower. Use a magnifying lamp to ensure there are no stray fibers or dust particles trapped under the petal.
Mastery Tip: Use a bone folder to gently burnish the petal. This forces the adhesive into the paper's tooth, creating a permanent seal that resists mechanical shear forces.
4. The Cascading Corner
Arrange small blossoms like lobelia or gypsophila so they appear to spill from the top right corner downward. This creates a sense of kinetic energy and movement across the static page.
Mastery Tip: Balance the weight distribution. Heavy floral elements should be anchored with more adhesive points to prevent the card from bowing under the weight of the organic material.
5. The Wreath Motif
Using a compass, lightly trace a circle in the center. Arrange tiny leaves and petals along this path. This layout is a masterclass in radial balance.
Mastery Tip: Consider the hygroscopic nature of the paper. As the glue dries, the paper fibers may contract. Working in a circular pattern helps distribute this tension evenly across the sheet.
6. The Linear Horizon
Line up small, identical flowers along the bottom third of the card. This creates a "landscape" feel that is grounded and stable. Use a steel ruler to maintain a perfect horizontal alignment.
Mastery Tip: Check the grain direction of your cardstock. Always align your floral horizon perpendicular to the paper grain to minimize the risk of the card curling as the adhesive sets.
7. The Envelope Liner Accent
Do not forget the envelope. Adhere a flat, broad leaf to the interior triangle of the flap. This adds a layer of tactile surprise for the recipient.
Mastery Tip: Ensure the specimen is ultra thin. Anything with bulk will interfere with the adhesive strip on the envelope flap, compromising the mail's security.
8. The Scattered Wildflower
Drop small petals randomly across the page, then refine their positions. This "organized chaos" mimics the entropy of a meadow.
Mastery Tip: Use a static brush to remove any lingering pollen. Pollen contains oils that can degrade the paper fibers over time, leading to "foxing" or yellow spots.
9. The Monogram Integration
Incorporate a pressed vine around a hand-lettered initial. The organic curves of the plant should complement the typography of the letter.
Mastery Tip: Apply adhesive to the paper, not the plant, for intricate letters. This utilizes the surface tension of the glue to hold the vine in place without over-saturating the delicate stems.
THE TECHNICAL LEDGER
Maintenance & Longevity: Store your finished Pressed Flower Stationery in a cool, dark environment. UV light is the primary catalyst for photochemical degradation, which causes flower pigments to fade. Using a UV resistant fixative spray can extend the life of the colors, but it may alter the matte texture of the paper.
Material Variations: For a sustainable approach, use recycled seed paper. It has a rougher texture but offers a beautiful, earthy aesthetic. For a premium feel, 100% silk or cotton rag provides the best archival stability.
The Correction:
- Petal Translucency: This happens when too much glue is used. Fix it by using a "dry" glue stick or a spray adhesive for thin petals.
- Paper Warping: This is caused by uneven moisture. Fix it by placing the card between two sheets of clean newsprint and under a heavy weight for 24 hours.
- Flower Shedding: This indicates a poor mechanical bond. Use a stylus to apply a tiny drop of liquid glue under the loose edge and re-burnish.
Studio Organization: Store your pressed specimens in a gridded specimen box categorized by species and color. Keep your paper flat in a map drawer to prevent any curling caused by changes in studio humidity.
THE FINAL REVEAL
There is nothing quite like the moment you see a full set of nine cards laid out on the studio table. The vibrant purples, deep greens, and soft yellows against the creamy white paper create a visual rhythm that is both sophisticated and raw. You have successfully turned a fleeting biological moment into a permanent piece of Pressed Flower Stationery. These cards are not just mail; they are small, engineered artifacts of the natural world.
STUDIO QUESTIONS
How do I prevent flowers from turning brown?
Ensure rapid desiccation by using fresh blotting paper and high pressure. This stops the enzymatic browning process by removing moisture before the cells can oxidize.
What is the best glue for pressed flowers?
Use a pH neutral, archival PVA glue. It provides a strong bond without acidic compounds that yellow the paper or degrade the delicate plant tissues over time.
Can I mail these through the standard post?
Yes, provided the floral elements are burnished flat. If the layout is thick, use a protective vellum insert to prevent the petals from catching on sorting machines.
How long will the colors last?
With proper storage away from direct UV light, colors can remain vibrant for five to ten years. Some species, like delphiniums, retain pigment longer than others.
Why is my paper curling after gluing?
This is due to differential shrinkage. The wet glue expands the paper fibers, which then contract as they dry. Always cure your cards under a heavy weight.

