
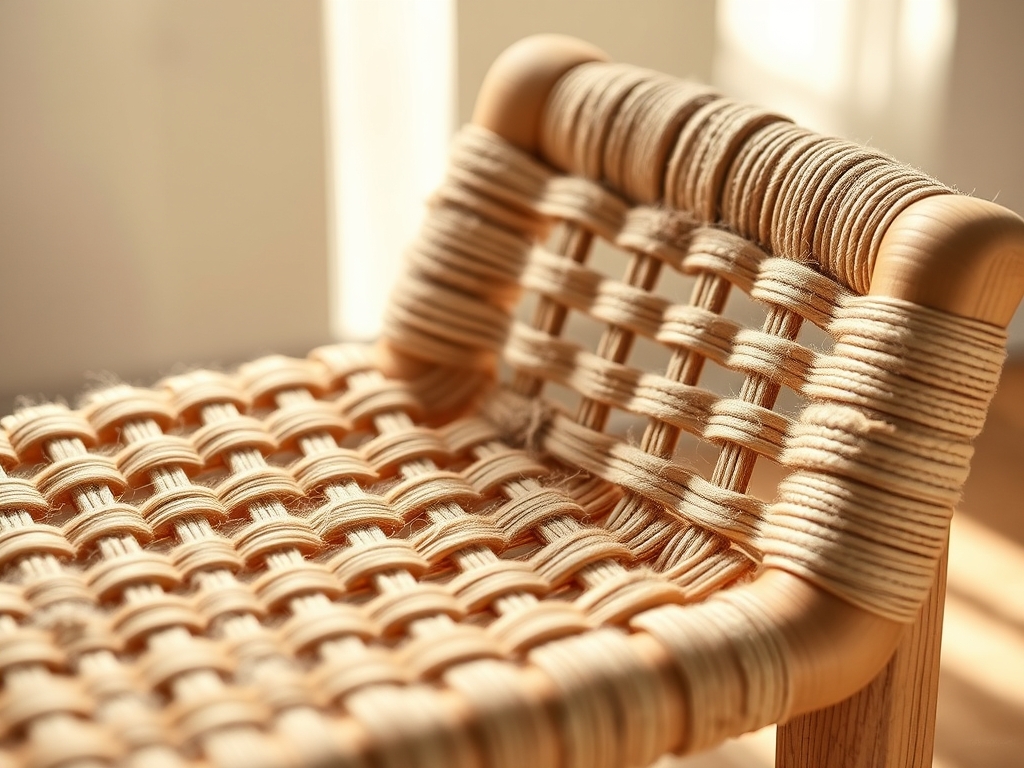
Picture the scent of damp willow and the sharp, grassy aroma of sun-dried rattan filling your workspace. There is a specific, high-frequency snap that occurs when a dry strand of cane reaches its breaking point; it is the sound of lost potential. But when you hydrate that same fiber, it transforms into a supple, high-tensile ribbon capable of supporting significant weight. Mastering Woven Cane Chair Seats is not just a craft; it is an exercise in structural engineering disguised as home decor. You are essentially building a suspension bridge on a micro-scale using the outer skin of the Calamus rotang palm. As your fingers trace the glossy, silica-rich surface of a premium strand, you can feel the longitudinal vascular bundles that provide its incredible strength. We are going to take that raw, organic material and tension it into a geometric masterpiece. This process requires patience, a bit of grit, and a deep respect for the physics of botanical fibers. Let us dive into the rhythm of the weave and turn that skeletal chair frame into a functional work of art.
THE STUDIO KIT
To achieve professional results, you must look beyond the standard craft bin. Your primary material is natural strand cane, which is harvested from the thorny climbing palms of Southeast Asia. Unlike reed or pith, strand cane retains its natural bark, which is what gives it that signature luster and durability. You will need a variety of gauges, typically ranging from Superfine to Common, depending on the hole diameter and spacing of your chair frame. Use a set of digital calipers to measure the distance between the center of one hole and the next; this measurement determines your pattern scale.
Your toolkit must include a high-quality steel awl for clearing debris and aligning strands. A handful of wooden caning pegs are essential for maintaining tension during the multi-stage weaving process. You will also need a sharp utility knife, a pair of heavy-duty shears, and a small hammer. For material substitutions, if you are working on a piece intended for heavy outdoor use, consider synthetic HDPE (High-Density Polyethylene) cane. While it lacks the tactile soul of natural rattan, it offers superior resistance to UV degradation and moisture. Always keep a basin of lukewarm water nearby; the goal is to keep the cane pliable without oversaturating it, which can lead to mold or excessive shrinkage during the drying phase.
THE TEMPO
The "Maker's Rhythm" is a meditative state where the repetition of the weave becomes second nature. However, do not mistake this for a quick project. A standard 14-inch seat usually requires between eight and twelve hours of active labor. This time is divided into distinct phases: the cleaning and prep (1 hour), the vertical and horizontal base layers (4 hours), the diagonal structural layers (4 hours), and the final binder application (2 hours).
You must account for the "Hydration Cycle." Cane expands when wet and contracts as it dries. If you weave too tightly while the material is fully saturated, the drying tension can actually warp or crack a delicate mahogany frame. Conversely, weaving too loosely results in a sagging seat that fails within months. The trick is to maintain a consistent, moderate tension and allow the piece to "rest" overnight before applying the final binder cord. This allows the fibers to settle into their permanent geometry.
THE CORE METHOD
Observe the alignment in the step-by-step photos below as we tackle the classic seven-step pattern.
1. The Vertical Foundation
Start by threading your first vertical strand through the center-back hole and pulling it to the center-front. Secure it with a peg. Continue threading strands in parallel lines across the frame.
Mastery Tip: This step relies on Tensile Symmetry. Ensure each strand has identical tension by plucking it like a guitar string; they should produce a similar low-frequency thrum.
2. The Horizontal Overlay
Layer a second set of strands horizontally over the first set. Do not weave them yet; simply lay them on top.
Mastery Tip: This creates the Structural Grid. By layering rather than weaving initially, you reduce friction and prevent the cane from fraying its protective outer silica layer.
3. The Vertical Double
Add a third layer of cane directly over the first vertical layer. This "doubling" provides the thickness necessary for the diagonal strands to lock into place later.
Mastery Tip: Use your awl to ensure these strands sit perfectly flush against the first layer. This minimizes Shear Stress on the fiber joints.
4. The First Weave
Now, weave a horizontal strand through the existing layers, going over the top vertical strands and under the bottom ones.
Mastery Tip: This is where Capillary Action matters. If the cane feels stiff, damp it with a sponge. The water acts as a lubricant, allowing the fibers to slide past each other without snapping.
5. The First Diagonal
Thread a strand diagonally from one corner to the other, weaving under the vertical pairs and over the horizontal pairs.
Mastery Tip: This step introduces Triangulation, which prevents the square grid from racking or distorting under a load. It is the secret to a seat that lasts fifty years.
6. The Second Diagonal
Repeat the diagonal process in the opposite direction, creating a series of perfect octagons.
Mastery Tip: Pay attention to Surface Friction. As the weave becomes denser, the resistance increases. Use a bone folder to gently press the intersections into place without bruising the cane.
THE TECHNICAL LEDGER
Maintenance & Longevity: To keep your Woven Cane Chair Seats in peak condition, mist the underside with water once a month. This prevents the fibers from becoming brittle in climate-controlled environments. Avoid harsh detergents; a simple solution of oil soap and warm water is sufficient for cleaning.
Material Variations:
- Premium Grade: Hand-selected for uniform color and minimal knots.
- Sustainable: Look for FSC-certified rattan harvested from managed forests.
- Recycled: Synthetic blends that mimic the look of natural fiber but offer industrial-grade durability.
The Correction:
- The Ghost Gap: If you see gaps in your octagons, your spacing was off. Fix this by using an awl to "shift" the grid before the cane dries.
- The Snap: If a strand breaks mid-weave, do not panic. Use a "Fisherman's Knot" on the underside of the frame to join a new strand.
- The Sag: If the seat is too loose after drying, you can lightly shrink it by applying a hot, damp cloth to the center, then drying it rapidly with a hair dryer on low heat.
Studio Organization: Store your cane in a cool, dark place. High UV exposure breaks down the lignin in the fibers, making them "short" and prone to snapping. Keep your strands coiled loosely; tight kinks can create permanent weak points in the material's cellular structure.
THE FINAL REVEAL
There is nothing quite like the moment you pull that final binder cord tight and step back to see the geometric perfection of a finished seat. The way the light catches the natural gloss of the cane creates a visual texture that no machine can replicate. Your chair is no longer just furniture; it is a testament to your precision and understanding of organic physics. It feels sturdy, springy, and remarkably sophisticated. Go ahead, give it a celebratory pat; that resonant, drum-like sound is the mark of a master maker.
STUDIO QUESTIONS
What is the best cane for beginners?
Standard 2.5mm "Fine" cane is the most versatile. It is thick enough to handle without snapping but flexible enough to navigate the complex diagonal steps of the traditional seven-step pattern.
How do I prevent the cane from splitting?
Hydration is key. Soak your cane for at least 20 minutes before starting. If the material begins to feel "papery" or stiff while you are working, re-dampen it immediately with a sponge.
Can I stain a cane seat?
Yes, but wait until the cane is completely dry. Use an oil-based stain for better penetration. Keep in mind that natural cane has a wax-like coating that may resist some water-based dyes.
Why is my cane turning grey?
This is usually a sign of mildew or extreme dryness. Ensure your studio has good airflow. If mildew appears, a light solution of white vinegar and water will kill the spores without damaging the fibers.

