
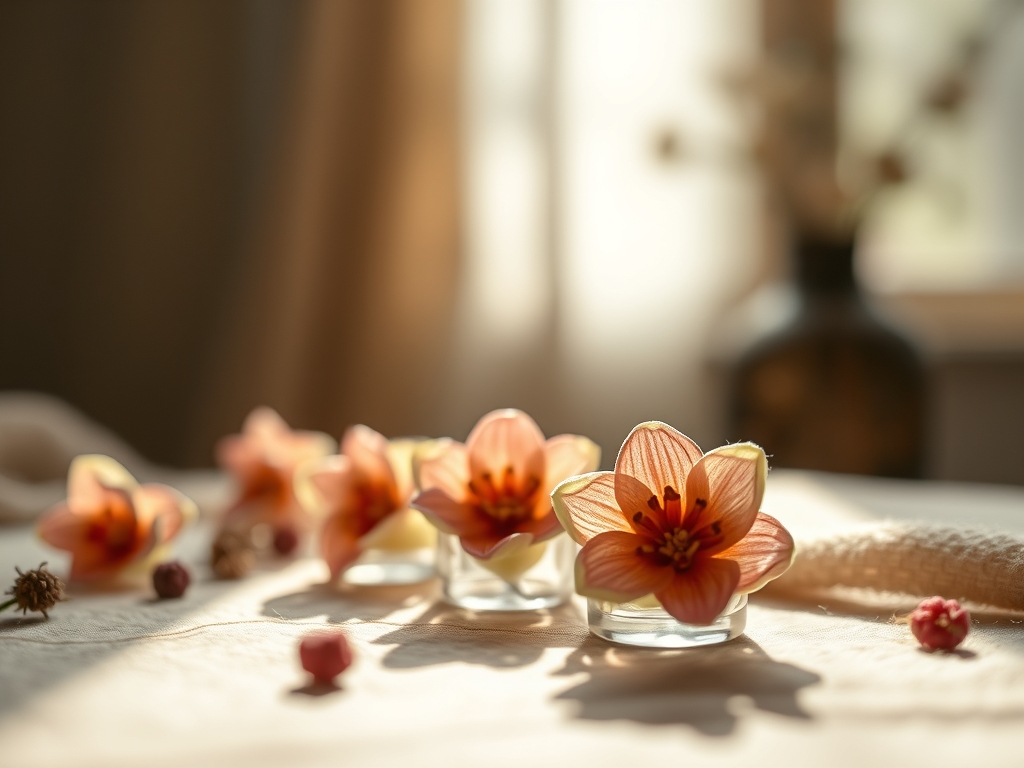
Imagine the crisp snap of a dried larkspur stem against your thumb. It is a tiny, brittle echo of summer. When you hold a perfectly preserved petal, you are handling a masterpiece of structural engineering. The cellulose fibers have locked into a rigid, paper thin state, losing their turgor pressure but gaining a delicate tensile strength that makes them ideal for permanent display. We are diving deep into the world of Pressed Flower Candles today. This is not just about sticking petals onto wax; it is about manipulating thermal conductivity and surface tension to fuse two disparate materials into one seamless, glowing object. You want that professional, high end boutique finish where the flowers look like they are floating inside the wax rather than sitting awkwardly on top of it. We are going to master the art of the bond. It requires a steady hand, a bit of heat physics, and a deep appreciation for the way light interacts with organic matter. Grab your favorite apron because we are about to turn your studio into a high energy laboratory of floral aesthetics.
THE STUDIO KIT
THE STUDIO KIT
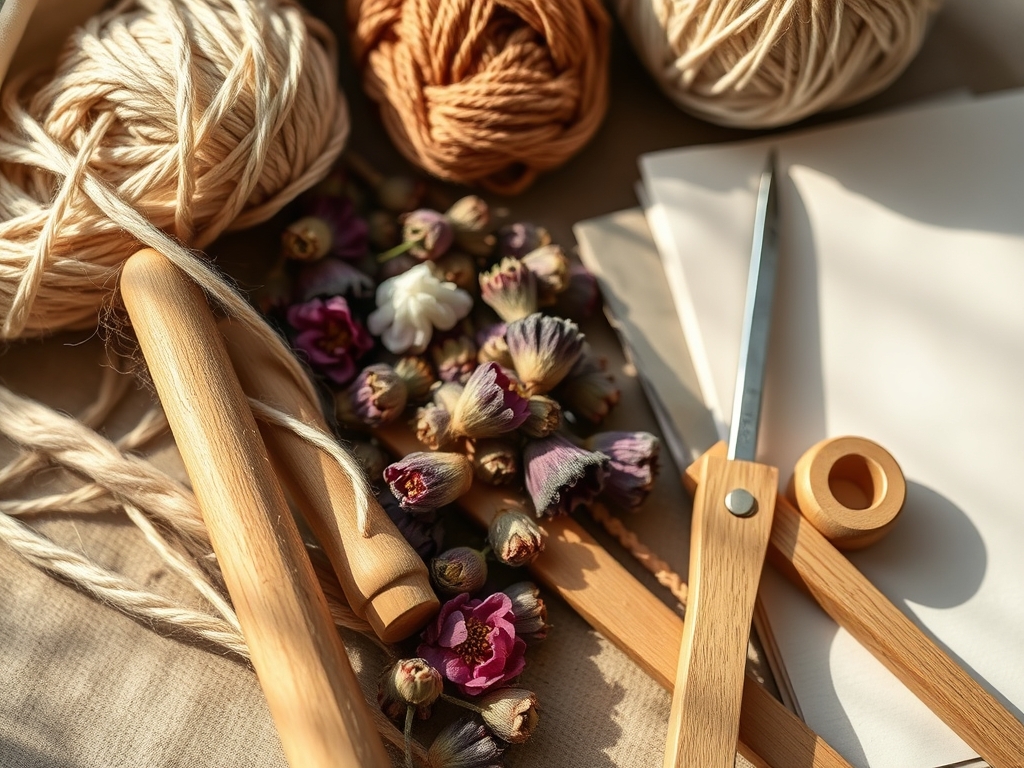
To execute these techniques with precision, your workstation needs more than just a box of matches. You need tools that respect the fragility of the botanical specimens. Start with high quality pillar candles made of paraffin or a dense soy blend. Paraffin has a higher melting point and better clarity, which allows the light to transmit through the wax and illuminate the petal veins. You will need a dedicated heat gun with adjustable temperature settings; a standard hair dryer moves too much air and will send your petals flying across the room.
For manipulation, a pair of fine tipped jeweler's tweezers is non negotiable. These allow you to place specimens without transferring skin oils, which can interfere with the wax adhesion. You also need a flat metal palette knife or a small craft iron to burnish the flowers into the surface. A bone folder is surprisingly useful here for smoothing out air bubbles without tearing the delicate cellulose.
Material Substitutions: If you cannot find a craft iron, a heavy metal spoon heated over a tea light works in a pinch, though it offers less thermal control. If you are out of pressed flowers, skeletonized leaves offer a stunning structural alternative with high porosity, allowing the wax to seep through the veins for an incredible mechanical bond.
THE TEMPO
Crafting is all about the maker's rhythm. You cannot rush the thermal transition of wax. If you apply heat too quickly, you risk melting the structural integrity of the pillar candle, causing it to slump or lose its cylindrical perfection.
Phase 1: Selection and Layout (20 minutes). This is the quietest part of the process. You are measuring the circumference of your candle with a flexible tape measure and plotting your botanical composition.
Phase 2: Thermal Bonding (40 minutes). This is the active phase. It requires a repetitive cycle of heating, placing, and burnishing.
Phase 3: The Dip or Seal (15 minutes). This is the final flash of heat or a quick dip in a wax bath to create a protective outer ply.
Phase 4: Curing (2 hours). The wax must return to a stable crystalline state before it is handled or packaged. Total active time is about 75 minutes, but the patience you exercise during the cooling phase determines the final durability.
THE CORE METHOD
1. The Thermal Adhesion Technique
This is the foundational method for Pressed Flower Candles. Use your heat gun on its lowest setting to gently warm a small patch of the pillar surface until it looks slightly glossy. This indicates the wax has reached its glass transition temperature. Quickly place your flower and press it with the palette knife.
Mastery Tip: This works because of capillary action. As the surface wax liquefies, it wicks into the porous fibers of the dried flower, creating a physical anchor once it re solidifies.
2. The Overdipping Method
Once your flowers are positioned, you can dip the entire pillar into a high melt point paraffin bath. Hold the wick with a pair of pliers and lower it steadily.
Mastery Tip: The science here is all about viscosity. A hotter wax bath creates a thinner coating, while a cooler bath creates a thicker, more opaque layer. Aim for 180 degrees Fahrenheit for a crystal clear, thin protective ply.
3. The Spoon Burnishing Trick
Heat the back of a metal spoon and glide it over a flower that has been lightly tacked in place. This method provides localized heat and physical pressure simultaneously.
Mastery Tip: This utilizes thermal conduction. The metal spoon holds heat longer than air, allowing you to flatten the flower into the wax without the risk of blowing it away with a heat gun.
4. The Wax Paper Fusion
Wrap the candle tightly in a layer of wax paper after placing your flowers. Apply heat through the paper with a heat gun, then rub the surface with a soft cloth.
Mastery Tip: The wax paper acts as a thermal buffer, distributing the heat evenly and preventing the heat gun from scorching the delicate petals or creating "hot spots" in the pillar.
5. The Inlay Carving
For thicker botanicals like small pine sprigs, use a heated awl or a small linoleum cutter to bridge a tiny groove into the candle surface. Nest the specimen inside the groove and seal with a drop of molten wax.
Mastery Tip: This addresses the displacement of the material. By removing a small amount of wax first, the thick specimen sits flush with the surface, maintaining the candle's ergonomic shape.
6. The Decoupage Hybrid
If you are working with extremely thin, tissue like petals, use a tiny amount of melted wax as an adhesive on the back of the petal before applying it to the cold candle.
Mastery Tip: This relies on surface tension. The liquid wax acts as a temporary bridge, holding the petal in place via suction until you can perform a final permanent heat seal.
THE TECHNICAL LEDGER
Maintenance & Longevity: To keep your candles looking gallery ready, store them in a cool, dark place. UV light is the enemy of botanical pigments; it breaks down the molecular bonds of the color, leading to fading. A light wipe with a microfiber cloth will remove dust without scratching the wax.
Material Variations: For a sustainable twist, use beeswax pillars. Beeswax has a higher tackiness than paraffin, which can make the initial placement easier, though its natural yellow hue will shift the color palette of your flowers. For a premium look, use flowers pressed in a traditional wooden press with high grade blotting paper to ensure maximum moisture removal.
The Correction:
- The Ghosting Effect: If a flower looks white or hazy, it means there is an air pocket. Reheat the area and use a bone folder to push the air out.
- The Slump: If your candle starts to lean, you applied too much heat to the core. Place it in a cool water bath immediately to stop the thermal spread.
- The Scorch: If the petals turn brown, your heat gun was too close. Use a sharp craft blade to carefully shave off the burnt layer and start over.
Studio Organization: Store your pressed flowers in a multi drawer cabinet, categorized by species and color. Keep them between sheets of acid free parchment paper. This prevents the "brittle break" that happens when specimens are exposed to fluctuating humidity.
THE FINAL REVEAL
Look at that glow! When you light your finished Pressed Flower Candles, the flame acts as a back light, turning every petal into a stained glass window. The technical precision you applied to the thermal bonding ensures that the flowers stay put as the candle burns down. There is a profound satisfaction in seeing the organic textures of nature encased in the smooth, architectural form of the wax. Your studio is now a place where biology and physics shake hands. These pieces are not just decor; they are preserved moments of a garden, engineered to shine.
STUDIO QUESTIONS
How do I prevent the flowers from catching fire?
Ensure the flowers are fully encased in a thin layer of wax or placed at least a half inch away from the wick. This creates a thermal barrier, preventing the dried cellulose from reaching its ignition temperature as the candle burns.
What is the best wax for dipping?
Paraffin wax with a high melt point (145 to 150 degrees Fahrenheit) is superior for dipping. Its low viscosity when melted ensures a thin, transparent coating that protects the flowers without obscuring their intricate, tactile details or vibrant colors.
Can I use fresh flowers instead of pressed?
No, fresh flowers contain moisture. When heated, that moisture turns to steam, creating unsightly bubbles and eventually causing the botanical to rot inside the wax. Always use fully dehydrated specimens to ensure the structural integrity and longevity of your project.
Why are my flowers falling off after they cool?
This usually indicates a weak mechanical bond. The wax was likely not hot enough to penetrate the flower's fibers. Use a heat gun to re liquefy the surface wax until it wicks into the petal, ensuring a permanent fusion.

