

Close your eyes and imagine the scent of sun bleached cotton and the crisp, rhythmic snap of fabric being shaken out over a butcher block table. There is a specific, tactile magic found in the weave of a high quality textile that begs for a personal touch. When we talk about Hand Stamped Flour Sacks, we are not just discussing a kitchen accessory; we are engaging with a centuries old tradition of utility meeting artistry. The flour sack is unique because of its low lint count and high absorbency, which stems from its loose, breathable weave. As you run your fingers over the surface, you can feel the slight irregularities in the cotton fibers that allow ink to settle deep into the grain. This project is about more than just decoration. It is about the physics of ink transfer and the structural integrity of the fabric. We are going to take a raw, functional item and transform it into a piece of vintage inspired art that can withstand a hundred washes while maintaining its visual clarity and charm.
THE STUDIO KIT
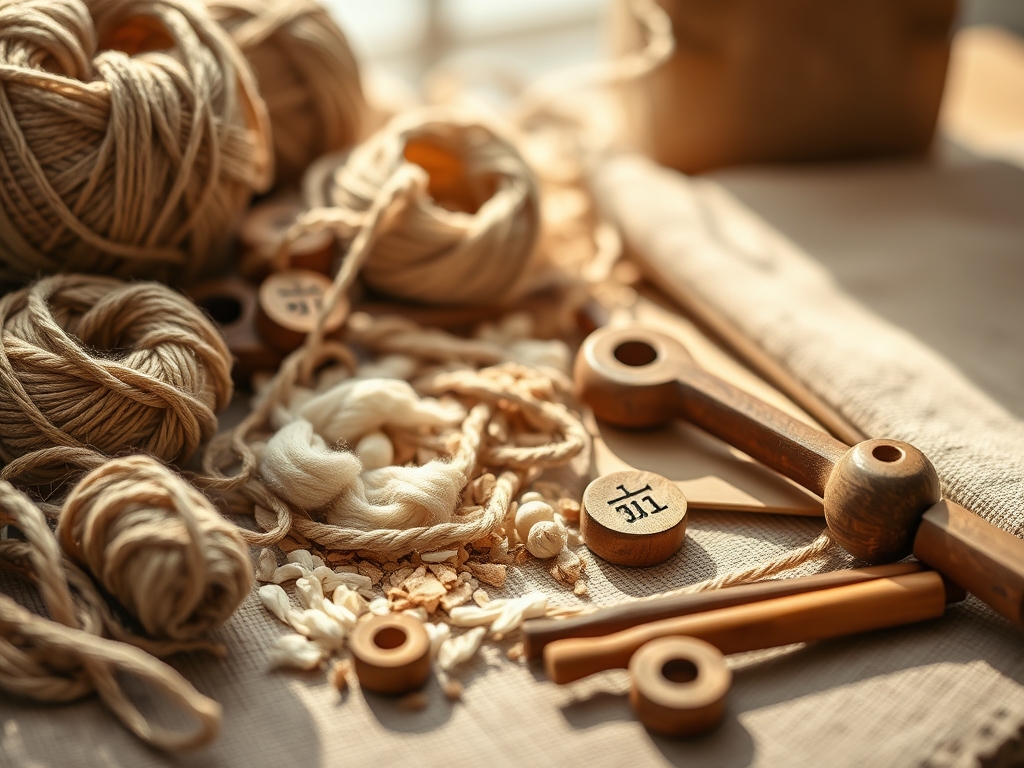
To master the art of Hand Stamped Flour Sacks, you need a kit that respects the physics of the medium. Start with premium, 100 percent cotton sacks with a high thread count but a characteristic open weave. For the stamping mechanism, you will need linoleum blocks or high density rubber. Unlike standard craft foam, these materials offer the structural rigidity required for clean lines. You will also need a brayer, which is a specialized roller used to apply a perfectly even film of ink. Speaking of ink, skip the standard stamp pads. You need oil based fabric ink or a high pigment acrylic mixed with a textile medium to ensure the bond is permanent at a molecular level.
For the finer details, keep a bone folder nearby to burnish the fabric and remove any microscopic wrinkles before you begin. A rotary cutter and a self healing mat are essential if you plan to resize your sacks for specific uses like bread proofing or lining baskets. If you cannot find linoleum, a great material substitution is high density EVA foam or even a carved potato for a more rustic, ephemeral texture. However, keep in mind that porous substitutions will hold more moisture, which can lead to "bleeding" or feathering of the design if the ink viscosity is not perfectly balanced.
THE TEMPO
The "Maker's Rhythm" for this project is divided into three distinct phases: preparation, execution, and curing. Preparation takes about thirty minutes; this involves washing the fabric to remove factory sizing, which is a starch like substance that prevents ink from penetrating the fibers. The execution phase is the most energetic part of the process. Once you find your flow, you can stamp a set of eight sacks in under an hour. However, the curing phase is where patience becomes a technical requirement. Most textile inks require a twenty four hour air dry followed by a heat set with a dry iron. This thermal process facilitates a chemical bond between the pigment and the cellulose fibers of the cotton. Do not rush the drying time; if the ink is still "off gassing" or wet in the center, the heat set will cause the image to blur.
THE CORE METHOD
1. Preparing the Substrate
Before the first drop of ink touches the cloth, you must prepare the surface. Use your bone folder or a high heat iron to flatten the fabric completely. This removes any air pockets within the weave.
Mastery Tip: This step addresses surface tension. A perfectly flat surface ensures that the stamp makes contact with every fiber simultaneously, preventing the "ghosting" effect where parts of the image appear faded or disconnected.
2. Loading the Brayer
Dispense a small amount of ink onto a glass palette. Use your brayer to roll the ink out until it makes a tacky, "velvety" sound. This indicates that the ink has reached the optimal thickness for transfer.
Mastery Tip: This is an exercise in fluid dynamics. If the ink layer is too thick, it will fill the recessed areas of your stamp, resulting in a muddy print. If it is too thin, the capillary action of the cotton will pull the ink too deep, leaving the surface looking washed out.
3. The Precision Strike
Position your stamp over the fabric. Lower it in one smooth, vertical motion. Apply firm, even pressure across the entire back of the stamp using the palm of your hand or a clean brayer.
Mastery Tip: Avoid rocking the stamp. The tensile strength of the cotton allows it to stretch slightly under pressure. If you rock the stamp, you are shifting the fabric beneath the tool, which creates a blurred edge known as a "slurred print."
4. The Thermal Bond
Once the ink is dry to the touch, flip the flour sack over and iron the backside of the design for three to five minutes. Use a steady, circular motion without steam.
Mastery Tip: This is known as thermosetting. The heat causes the polymers in the ink to wrap around the individual cotton fibers, creating a mechanical lock that is resistant to the agitation of a washing machine.
THE TECHNICAL LEDGER
Maintenance & Longevity: To preserve the vibrance of your Hand Stamped Flour Sacks, always wash them in cold water with a pH neutral detergent. Avoid bleach, as the chlorine will oxidize the pigments and weaken the cotton fibers over time. Hang drying is preferred to maintain the dimensional stability of the weave.
Material Variations: For a sustainable approach, look for GOTS certified organic cotton. If you want a more premium feel, linen-cotton blends offer a higher lustre and a more sophisticated drape, though they require a slightly longer heat setting time due to the denser fiber structure of flax.
The Correction:
- The Over-Ink: If you apply too much ink and the design looks thick, quickly press a clean scrap of fabric over the wet ink to blot the excess before it sets.
- The Partial Print: If a corner did not transfer, do not try to re-stamp it by hand. Use a small detail brush and a tiny amount of ink to manually fill in the gap.
- The Smudge: If you accidentally drop the stamp, wait for the ink to dry completely. Use a fine grit sandpaper or an oscillating tool with a polishing head to gently buff away the surface ink without tearing the fabric.
Studio Organization: Store your stamps in a cool, dry place away from direct sunlight to prevent the rubber from becoming brittle. Roll your finished flour sacks rather than folding them for long term storage; this prevents permanent creases from forming in the inked areas, which can lead to cracking.
THE FINAL REVEAL
There is nothing quite like the satisfaction of seeing a stack of freshly cured Hand Stamped Flour Sacks sitting on your counter. The vintage motifs—perhaps a sprig of rosemary, a classic whisk, or a bold typographic "BREAD"—bring a sense of intentionality and warmth to the kitchen. The ink should feel like it is part of the fabric, not sitting on top of it. When you hold the sack up to the light, the weave should still be visible through the design. These pieces are workhorses; they are meant to be used, stained with flour, and washed until they become soft and supple. You have successfully merged the physics of printing with the art of homemaking.
STUDIO QUESTIONS
Can I use regular acrylic paint for this?
Only if you mix it with a textile medium. Without the medium, acrylic paint will dry into a stiff, plastic like layer that will eventually crack and peel away from the flexible cotton fibers during use.
Why did my design bleed after washing?
This usually happens because the ink was not properly heat set. If the thermal bond is not established, the pigment remains water soluble. Ensure you iron the design for at least three minutes on high heat.
How do I get the cleanest lines on cotton?
The secret is the ink viscosity. Use a brayer to apply a thin, even coat of ink to the stamp. If you use a stamp pad, you risk over saturating the stamp and flooding the fabric weave.
Is it safe to use these with food?
Yes, provided you use non toxic, water based textile inks. Once the ink is heat set and washed once, it is perfectly safe to use for wrapping warm bread or covering rising dough.

