
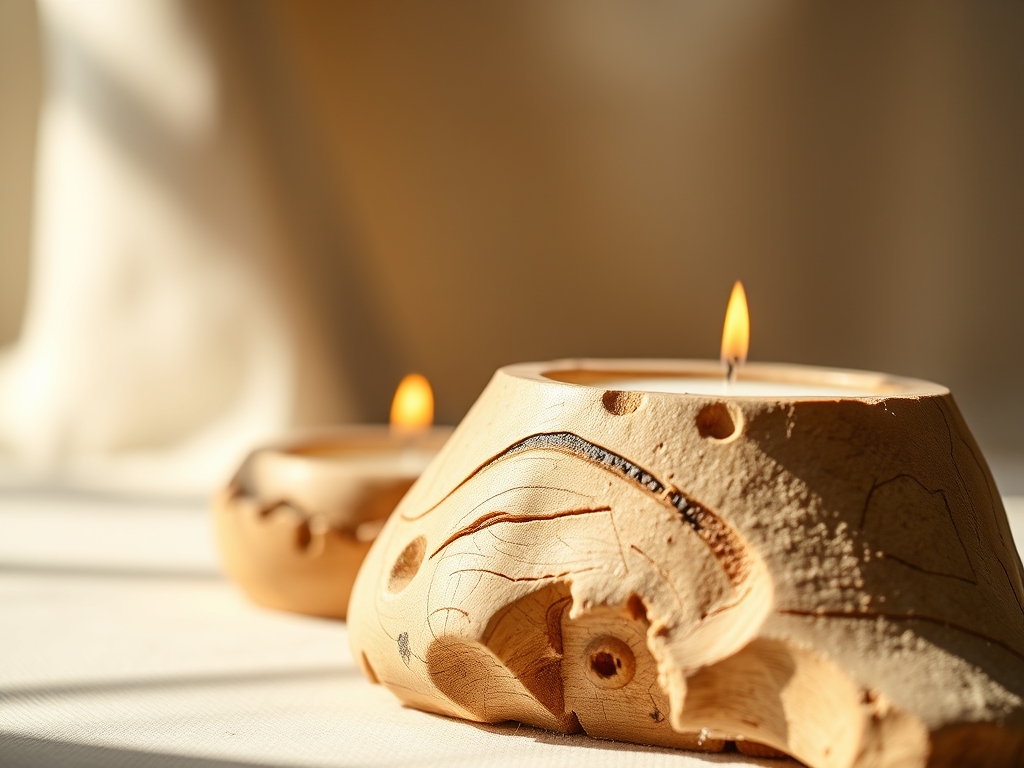
Close your eyes and listen to that crisp, rhythmic bite of steel meeting seasoned wood; it is the sound of absolute precision. We are diving deep into the world of white oak today to craft something truly iconic. When you pick up a raw block of Quercus alba, you are holding a masterclass in biological engineering. Oak is famous for its tyloses, which are balloon-like outgrowths that plug the wood pores and make it incredibly water-resistant and dense. This density is exactly why Hand Carved Candle Holders made from oak feel so substantial in your palm. They possess a high specific gravity, meaning they carry a weight that commands respect on a dining table. We are not just whittling sticks here; we are manipulating cellular structures to create geometric silhouettes that play with light and shadow. You can feel the tensile strength of the grain resisting your blade, demanding a sharp edge and a steady hand. It is a tactile conversation between your muscles and the ancient fibers of the tree, resulting in a functional piece of art that will literally outlast us both.
THE STUDIO KIT

To master these geometric forms, your workbench needs to look like a hybrid of a surgery suite and a timber mill. You will need a set of high-carbon steel gouges and a dedicated chip carving knife with an ergonomic handle to prevent carpal fatigue. Precision is non-negotiable, so keep your digital calipers nearby to ensure your hexagonal or pentagonal faces are symmetrical down to the millimeter. For the candle sockets, a Forstner bit is superior to a standard spade bit because it creates a flat-bottomed hole with clean sidewalls, which is essential for the structural integrity of the holder. You will also need a honing strobe and green chromium oxide paste to keep your blades "scary sharp." If you cannot source premium white oak, "Material Substitutions" include black walnut for a darker aesthetic or hard maple if you want a tighter, more uniform grain that shows off fine detail. Just remember that maple lacks the distinct medullary rays that give oak its signature flecked shimmer when quarter-sawn.
THE TEMPO
The "Maker's Rhythm" is a three-act play that spans roughly six to eight hours per set, depending on the complexity of your chosen geometry. The first phase is the Acclimation and Layout, taking about one hour. You must let your oak sit in your studio environment to reach Equilibrium Moisture Content (EMC) so it does not warp mid-carve. The second phase is the Bulk Removal, which takes three hours of high-energy exertion as you define the primary planes. Finally, we enter the Refinement and Burnishing phase. This is the meditative part of the process, lasting two to four hours, where you use fine grits and a bone folder to compress the surface fibers. Do not rush the cooling period after sanding; the wood needs to "breathe" before you apply any oils or waxes to ensure deep penetration into the vascular bundles.
THE CORE METHOD
1. Mapping the Geometry
Start by using an awl to scribe your geometric blueprint directly onto the end grain. Whether you are aiming for a dodecahedron or a sleek tapered prism, the layout must account for the grain direction. Always carve with the grain to avoid "tear-out," which happens when the blade dives too deep into the porous fibers and rips them rather than slicing them.
Mastery Tip: Use the science of Anisotropy. Wood properties change based on the direction of the grain. By mapping your cuts to follow the longitudinal axis, you maximize the structural strength of the geometric peaks.
2. Establishing the Primary Facets
Secure your oak block in a bench vice with soft pads to avoid bruising the wood. Use a drawknife or a large straight chisel to shear away the bulk material. You are looking for "clean cleavage" along the grain lines. This stage is about establishing the planar surfaces that define your geometric form.
Mastery Tip: Monitor the surface tension of the wood. If you notice micro-cracking, your blade is likely dull, causing you to crush the cells rather than severing them. A sharp blade reduces the force required, preserving the wood's internal bond.
3. Boring the Socket
Switch to your drill press or a steady hand-drill with a Forstner bit. The diameter must match your candles exactly to ensure a friction fit. Aim for a depth that keeps the center of gravity low, preventing the holder from becoming top-heavy once the candle is inserted.
Mastery Tip: This involves Capillary Action. The end grain at the bottom of the hole is highly absorbent. If you do not seal this area properly later, it will suck moisture from the air, potentially causing the base of the holder to swell and crack.
4. Refining the Edges
Use a block plane or a fine-cut rasp to crisp up the intersections where two planes meet. These "arrested edges" are what give geometric Hand Carved Candle Holders their modern, architectural look. Use your calipers frequently here to check for uniformity across all faces.
Mastery Tip: Focus on Refractive Index. By creating perfectly flat, smooth facets, you control how light bounces off the oak. Rougher surfaces scatter light, while burnished, flat planes reflect it, highlighting the oak's natural luster.
5. Final Sanding and Burnishing
Progress through sandpaper grits from 120 up to 400. Once sanded, use a bone folder or a smooth piece of agate to "burnish" the wood. This mechanical process collapses the surface cells, creating a natural shine without the need for heavy plastic flickers or lacquers.
Mastery Tip: This is the Triboelectric effect in action. The friction of burnishing generates slight heat, which softens the natural lignins in the oak, allowing them to reset into a glass-like finish that is incredibly durable.
6. Sealing the Grain
Apply a food-safe mineral oil or a beeswax-linseed blend. The oil will penetrate the porous structure, highlighting the contrast between the earlywood and latewood. Wipe away any excess to prevent a "tacky" buildup that could attract dust.
Mastery Tip: Understand Polymerization. If using a drying oil like linseed, the oil reacts with oxygen to form a hard, protective film within the wood fibers, providing long-term protection against the heat of the candle.
THE TECHNICAL LEDGER
Maintenance & Longevity: To keep your oak holders in peak condition, avoid direct sunlight which can cause photo-degradation of the lignins, leading to silvering. Re-oil the wood once a year to maintain its moisture barrier.
Material Variations: While white oak is the gold standard for its rot resistance, you can experiment with "Spalted Maple" for wild visual patterns caused by fungi, or "Reclaimed Heart Pine" for a high resin content that smells divine when warmed by a candle.
The Correction:
- The Mistake: Over-boring the socket so the candle wobbles. The Fix: Line the hole with a thin strip of adhesive-backed felt or a decorative brass insert to restore the friction fit.
- The Mistake: Grain tear-out on a visible facet. The Fix: Create a "Dutchman" patch by carving out the damaged area and inlaying a matching piece of oak with identical grain orientation.
- The Mistake: Uneven base causing a "rocking" motion. The Fix: Use a jointer plane or a piece of 80-grit sandpaper taped to a perfectly flat granite slab to true up the bottom surface.
Studio Organization: Store your unfinished oak blocks in a cool, dry place away from concrete floors. Concrete can leach moisture into the wood, causing "case hardening" where the outside dries faster than the inside, leading to internal stresses that ruin your carve.
THE FINAL REVEAL
There is nothing quite like the moment you strip away the dust and see those sharp, geometric planes catching the light. Your Hand Carved Candle Holders are no longer just pieces of wood; they are a sophisticated intersection of mathematics and nature. The weight of the oak feels purposeful, and the way the facets transition from one to the next shows off your mastery of the blade. When you light that first candle, the glow will catch the burnished edges, proving that you have successfully turned a rugged piece of timber into a refined, tactile treasure.
STUDIO QUESTIONS
What is the best way to prevent oak from splitting?
Keep the wood away from rapid temperature shifts. Oak is highly sensitive to humidity changes; maintaining a stable environment prevents the radial stresses that lead to checking and splitting along the grain lines during the carving process.
Can I use a rotary tool for the whole project?
While a rotary tool works for detail, it lacks the planar precision of a chisel. For crisp geometric forms, manual tools provide better control over the flatness of the facets, ensuring the architectural lines remain sharp and professional.
How do I sharpen my carving gouges?
Use a series of water stones ranging from 1,000 to 8,000 grit. Maintain a consistent bevel angle and finish with a leather strop. A truly sharp edge should shave arm hair without resistance, ensuring clean cuts through dense oak.
Is white oak better than red oak for holders?
Yes, white oak is superior because its pores are plugged with tyloses. This makes it more stable and less likely to absorb soot or wax spills compared to the open-vessel structure of red oak, which can act like tiny straws.

