
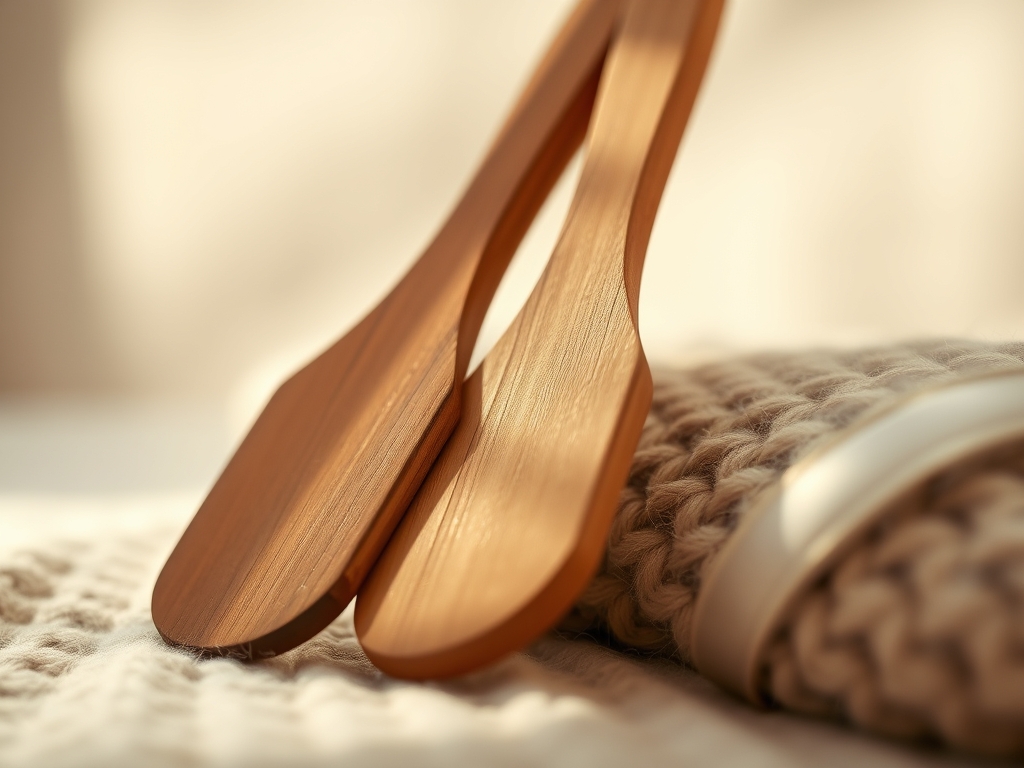
Close your eyes and listen to the sound of a drawknife peeling back a ribbon of cherry wood. It is a crisp, rhythmic "shuck" that signals the transformation of raw timber into a functional masterpiece. When you hold Hand Crafted Wood Spatulas, you are not just gripping a kitchen tool; you are feeling the literal grain direction and the cellular structure of the tree. The tactile feedback from a well carved handle tells your palm exactly how much torque you can apply to a heavy sourdough starter or a delicate crepe. We are diving deep into the physics of ergonomics today because a spatula is an extension of your forearm. It requires a specific tensile strength to resist snapping under pressure while maintaining a porous surface that grips oils to create a natural, food safe seal. This is where high end culinary art meets the raw, unapologetic physics of forestry. We are going to shape five distinct silhouettes that respect the natural fibers of the wood while maximizing your mechanical advantage at the stovetop.
THE STUDIO KIT
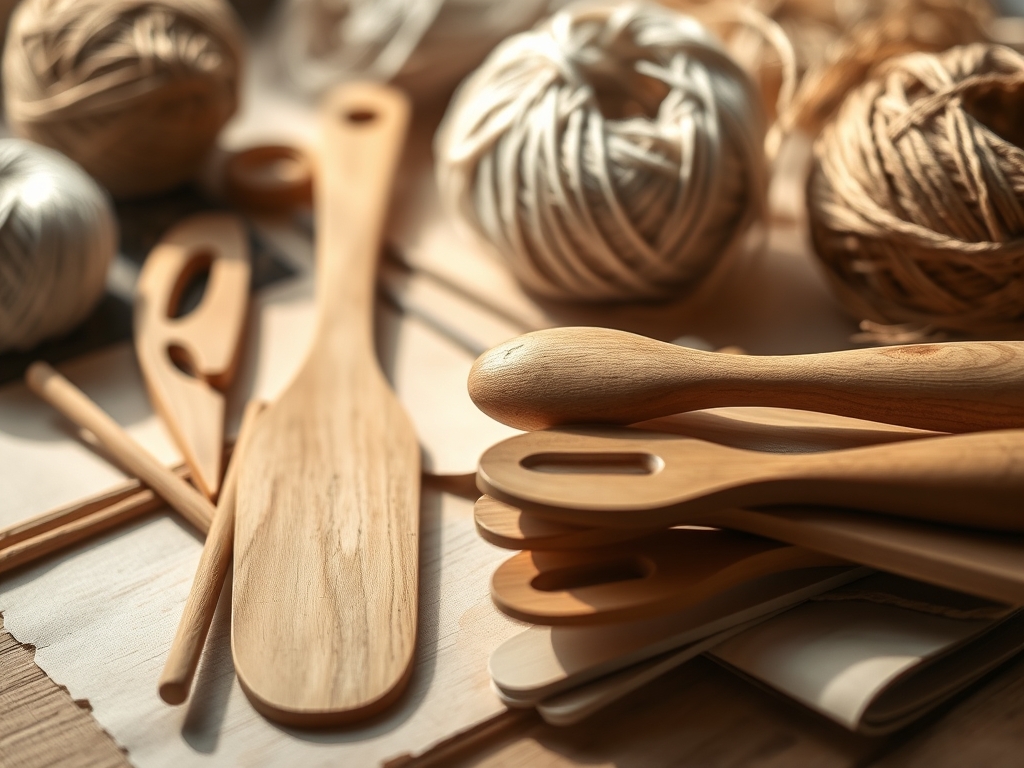
To execute these designs, your workbench needs to be a temple of precision. You will need a high carbon steel sloyd knife for the primary shaping and a curved cabinet scraper to achieve a glass like finish without clogging the wood pores with sandpaper grit. I always keep my digital calipers handy to ensure the neck of the spatula maintains a consistent thickness; if the wood is too thin, the internal stress of flipping a heavy steak will cause a structural failure along the longitudinal grain. You will also need an oscillating spindle sander for the tight interior curves of the ergonomic grips. For materials, look for hardwoods with high Janka hardness ratings like Hard Maple, Black Walnut, or Mesquite. These woods have a dense fiber structure that resists water absorption.
Material Substitutions: If you cannot source premium hardwoods, you can use bamboo laminates, though you must be wary of splintering along the glue lines. Alternatively, use reclaimed olive wood, which has a high oil content that naturally resists bacterial growth. Avoid softwoods like pine or cedar; their low density makes them too absorbent and prone to scorching at high temperatures.
THE TEMPO
The maker's rhythm is a three act play of patience. The Preparation Phase takes about thirty minutes; this involves grain mapping and sketching your templates onto the wood blanks. The Reduction Phase is the most intense, requiring roughly two hours of active carving and shaping per spatula. This is where you find your flow, working with the wood rather than against it. Finally, the Refining Phase takes another hour. This includes progressive burnishing and the application of a heat treated mineral oil finish. Total time per piece is approximately three and a half hours. Do not rush the drying time between oil coats; the wood needs to reach a state of equilibrium where the fibers are fully saturated but not weeping.
THE CORE METHOD
1. The Asymmetric Sauté Wedge
This shape features a sharp, thirty degree bevel on one side to get into the corners of a cast iron skillet. Start by using your marking awl to trace the offset angle. Use a bandsaw or a coping saw to remove the bulk material, then refine the edge with a block plane.
Mastery Tip: Pay attention to grain orientation. Always carve "downhill" with the grain to prevent tear out. If you carve against the grain, the fibers will lift and snap, ruining the structural integrity of the leading edge.
2. The Ergonomic Thumb Groove Paddle
This design focuses on the contact point between your hand and the handle. Use a ball nose burr on a rotary tool to create a shallow depression where your thumb naturally rests. This increases your leverage and reduces hand fatigue during long cooking sessions.
Mastery Tip: This utilizes the principle of force distribution. By increasing the surface area of the contact point, you reduce the pressure on a single nerve cluster in your hand, allowing for more precise motor control.
3. The Tapered Flip Master
Designed for delicate items like fish, this spatula has a blade that tapers from 1/4 inch at the neck to a mere 1/16 inch at the tip. Use a spokeshave to create a long, gradual taper that maintains enough thickness at the base to prevent snapping.
Mastery Tip: This relies on flexural modulus. A tapered design allows the tip to be flexible enough to slide under food while the base remains rigid, effectively managing the load bearing capacity of the wood.
4. The Heavy Duty Scraper
This is a thick, blunt instrument designed for deglazing. The edge should be perfectly flat and square. Use a jointer plane to ensure the scraping edge is 180 degrees flat, allowing for maximum surface contact with the pan.
Mastery Tip: This design exploits capillary action. By burnishing the flat edge with a smooth piece of steel, you compress the surface fibers, making the wood less porous and preventing it from soaking up dark sauces and staining.
5. The Left Handed Offset
Most spatulas are biased for right handed users. This design mirrors the Sauté Wedge, providing the same mechanical advantage for lefties. Use your calipers to ensure the balance point remains centered over the palm.
Mastery Tip: Balance is a matter of center of mass. A well balanced spatula should feel weightless in the hand; if the head is too heavy, it will create a pivot point that strains the wrist during repetitive flipping motions.
THE TECHNICAL LEDGER
Maintenance & Longevity: Never put your Hand Crafted Wood Spatulas in the dishwasher. The high heat and detergent will strip the natural lignins that hold the wood fibers together, leading to checking and warping. Hand wash with mild soap and re-oil every ten uses.
Material Variations:
- Sustainable: Cherry wood is fast growing and incredibly stable.
- Recycled: Old whiskey barrels offer a unique charred aesthetic and oak durability.
- Premium: Tiger Maple provides stunning chatoyancy and high impact resistance.
The Correction:
- Splitting: If a crack appears, use a food safe epoxy or a "butterfly" inlay to arrest the split.
- Fuzzing: If the wood feels "fuzzy" after washing, it means the grain was not properly raised. Wet the wood, let it dry, then sand with 400 grit.
- Warping: If the blade bows, steam the wood and clamp it flat for twenty four hours to reset the fiber memory.
Studio Organization: Store your spatulas in a vertical rack or hanging on a pegboard. This allows for 360 degree airflow, preventing moisture from pooling at the base of the tool, which can lead to fungal degradation.
THE FINAL REVEAL
There is a profound satisfaction in seeing these five silhouettes lined up on your workbench. The way the light catches the burnished edges and the deep, rich hues of the grain is a testament to your craftsmanship. These Hand Crafted Wood Spatulas are more than just kitchen utensils; they are a bridge between the forest and the feast. When you hand one to a friend, they will immediately notice the weight and the way the handle seems to melt into their palm. You have successfully navigated the physics of wood to create something that will likely outlast the very pans they are used in.
STUDIO QUESTIONS
Which wood is best for high heat cooking?
Hard Maple is the gold standard because its high density and tight grain structure resist scorching. It has a high Janka hardness rating, meaning it can withstand the physical abuse of scraping heavy pans without splintering or deforming under thermal stress.
How do I prevent my spatula from staining?
Properly burnishing the wood with a glass or steel tool compresses the surface fibers, closing the pores. Following this with a heat treated wood conditioner creates a hydrophobic barrier that prevents pigmented liquids like beet juice or turmeric from penetrating the grain.
Can I use a CNC machine for these shapes?
Yes, but you must still hand finish the edges. A CNC can handle the bulk removal and complex ergonomic curves, but it cannot "feel" the grain direction. Manual scraping and burnishing are still required to ensure the wood fibers are properly sealed and smooth.
What is the best food safe finish?
A mixture of pure mineral oil and organic beeswax is ideal. The mineral oil penetrates deep into the fibers to keep them supple, while the beeswax provides a durable, water resistant top coat that can be easily replenished by the end user.
Why does my spatula feel rough after the first wash?
This is known as "raising the grain." Water causes the cut ends of the wood fibers to swell and stand up. To fix this, intentionally dampen the wood during the sanding process, let it dry, and sand it back until smooth.

