Close your eyes and imagine the scent of fresh shavings hitting the studio floor. It is a crisp, sweet aroma that only comes from working with high quality birch. There is a specific kind of magic in the resistance of the wood against a sharp blade; it is a conversation between your hands and the organic fibers of the tree. When you create Hand Carved Knitting Needles, you are not just making a tool; you are engineering a tactile experience. The goal is a surface so slick that silk yarn glides like water, yet warm enough to feel alive in your grip. Birch is the gold standard here because of its tight grain and impressive tensile strength. It resists snapping under the pressure of heavy gauge wool while remaining flexible enough to handle delicate lace work. We are diving deep into the physics of friction today. We will transform raw dowels into professional grade instruments that rival any luxury brand. Grab your coffee; it is time to get technical with our timber.
THE STUDIO KIT
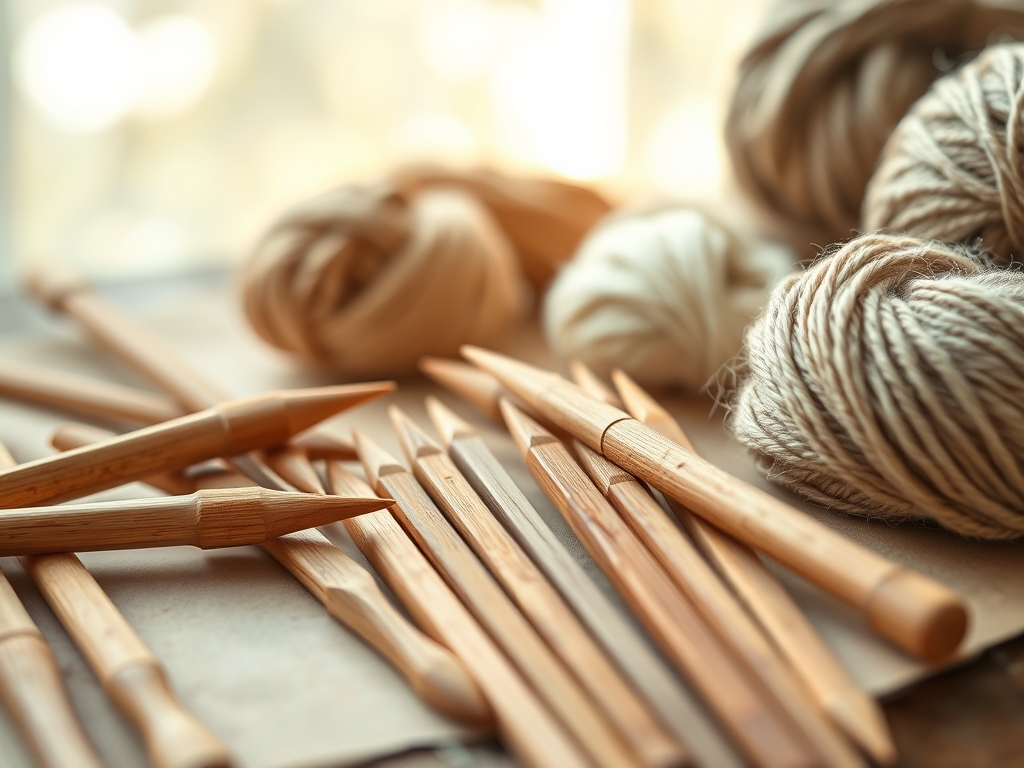
To achieve a gallery grade finish, your junk drawer tools will not cut it. You need a dedicated sloyd knife with a high carbon steel blade for the initial shaping. This tool allows for the "power cut" and the "thumb lever" maneuver, which are essential for tapering the points. You will also need digital calipers to ensure your needles are a consistent diameter throughout the shaft; even a half millimeter deviation can ruin your knitting gauge. For the smoothing phase, gather a progression of sandpaper ranging from 150 grit to a staggering 2000 grit for that glass like sheen.
For the finishing agents, we are looking at pure tung oil, beeswax, and carnauba wax. If you cannot find birch, a suitable Material Substitution would be hard maple or cherry. Avoid softwoods like pine or cedar; their porous nature leads to splintering, and they lack the structural integrity required for the repetitive stress of knitting. You will also want a bone folder or a smooth polished stone for burnishing the tips. This compresses the wood cells, creating a hardened surface that resists the "fuzzy" degradation often seen in cheap wooden needles.
THE TEMPO
The maker's rhythm is all about patience and incremental progress. You cannot rush the desiccation of the wood or the curing of the oils. Expect to spend approximately forty minutes on the initial carving of a pair. The sanding phase is the longest, requiring about an hour of focused, rhythmic motion to move through the grits. Once the oil is applied, the "waiting game" begins. Tung oil requires twenty four hours between coats to undergo polymerization, a chemical process where the oil reacts with oxygen to harden into a plastic like solid. Total project time spans about three days, but the actual "hands on" labor is a meditative four hour journey. Respecting this tempo ensures the wood does not warp or crack due to heat friction during the sanding process.
THE CORE METHOD
1. The Geometry of the Point
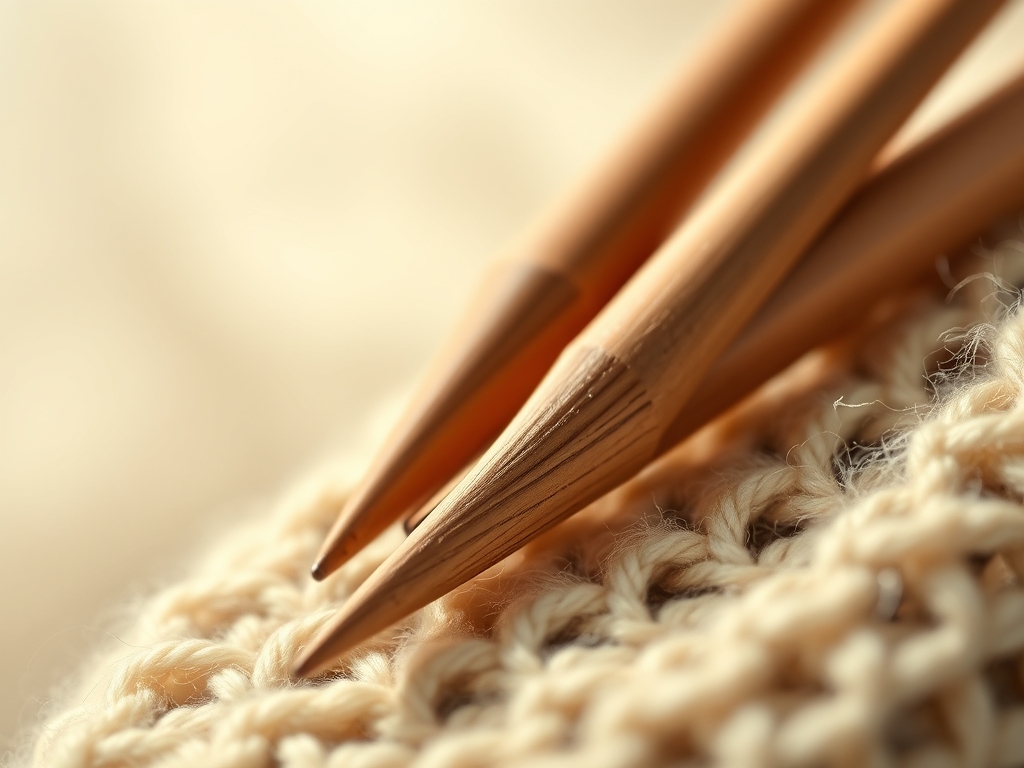
Begin by marking the taper on your birch dowel using a fine liner. Use your sloyd knife to shave away thin curls of wood, rotating the needle constantly. You are aiming for a parabolic curve rather than a sharp cone. A parabolic point is more ergonomic and prevents the splitting of yarn plies. Mastery Tip: The science of "shear strength" dictates that if you make the point too thin, the grain will shear off under tension. Keep the very tip slightly rounded to maintain structural integrity.
2. The Calibration Slide
Once the rough shape is achieved, use your digital calipers to check the diameter every inch. If you find a high spot, use a cabinet scraper instead of a knife. A scraper removes micro layers of wood without digging into the grain. Mastery Tip: This step relies on "dimensional stability." By ensuring a uniform diameter, you guarantee that every stitch on your needle will have the exact same circumference, resulting in a professional fabric.
3. Progressive Grit Refinement
Start with 150 grit sandpaper to remove carving marks, then move to 220, 400, and 600. Always sand in the direction of the grain to avoid "cross grain scratching," which becomes visible once the oil is applied. Mastery Tip: This process utilizes "abrasive leveling." Each successive grit removes the scratches left by the previous one until the surface peaks are so small they no longer scatter light, creating a perceived glow.
4. Raising the Grain
After your 600 grit pass, wipe the needles with a damp cloth. This is called "popping the grain." The water causes the broken wood fibers to swell and stand up. Once dry, sand them back down with 800 grit. Mastery Tip: This utilizes capillary action. By intentionally raising and cutting these fibers now, you prevent the needles from becoming rough later when they inevitably come into contact with moisture or sweat from your hands.
5. The Oil Saturation
Apply a liberal coat of tung oil. Let it sit for twenty minutes so it can penetrate the intercellular spaces of the birch. Wipe off the excess and let it cure. Repeat this process three times. Mastery Tip: The oil works via "molecular bonding." It replaces the air in the wood cells with a hardening resin, making the needle denser, heavier, and significantly more durable.
6. The Hard Wax Burnish
For the final finish, apply a blend of beeswax and carnauba wax. Use a soft cloth to rub the wax vigorously until the wood feels warm. This heat melts the wax into the microscopic pores. Mastery Tip: This creates a "hydrophobic barrier." The wax prevents oils from your hands or moisture from the air from penetrating the wood, ensuring your Hand Carved Knitting Needles stay smooth for decades.
THE TECHNICAL LEDGER
Maintenance & Longevity: To keep your needles in peak condition, re-wax them once a year. If they ever feel "grabby" with certain yarns, a quick buff with a silk cloth will restore the low friction coefficient.
Material Variations: While birch is our star, you can experiment with recycled ebony for a high density, luxury feel. Sustainable bamboo is an option, though it lacks the flexural modulus of birch and tends to be more brittle.
The Correction:
- The Flat Spot: If you sand too much in one area, you create a flat side. Fix this by "shoeshine sanding" with a long strip of sandpaper to restore the roundness.
- The Pitted Tip: If the tip splinters, you likely carved against the grain. Sand it back significantly and re-taper; never try to glue a splinter on a knitting needle.
- The Tacky Finish: If the oil stays sticky, you didn't wipe the excess well enough. Clean it with a tiny bit of mineral spirits and re-buff.
Studio Organization: Store your finished needles in a breathable cotton roll. Avoid airtight plastic, which can trap moisture and lead to fungal growth or "spalting" in the wood. Keep them away from direct sunlight to prevent the UV rays from breaking down the lignin in the birch.
THE FINAL REVEAL
There is nothing quite like the first time you cast on stitches with a pair of needles you built from scratch. The way the birch glows under the studio lights is a testament to your hard work. These Hand Carved Knitting Needles are perfectly balanced, weighted to reduce hand fatigue, and finished to a level of smoothness that puts industrial plastic to shame. You have successfully navigated the physics of woodcraft, turning a simple branch into a high performance tool. Your knitting will never be the same; the rhythm of your stitches will now be a harmony between your hands and the very heart of the wood.
STUDIO QUESTIONS
What is the best wood for beginners?
Birch is ideal due to its straight grain and medium hardness. It is forgiving during the carving phase and takes oil beautifully, making it the perfect entry point for creating Hand Carved Knitting Needles without the frustration of splintering.
How do I know if my taper is even?
Roll the needle across a perfectly flat glass surface. If the tip wobbles or light gaps appear unevenly beneath the taper, you have an asymmetrical grind. Use your calipers to find the high spots and sand them down incrementally.
Can I use olive oil for the finish?
No. Olive oil is a non-drying oil and will eventually go rancid inside the wood fibers. Always use "drying oils" like tung, linseed, or walnut oil, which chemically harden to create a permanent, food safe, and odorless protective barrier.
Why does my wood feel "fuzzy" after sanding?
You likely skipped the "grain raising" step. When wood gets damp, the compressed fibers expand. By wetting the wood and sanding it again, you cut those fibers off, ensuring the needle remains glassy even in humid knitting environments.
Is a sloyd knife better than a utility knife?
Yes. A sloyd knife has a "Scandi grind," meaning the blade itself acts as a wedge to lift the wood shavings. This gives you much more control over the depth of your cuts compared to a thin, flexible utility blade.